Showing posts with label Papercrafting. Show all posts

Tuesday 28 March 2017

Experiments with Gel Press by DT Aditi Mahajan

Hello Everyone,

Aditi here, Today we're here at the Rainbow Craftykari blog with an interesting post for you. Its an information packed post, with a lot of play and examples. 

We've heard a lot about Gel press, and seen videos, but our very first interaction was during Creativation 2017. We took up a class, saw demos and were fascinated with the power of this one tool.

Gel Press® is the original, superior monoprinting plate - permanent and reusable! Make stunning prints for use in your artwork: Mixed Media, Scrapbooks, Cards, Art Journaling, Home Décor and more! - https://gelpress.com/

As they suggested, gel press aids in making stunning prints to be used in any kind of project. Many of you might say, its the same, paint your background, stencil, stamp, etc. Well yes, but using this plate, life is so simple, you get faster prints, it's addictive so you keep going on and on. You can create intricate prints, with multiple patterns.

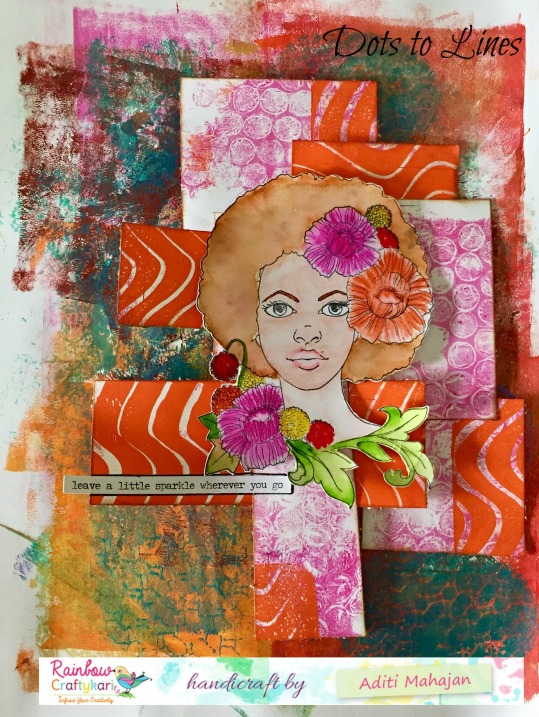
Here is a journal page we made using gel press prints.

Journal page fin.jpg

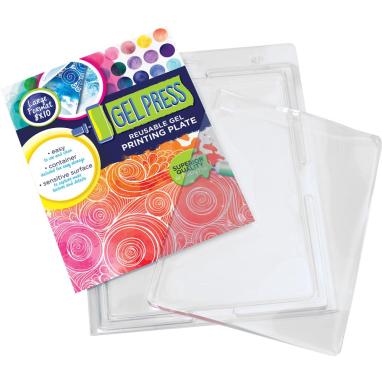
This plate is a silicon transparent jelly like plate.

Gel-Press-8x10-Plate-open-package

These come in varied sizes and shapes:

12"x12", 12"x14", 8"x10", 5"x7", 6"x6", 3"x5", 8" round, 6" round, Petites Set- Oval, hexagon, rectangle, triangle, square and circle (small).

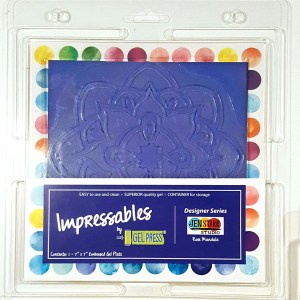
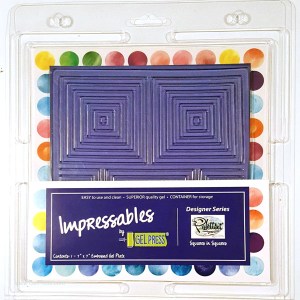
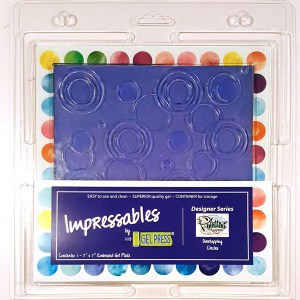
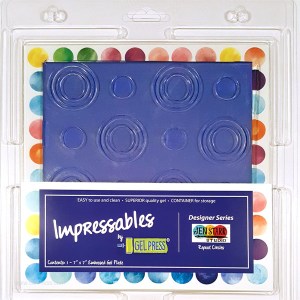
The latest products are the Impressables. These come with certain patterns in the plate, so your first print has a self pattern.

impressable 2impressable 3impressable 4impressable1

This is the basic information. Now lets play with them and show you some results.

Firstly, always keep the plate on a craft mat or acrylic mat. Since it has baby oil any other surface will absorb it. The smaller ones can be used by removing only one acrylic sheet and leaving the other mounted. In between, if you want to clean your plate, use a baby wipe. You can work with acrylic paints, most brands work. And if  the paint dries up quickly you could use a retarder or acrylic glaze medium on your paint. We have tried working with inks and we got great results with distress inks and oxides. 

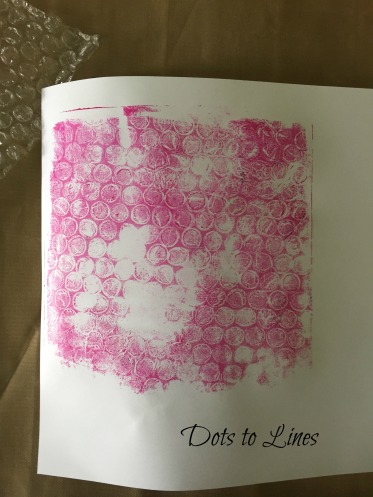
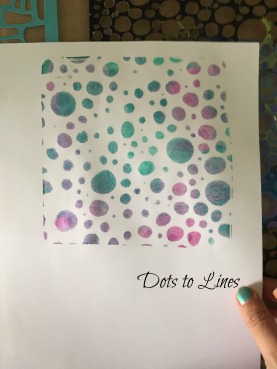
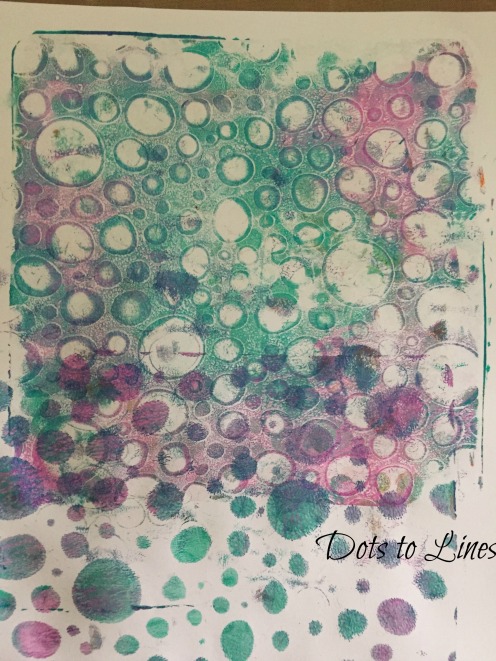
1. Add some paint on the plate, spread it with the brayer. Use bubble wrap and press onto the paint and lift it. Keep a sheet of paper and rub on the back to lift the print on the side touching the plate. 

4

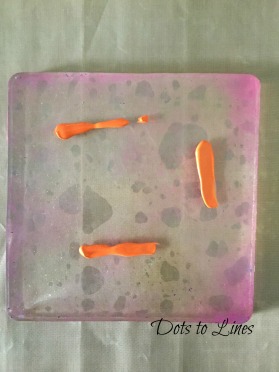
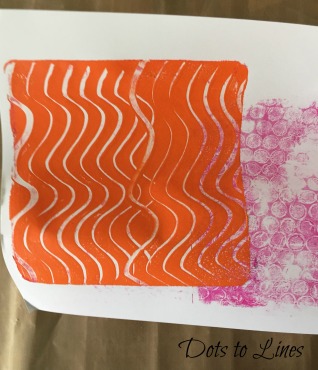
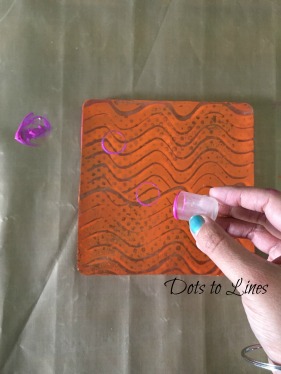
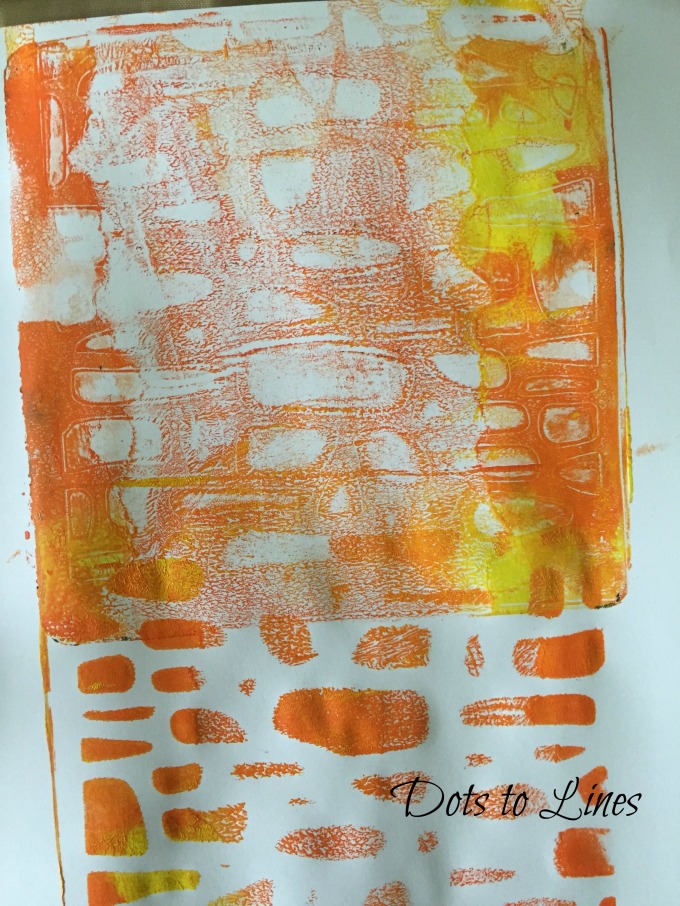
2. Add a different colour on the plate and spread with the brayer. Using any texture comb, create a design and lift on your paper. On the left base, create some circles with a bottle cap and a contrasting colour and lift the print.

56

78

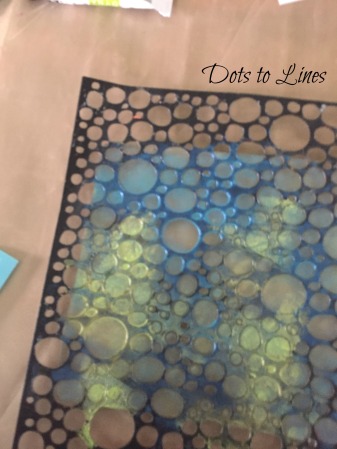
3. On a cleat plate, place the stencil and through the stencil add two colours and spread with the brayer. Lift the stencil and take a print on the paper from the plate. You could also take a print from the paint on the stencil by rubbing it on the sheet.

                       91011

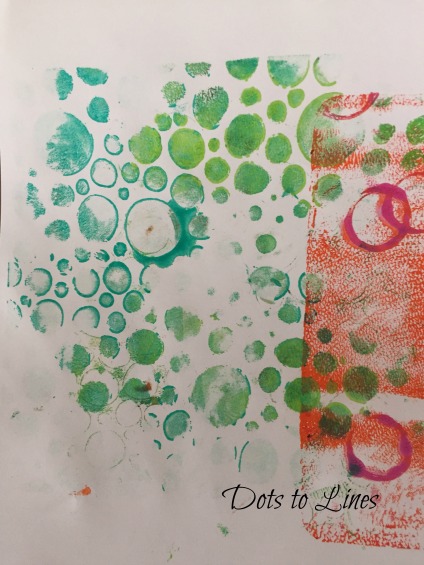
4. Add two colour onto the plate and spread with the brayer. Place a stencil on the plate. Press a paper and lift the print. This will give you the print only through the stencil. Next take a print from the stencil. And third, press the paper onto the plate again once the stencil is lifted- this will give you a ghost print.                  

                 121314
15

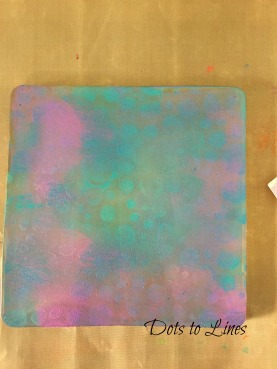
5. We kept a plain sheet of paper next to us, and every time we used the brayer, we moved it on this sheet to clean the brayer before moving onto another colour. This gave us a great background, which we used for our journal page above. We had some prints to it with the small oval plate and stencil for more interest.  We cuts pieces from sheets show in technique 1 and 2 for our layers. 

17

6. Some play with oxides. We used the mini rectangle and hexagon plate. Added one colour of the oxide onto the plate directly from the ink pad. Next, we rubbed a darker colour onto the uprooted side of and embossing folder and pressed it on the plate. We then took a print onto our paper. We stamped from the folder directly on the paper, to take a print from the remaining ink as well.  In the last hexagon, after taking a print, we stamped another shaded using acrylic stamps and printed it over the first hexagon print for more interest. In the same way, you could add colour and stamp on the plate and take a print for a different background.
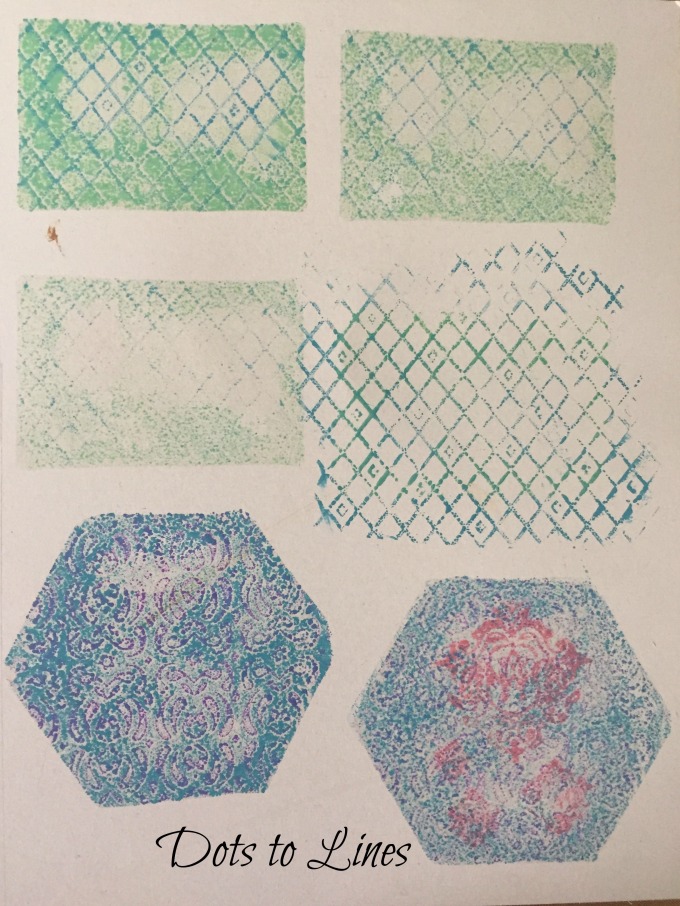
16

As you see above, stencils, stamps and found object work really well. Anything to create texture and patterns as with the plate all you're doing is lifting prints and getting some fabulous paper ready for your projects. Not just paper, your could print on fabric and other surfaces as well. We've only introduced this tool and there are many more techniques to explore.

We hope we've inspired you to play and explore :)
Regards,
Aditi
Dots To Lines

Thursday 12 January 2017

Shaker Card with Heat Embossing By Guest DT Zalak

Hello Friends,

I am Zalak and today, I have a project to share with you using Heat embossing, a very easy and popular technique and one of my favorite technique with shaker card (again very popular).

Let's check out my project.


So for my project I have used Altenew Peony Bouquet stamp and Fiskars stamp Good Times.


Stamped the flowers and heat embossed it with Ranger's Gold embossing powder on Bielo CS. To color the stamped image I used Zig clean brush markers, here I have colored only shaker part and left the rest without coloring. I have die cut the rectangle stitched from Lawn Fawn die to make shaker card window. For shaker elements I have used some star and cupcake sequins from Lawn Fawn.

I have 12 colors set of Zig clean brush markers so with this colors only I colored Altenew Peony Bouquet image. For one flower I have mixed red and yellow color to form orange color and once its dry I just gave some stroke with red color. I have used light blue to color my second flower and again give some stroke with dark blue. And the last small flower which is on top of right corner, I colored it with yellow and gave stroke with light green.
TIP: Bielo CS doesn't hold water for long time so I didn't used water. I have directly blended the colors. As these are water based markers so the tip of markers don't get damage. If you want the colors to be light the use Brustro watercolor paper and use water for blending, Brustro are watercolor paper so it holds the water and you can blend it very easily.
Some close up to see how I colored them,


To finish up my project I have adhered them on black CS.

I hope you liked my project and inspire you to make to work with informative techniques.

Above listed Materials are available at Rainbow Craftykari Store or you can pre-order.

Love and Regards,
Zalak

Monday 9 January 2017

Valentine Box Card Tutorial By Guest DT Pavitra

Bonjour Crafters,
A very lovely Welcome and a warm Good Morning in this cold winter.

Today in our Teaching and Learning Program, we have Guest DT Pavitra with her stunning Valentine box card, so friends get ready to learn this and surprise your loved one this Valentine.


Over to you Pavitra,

Hello my dear friends!

I'm Pavitra and today I will be sharing a box card with you all. Valentine is approaching in the coming month and I choose the theme of love for my project...

So let’s get startd

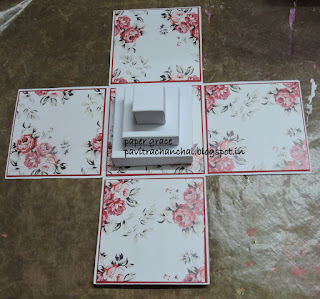
For the base of the box I used white cardstock (12 by 12 inch) and scored it at 4 and 8 inch both horizontally and vertically.


Cut out the squares (4 x 4inch) from all the four sides as shown in below picture.


In order to make it more sturdy I layered red cardstock (3 ¾ by 3 ¾ inch) on the base white cardstock (4 inch by 4 inch) with the help of tacky glue.


Next I pasted the pattern paper (3 ½ by 3 ½ inch) on all the sides front and back both.

For the top of the box I score 6 ¼ by 6 ¼ white card stock at 1 inch – 4 ¼ inch – 1 inch both vertically and horizontally as shown in below picture.


After that I cut the sides and pasted the ends with glue as shown in below picture.


In the centre of the box I thought of imitating a cake so for that I made three squares of size –

3 X 3 inch

2 x 2 inch

1 x 1 inch

And stack on top of each other, and once dried properly centred it on the base of card as shown in below picture.


For the closer of the box I used a metallic lock and also placed metallic corners on all the four sides with brads. On the top of the box I added a frame, bottles and a clock.


On the back side of the box I added a metal embellishment and a sentiment.


Here’s the box after all the metal embellishments are placed.


Nothing can emotes, love better than flowers and that’s why to finish my project I created handmade flowers. I first die-cut the Papericious sigma cardstock with spellbinder die and then colored the petals with carnation red archival color from inside to outside with the help of a dauber as shown in below picture. For one medium flower I used 2 small, 2 medium and 3 large petals.


I embossed the petals from outside to inside, cupping the petals towards center as shown in below picture.


After that I inserted pollen in the center of the petal and cupped the petals in the form of a bud as shown in below picture. For the bud I used two small petals.

Next I inverted the third layer of petal on a foam pad and shaped it with clay tool as shown in below picture and pasted it on the bud with the help of tacky glue.


Added  the remaining layers of the petals in the same way to finish my flower. For the filler flowers I used archival ink cobalt and archival ink saffron, both the flowers are also embossed in the same way from outside to inside, cupping the petals towards center. For some shine and sparkle I applied distress clear rock candy glitter on the flowers

For the leaves I used distress ink peeled paint and pine needle. For the top of the cake I used papericious heart chippie cut-out and heat embossed it with gold embossing powder.


Finally I layered my flowers and leaves with silicon glue and here is the finished project.


Some more close up,


Thank you so much. Hope you enjoy the tutorial.

Keep crafting and take care. Below is the list of supplies used:-

White cardstock
Red cardstock
Sigma cardstock from Papericious
Papericious pattern paper
Spellbinder flower play die
Archival ink – carnation red, saffron, cobalt
Distress clear rock candy glitter.
Distress ink – walnut stain.
Papericious Heart Chippie 6"x6"

Above listed Materials are available at Rainbow Craftykari Store or you can pre-order.


Regards,
Pavitra