Thursday 14 September 2017

Money Box Envelope Tutorial by GDT Vinita Jain

Hello, crafty Friends!

Vinita here, and this is my first GD post, at Rainbow Cratykari! I am so thrilled and will be showing you a project to inspire you with the Month's Challenge!!! Thank you Maninder and the Team! Today, I am showing you an envelope box gifting idea for a newly wed couple!


I created a money box envelope using a lot of mixed media products, a card and lot of journaling tags for pics and writing messages!!! And I had so much fun making them very first time! 😊

This creation is inspired by this month's beautiful mood-board which has these tropical colors, patterns, and textures, wood grain effect, different leaves in green hues!


Let's see how I made this: 


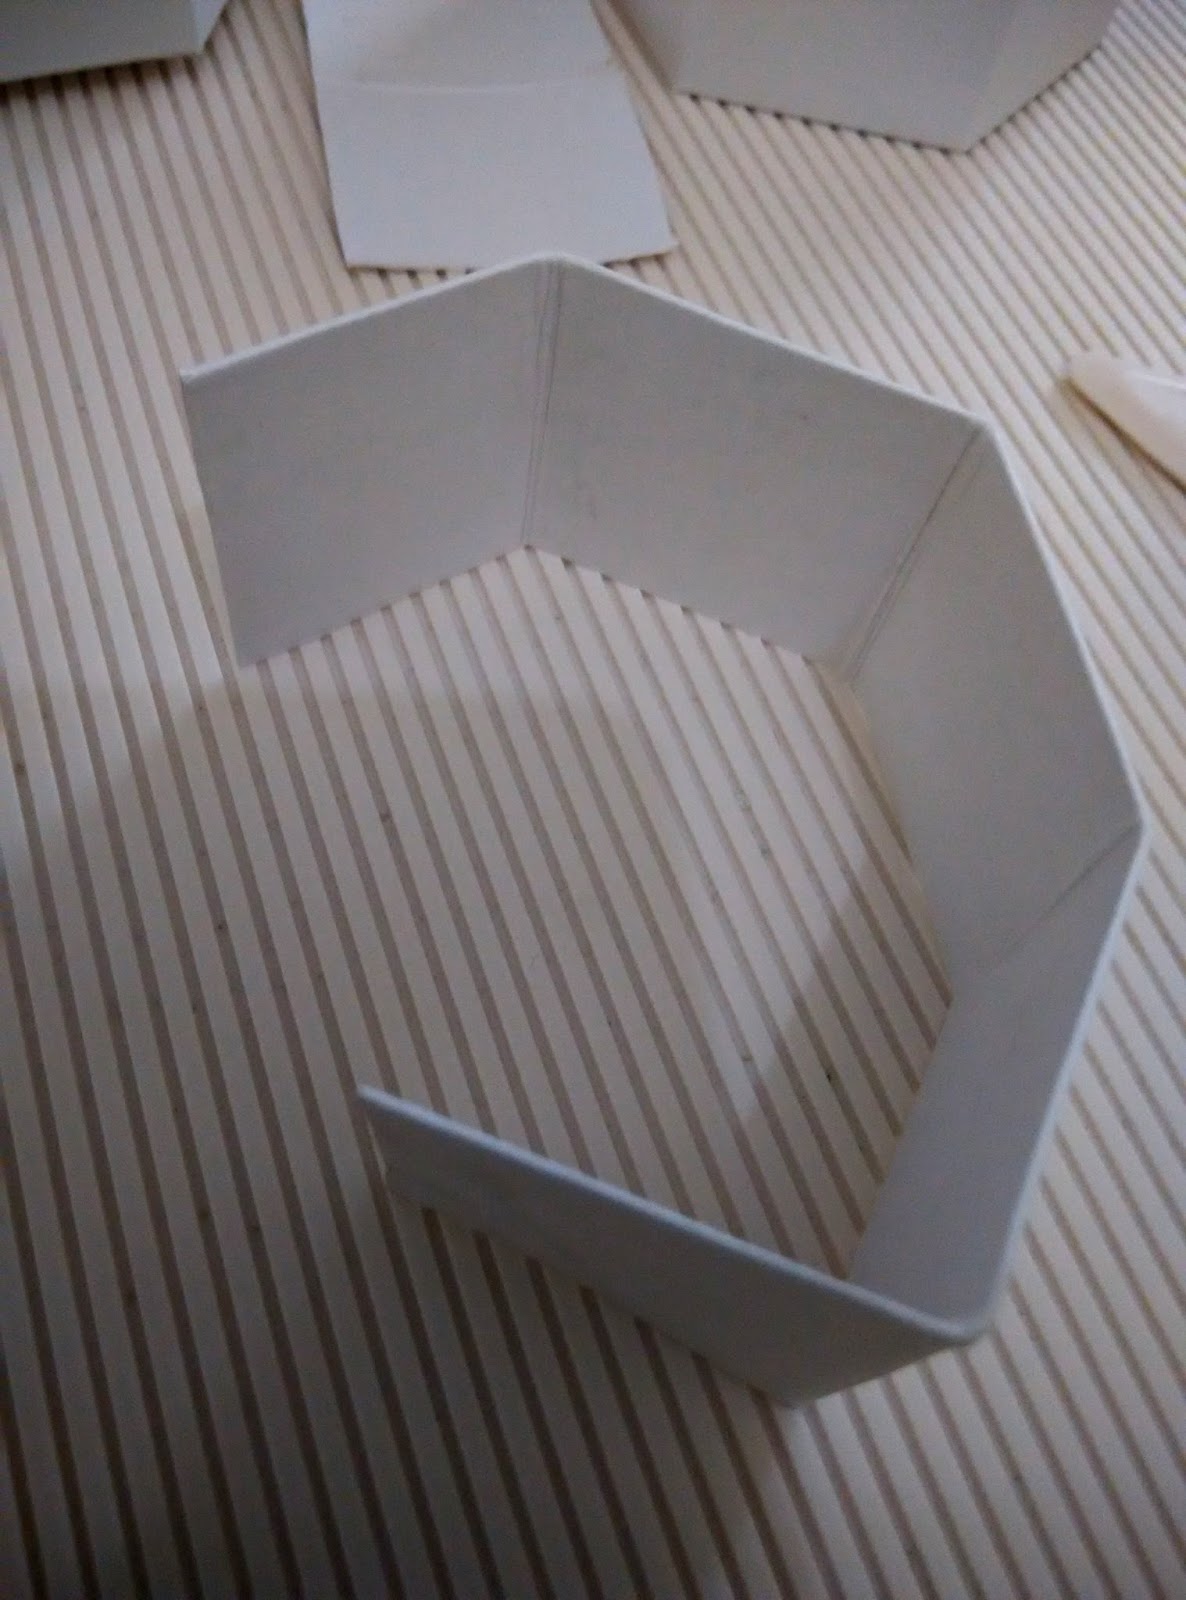
The envelope box is a pre cut template. And I decorated the front cover in Mixed media style! I took a honey comb stencil and applied paste. I then, randomly stamped some script for the style!


These are chippies from Papericious which I heat embossed with various embossing powders.


I die cut some different size leaves in various shapes. I used foam flowers and I highlighted the center of the flowers with some golden glitter applying clear glue. I die cut the word 'congrats' from 3 different shades(2 each) to make a stack.


The cover is not complete!


I added a lot of journaling tags measuring 7.5"X 3.8" in size using Martha Stewart scoring board. You can fit a beautiful decor and choose the most memorable pics to add the tags with handwritten messages to make those moments more precious.


This is a card for newly wed couple. I embossed it and highlighted only two big rose flowers using my watercolor pencils. Then embellished it and added a die cut sentiment.


This is inside view for the message and some heart tags, I stamped the sentiment and heat embossed it. Using Resist technique, I gave it an ombre effect inking. 


Using a border Die I cut those panels for one of the journaling tags.


I then covered it with PP, attached some doily, added 3D stickers and die cuts!


This is the back part of the envelope box.


Supply list:


  • Cardstocks and different papers: White Ivory sheet, golden glossy sheet, Light green sheet, Pattern papers, golden glitter foam sheet, green foam sheet,
  • Envelop box: Pre cut in yellow color
  • Dies: Crochet doily from Prima; Mr. and Mrs, Congrats(celebration words) and rectangle dotted framelits, framelit dies set tags from Sizzix; Multi Heart frame from Nellie's; Pierced hearts from Spellbinders; flourish #13 from Cheery Lynn; wild greenery from Die-namics; Gemini die-Orion from Sue Wilson
  • Stamps: Ever after from Kaisercraft, Handmade collections, script from Prima
  • Stencil: Mini honeycomb from TCW
  • Embossing Folder: Rose from Crafts- Too
  • Inks: Distress Ink- Fossilized amber, vintage photo, lucky clover; Jet black Archival ink
  • Embossing powders: opaque bright white, primary lemon, Earthtone mint, silver bells glitter, metallic gold sparkle from Wow
  • Versamark watermark ink pad
  • Texture paste: Ranger
  • Theme based chippies: Papericious
  • Misti
  • Martha Stewart Scoring Board
  • Watercolor pencils from Staedtler and water brush pen
  • Swirl sparkle gem stone self-stick  from Itsy Bitsy
  • 3 D Die cuts and stickers from Eno greetings
  • Layered Chipboards: Tags WeRMK 
  • Washi tape: Golden glitter
  • Glue
  • Round blender
  • Brown pen from Stabilo fine 0.4
  • Black coloring brush pen from Koi
  • Plastic palette knife


Above products are available at the RainbowCrafykari store or you can pre-order them by sending an e-mail at rainbowcraftykari@gmil.com


I hope you enjoyed my latest creation and are inspired to participate at Rainbowcraftykari Challenge#5!


Have a wonderful day!

Vinita

Wednesday 13 September 2017

Hexagon Gift box tutorial by DT Priya Mishra


Hello Friends,


I am Priya with you today sharing a detailed tutorial for making a small gift box. Diwali is round the corner and I'm sure you people are creating awesome stuff for gifting. I made this box for gifting. You can put some candies or chocolates or any small gifts in it.


This is the  box. As you can see, it has a small handle, yes you can hold it from here and don't worry it won't open up. Though it is tiny, it is made really sturdy.


So let's start the tutorial...

Step 1: For this I took two pieces of white card stock measuring 9 1/2" * 4 1/8" and scored them on long side at  1 1/2", 3", 4 1/2", 6', 7 1/2", 9" and short side at 1 1/4"* 2 1/2". I am sharing both the pictures back to back for easier understanding.


P.S: These two pieces will be the cover and box part.


Step 2: Now, I cut the scored lines as below. The bigger squares were cut along the straight lines  and the other side is cut in a slightly triangle shape. This is for both the pieces.


 After cutting, both the pieces will look like this.


 Step 3: Now I cut along the short scoreline leaving the middle part. This is to join both ends.


Both the card pieces will look like this now.


Step 5: Now join both the ends of the box. I used regular white glue for this.


As you can see, both sides are joint now, I'll make the body next.


Step 6: Now I applied glue on the short sides of the box which were cut in slight triangle corners and glued each panel inside.


Now after gluing all the panels, it looked like this. This is the open side of the box.


Step 7: Now I turn the box and start attaching the bottom panels.


I'll take two panels facing exactly opposite to each other and stick them as shown in the picture.


Then the next two panels above them.


And finally the last two panels and this is how the bottom of the box will look like.


This is how it looks from inside.


Step 8: Now I repeated the same steps for the other card stock and here are the final two pieces.


Step 9: I made both the top and bottom panel of the same size, I made a stopper panel for the lower part of the box, so that the lid falls exactly in place when I close it.


For the stopper panel I took a card stock measuring 6 3/4"* 2 3/4" and scored it on long side at 1 3/8", 2 3/4", 4 1/8", 5 1/2" and on short side at 1 3/8". I applied glue on the short side as shown in picture and fold it.


Like this.         


Step 10: Then I glued this inner panel piece to the inside of the lower part of the box. I kept it short by 1 side of the hexagon so than I can attach both upper and lower part of the box here.


Step 11: For the inside joining panel I took a card stock measuring 1 1/2"* 2 1/2* and scored in long side at 1 1/4"


Step 12: Now I glued this piece to the top and bottom piece of the box as shown in the picture.


And the box looks like this when opened.


And like this when closed.


Step 13: Now the box is ready. I'll start embellishing it a bit so that it looks like a gift box. For the embellishment, I cut small pieces of paper for the sides of the box. So total 12 pieces for sides. Dimensions are 1 3/8"* 1 1/8"


And attached them like this.


After I finished, the box looked like this.


Step 14: Now I cut 4 circles out of white card stock in the dimension of 1 1/8" and pattern paper of 1". This is for the inside and outside top and bottom part of the box.


Step 15: Now I attached one set of circle to the outside base of the box.


And like this to the inner side of the box.


Step 16: Now I cut a piece of card stock measuring 6"*6/8" for the closing flap of the box and attach pattern paper on it.


Step 17: I attached this flap on the top of the box and glued the last set of circles on that. For smoothness in closing and keep it intact, I attached small magnet on the lower side of the flap and inner side of the box.


Step 18: Now I cut another two pieces of pattern paper measuring 4 1/2"* 2/8" and glued them together to make the handle of the box and scored it at 3/8 on both sides and glued on the lid of the box and it looks like this.


After I made this, I so loved the idea that I made a few more with different dimensions. 

Here's the full family...


Hope you like this tutorial and try make some for yourself. 


Supplies Used:
White Cardstock
Papericious Grey Bloom Paper pack

Papericious Rose Wedding Paper Pack

Martha Stewart Score Board

Circle Cutter

Scissors
White Glue

All the above mentioned materials are available at the Rainbow Craftykari store and can also be pre-ordered by sending a mail to rainbowcraftykari@gmail.com

Don't Forget to participate in our Ongoing Challenge

Hugs,
Priya