Hie guys! I'm Khushboo Gandhi, and welcome to our next round of Tutorials. And especially for this, I've chosen one of the most interesting techniques: Decoupage. Today, I will teach you how to decoupage a bottle using tissue papers.
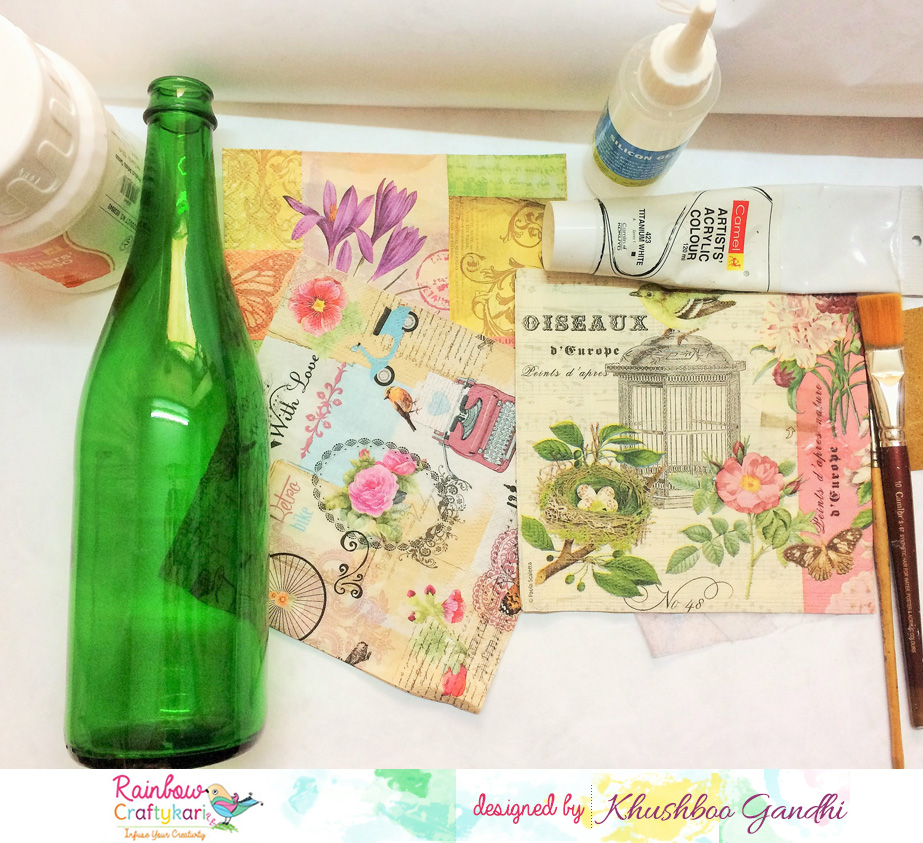
First, you need to collect all the paraphernalia required for your project, like: a bottle, your choice of tissue papers, decoupage glue, gesso, white acrylic paint, paint brushes, glue and other embellishments (but these can be assorted later as well).
Step 1: Clean your bottle with rubbing alcohol to get rid of grease and stains. This will ensure that your bottle has a clean surface for you to work on.
Step 2: Gesso the bottle all over. Let it dry for some time. Gesso it again. Give it a few uneven coats (in case you want a textured surface).
Step 3: Choose the kind of design you want to put on your bottle. Generally, decoupage tissue papers are 2 or 3 ply i.e. they have 1 or 2 white, plain paper behind the design that you need to separate from (as can be seen in the following picture).
Step 4: Decoupage is the art of sticking design paper on the surface of a project. How much of that tissue paper you want to stick on your bottle, and how you want to place it - is entirely up to you. For my project, I wanted to wrap around one complete piece of tissue paper on the lower half of my bottle. So first take the decoupage glue and apply it with the help of a flat paint brush on the bottle. Then take your design tissue paper and lay it over the wet glue carefully and gradually. Then apply a coat of decoupage glue over the tissue again. Let it dry.
Step 5: For my project, I wanted to give it a little texture; and hence I let the creases form naturally white setting the tissue paper on my bottle. Repeat until the whole of your lower half bottle is covered with tissue (as can be seen in the picture below).
Step 6: Now we need to cover the neck of our bottle. Here's a more detailed shot of the process. I took a small piece of my design tissue paper (butterfly motif) and spread it across a glued surface. I then applied another coat of decoupage glue over it.
Step 7: This is how it looks (see the picture below). Keep on repeating until the entire neck of the bottle is covered in tissue paper.
Step 8: Cover the white areas in-between the tissue paper pieces with a matching acrylic paint. This will give a cohesive look to your project. Let it dry.
Step 9: After half an hour, cover the whole bottle with an even coat of decoupage glue and let it dry completely. This will further seal your tissue paper layers and reduce wearing out the papers.
Step 10: Your beautifully decoupaged bottle is now ready to be embellished. Now starts the most adventurous part! Go wild! Try out different themes on your projects! For mine, I created a Garden Theme.
And Voila!!! This is how I embellished my project! Scroll on further to check out more pictures of this beautiful Garden Bottle.
Materials used:
Glass Bottle
White Gesso
Decoupage Glue
White Acrylic Paint
Design Tissue Paper
Pearl Trims
Flowers (paper/resin/acrylic)
Sentiment Stamps
Fillers
White, Green and Black Laces
3D Stickers
Dragonfly cut-out
Hope you guys enjoyed this tutorial as much as I loved making it for you! Do share your Decoupage creations along with handmade flowers - which is the theme for our new challenge at Rainbow Craftykari blog.
All the materials listed above are available at Rainbow Craftykari Store or you can pre order them by sending an email at rainbowcraftykari@gmail.com.