Ciao Crafters,
How are you all in this Cold Morning? Want something to motivate you to get back your mojo in this weather, Today In our Teaching & Learning Program, Our GDT Afreen will going to teach beautiful Diamond Fold Card, So take your hot cup of chocolate and sit back and enjoy the step by step tuorial.
Over to you Afreen,
Hello Friends,
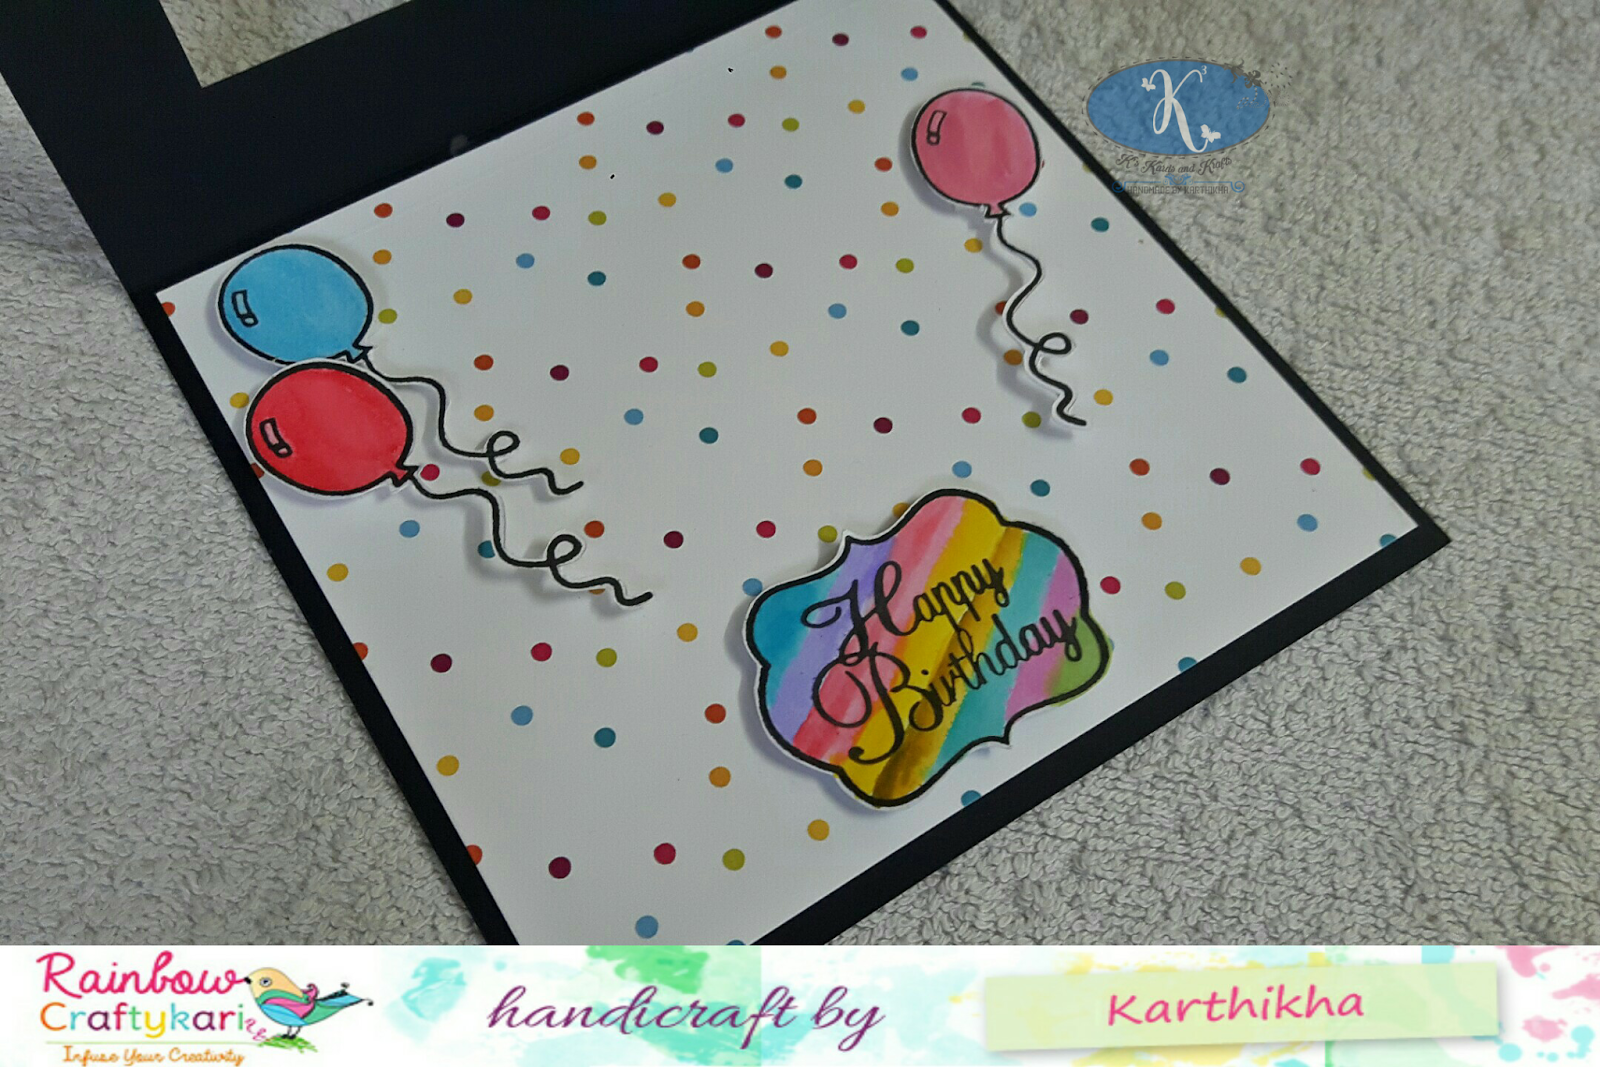
This is Afreen here, am back with the another pictorial on how to make diamond fold card.. here is the picture of card which we are gonna to make.
Lets begin with the tutorial
Step 1: Take a piece of pink cardstock 250gsm at 12x6 inches.

Step 2: Score it at 2, 4, 8 and 10 inches.


Step 3: Mark a little dot at 6 inches top and bottom using pencil.. (am using pen just to have a clear look of dot) use pencil so that you can erase them after creasing.

Step 4: Now mark 3inches from the top in 2nd scored line and 3rd score line.

Now mark cross lines using pencil by jointing the points ( 1st score line top to middle 3 inches dot and end the marking at 6 inches dot at the bottom and 1st score line bottom to middle 3 inches dot and end the marking at 6 inches dot at the top) do the same for the other side also as shown in the above picture.
Step 5: Now after marking the lines use your ruler according to the line and fold it then crease it using your bone folder (ref pic below).


Step 6: Fold exactly as shown in the pic.


Fold like this… Let the arrow shape creased part will go inside the card, so that u can get the diamond portion alone as 3d look.
Do the same for the other side also
Step 7: You will get the fancy folds like this

Step 8: Now decorate them using pattern sheets, I took print from free printable website.. do the same creasing which we did in cardstock, so that it will be easy for you to cut every single piece without any difficulty.

Adhere them to the cardstock and distress all the edges..in this I didn’t sticked the diamond shaped pattern sheet.
Step 9: I used some golden cardstock for the side triangles and center diamond portion and decorated it with doilies at center and border punch out at the left and right edges.


I've just distressed the golden cardstock using my golden gel pen, just applied at the edges and rubbed off using fingers to get the distressed effect.

Added some cut outs and tags
Step 10: Finally I added stamped images in the center and created flowers using heartfelt creations stamp and added glitters. Here are the finished project pictures.


Materials Used
1. Pink cardstock 250 gsm
2. White glue
3. Heart felt creations sun kissed fleur stamp
4. Distress ink broken china, and pink
5. Border punch , doilies
6. Pattern sheets & tags from (http://www.freeprettythingsforyou.com/wp-content/uploads/2016/05/digital-scrapbook-papers-summer-love-FPTFY-4.jpg)
7. Colorbox green color
8. Hotp fairy stamp
9. Golden cardstock 250gsm
10. Golden glitter gel pen
11. Maratha stewart scoreboard
All Materials Available at Rainbow Craftykari Or can be purchased through pre-order
Thank you for stopping by,.. do leave some love..
*Happy crafting* *stay blessed* *Hugs*
With love,
Afreen
Step 1: Take a piece of pink cardstock 250gsm at 12x6 inches.

Step 2: Score it at 2, 4, 8 and 10 inches.


Step 4: Now mark 3inches from the top in 2nd scored line and 3rd score line.

Now mark cross lines using pencil by jointing the points ( 1st score line top to middle 3 inches dot and end the marking at 6 inches dot at the bottom and 1st score line bottom to middle 3 inches dot and end the marking at 6 inches dot at the top) do the same for the other side also as shown in the above picture.
Step 5: Now after marking the lines use your ruler according to the line and fold it then crease it using your bone folder (ref pic below).


(creased lines will look like this)
Step 6: Fold exactly as shown in the pic.


Do the same for the other side also
Step 7: You will get the fancy folds like this


Step 9: I used some golden cardstock for the side triangles and center diamond portion and decorated it with doilies at center and border punch out at the left and right edges.


Step 10: Finally I added stamped images in the center and created flowers using heartfelt creations stamp and added glitters. Here are the finished project pictures.


Materials Used

1. Pink cardstock 250 gsm
2. White glue
3. Heart felt creations sun kissed fleur stamp
4. Distress ink broken china, and pink
5. Border punch , doilies
6. Pattern sheets & tags from (http://www.freeprettythingsforyou.com/wp-content/uploads/2016/05/digital-scrapbook-papers-summer-love-FPTFY-4.jpg)
7. Colorbox green color
8. Hotp fairy stamp
9. Golden cardstock 250gsm
10. Golden glitter gel pen
11. Maratha stewart scoreboard
All Materials Available at Rainbow Craftykari Or can be purchased through pre-order
Thank you for stopping by,.. do leave some love..
*Happy crafting* *stay blessed* *Hugs*
With love,
Afreen