Good morning everyone! I'm Khushboo Gandhi and I'm back this week with my new tutorial post. It's called the 'Desk Organizer' and I've added the vintage theme to it! Our latest challenge is a lot of fun! Create something vintage-y with an old book paper and add flowers too! Fun, yeah!
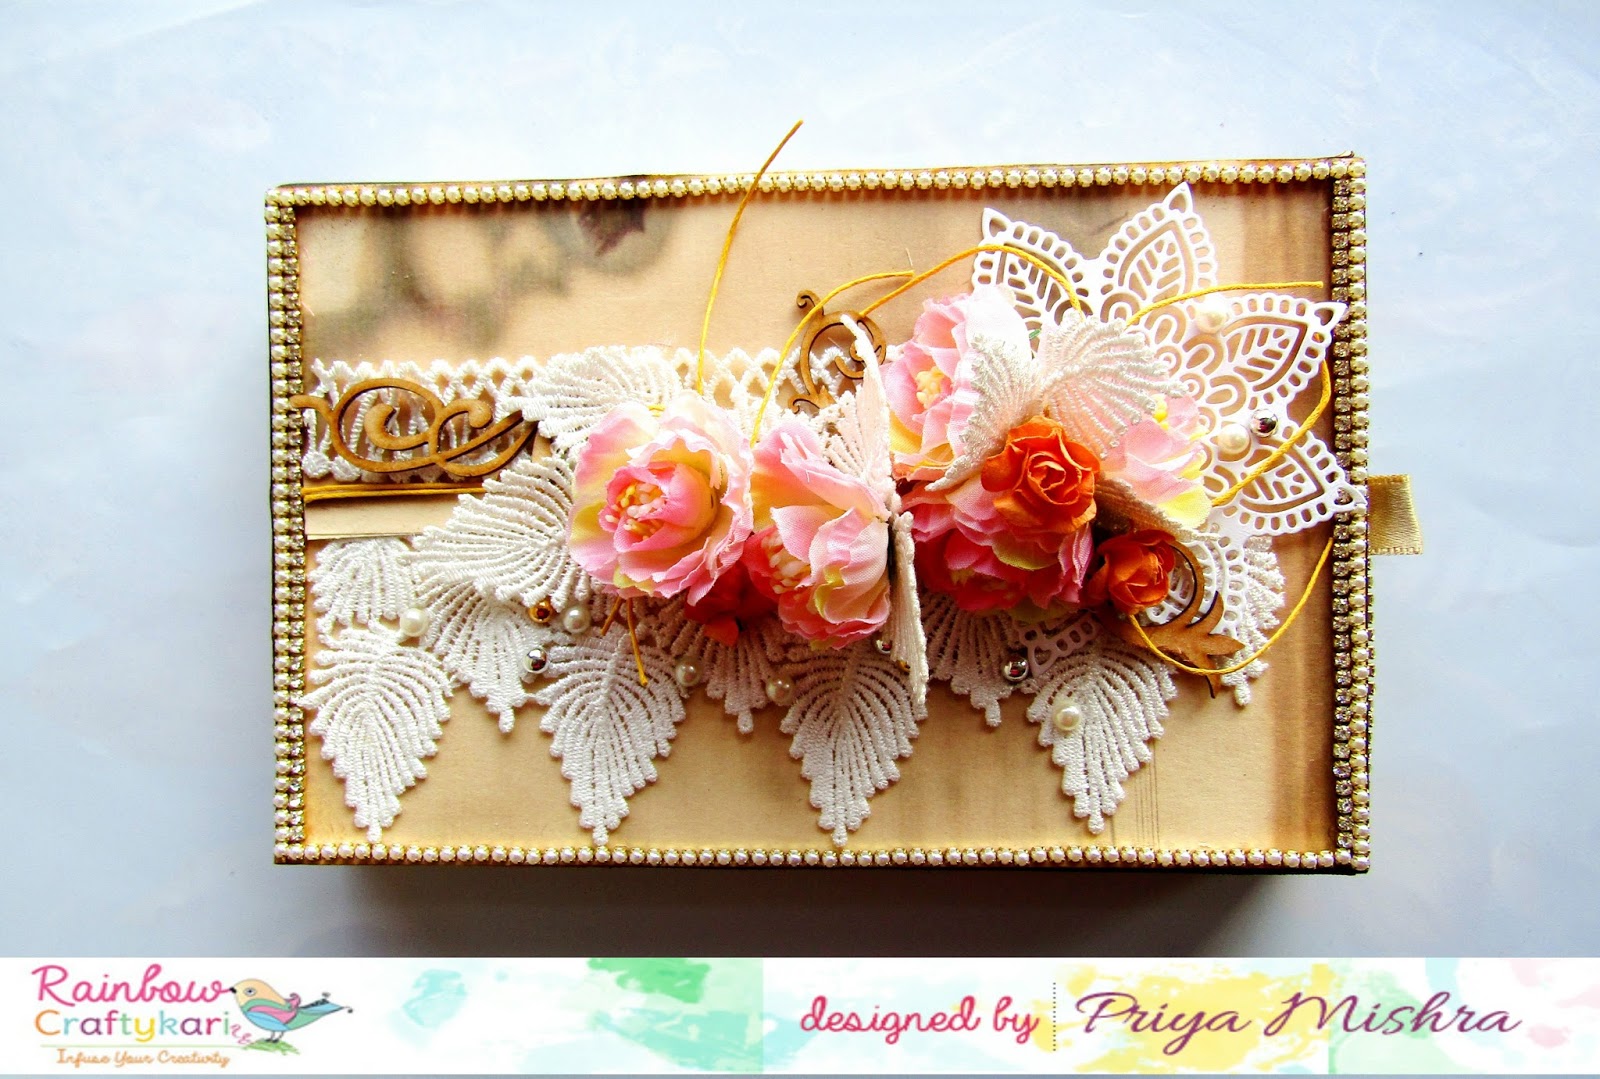
Since this tutorial could get a little complicated, I've added my finished project here (as you can see below) - to give you an understanding of how my steps led up to this gorgeous organizer!
Now let's get on with the tutorial! And let me know if you need any help with any of the steps.
Note: Extremely pic-heavy post.

Step 1:
Cut your chipboard in the following sizes:
- 1 piece - 12x6.5 inches (for the main back board - with an angular cut at 7 inches on the longer sides and 3.5 inches on the shorter side - so that it gives you an angle as shown in the pic below)
- 2 pieces - 3.5x2 inches (for the sides)
- 2 pieces - 12x2 inches (one for the base and one to create the 4th side of the pocket)
- 1 piece - 6.5x2 inches (for the division in between)

Step 2:
You will need to cut the following sizes for your structure/construction strips:
- 5 pieces - 12x1 inches
- 15 pieces - 2x1 inches
- 3 pieces - 6.5x1 inches
- 6 pieces - 3.5x1 inches
- 1 piece - 7x1 inches
- 1 piece - 5.75x1 inches
- 1 piece - 3x1 inches
You will also need the following (for your straps):
- 1 piece - 7.25x1 1/8th inches
- 1 piece - 6x1 1/8th inches

Step 3:
Score all your strips at 0.5 inches. Add double-sided tape on the back side as shown in the pic below; and miter the edges (the way you would do for your albums).

Step 4:
Take your chipboard pieces - base piece (12x2 inches), side pieces (3.5x2 inches) and start joining them with the help of your construction strips (12x1 + 3.5x1) - as shown in the pic below. Always remember to leave 1/8th inches space between two chipboard pieces.
Note: These 3 construction strips are the only ones you need to remove your double-sided tape for and stick both the sides. All the remaining ones henceforth only need to be stuck on one side. The other 0.5 inches will need to be stuck later on when we start sticking everything to make chipboard pocket out of it.

Back side

Front side

Step 5:
Now add your construction strips (3.5x1 + 2x1) to the side chipboard pieces as shown below. You need to add these to the inner side of the pieces.
Reminder: Only remove your double-sided tape on the ONE 0.5 inch of your construction strip. Below pic will help you understand better.
Left side Right side


Step 6:
Now add the 2x1 inches construction strips to the outer sides of the base chipboard.
Left side Right side


Step 7:
Moving on to the inner side again, add the 12x1 inches construction strip to the base of your biggest chipboard piece (12x6.5 inches). This we will need to attach to the base chipboard (12x2 inches) when we try to make a box out of it.

Step 8:
Take your second 12x2 inches chipboard piece and stick all the related construction strips - 2 pieces 12x1 inches + 2 pieces 2x1 inches, as shown below.


Step 9:
Let's move on to our divider portion now. Stick your two 6.5x1 inches construction strip on either side of your 6.x5x2 inches chipboard piece. Next, stick your 2x1 inches strip on top (stick both the sides onto the chipboard) + two 2x1 inches strip at the bottom as shown below.


Step 10:
Now, remove the backing on your tapes on the lose 0.5 inch of the strips (both horizontal and vertical strips), and stick them to the big base (12x6.5 inches) and the bottom chipboard piece (12x2 inches piece) as shown below.


Step 11:
Now start sticking all the other pieces together as shown in the below pics.


Step 12:
It's now time to stick the second 12x2 inches chipboard piece to seal the 4th side of your pocket. Stick one side of your strip to the bottom of the base and the sides of the strip to the side chipboard pieces. The concept is similar to making a box.

Don't forget to add your 2x1 inches strips vertically to the bottom of your divider portion (as shown in the pic below). When you remove the backing of the tape and close your pocket flap (the 4th side - 12x2 inches piece), this will get attached to it and make sure it's secured into a strong pocket.


Step 13:
Your base of the organizer is ready. Start covering the remaining sides with the remaining construction strips. After you are done with adding your pattern paper, you will need to add your flaps (in case you want to). For this, take your 7.25x1 1/8th inches + 6x1 1/8th inches strips. Score them equally at every 3rd indentation as shown below.

Step 14:
Add double-sided tapes to two sides, and fold them in to create a single strip as shown below.

Step 15:
Score the strip at 1 inches and 1 1/8th inches.

Step 16:
Fold it a little and staple it to the back of your organiser.

For my piece, I've not added a lock to the strip. I simply let my drawer handle hold the end of the strip.

Voila! Check out some more of my finished project pictures!