Showing posts with label Pop-up box. Show all posts

Wednesday 6 September 2017

Pop-Up Box Card Tutorial by DT Priyanka


Hello Everyone,

Today I am over again at the Rainbow Craftykari Blog and this time I am here with a step by step tutorial on how to make a Pop-Up Box.
I have been doing a lot of pop-up boxes in the last few months and I have always loved working on these..! Pop Up boxes are a flat card that opens up to a box with popping out elements.

To give you a glimpse of the project:


Let's begin: 

Step1 for the base: I picked up a 10.5*6" cardstock & scored it at 2.5",5",7.5",10". Then I rotated the cardstock & scored at 2.5" which makes my upper part of the card (2.5") and bottom half (3.5").The last flap left in the end will be glued to the inner side to make the box. Following which I cut the scored lines half way through till 2.5" from the top to make the flaps.


Step2: I then cut two strips measuring 3.5*1" and scored them at 0.5" and 3". These go inside the pop-up box to hold the embellishments in the center.


Step3: Now I picked out the patterned papers from my stash and cut them in the sizes same as each section on inside & outside and adhere them to the box.


Step 4:
Then I took Clearly Besotted stamp & stamped the gorgeous little animals & sentiments and colored them using aqua water color pencils & fussy cut them.


Step5:
Now using the acetate sheets (easily available in the local stationary shops) I cut these into thin strips.

These are used to add the elements outside of the box which gives an impression as if the elements are hanging in the air because of the transparency of these acetate sheets.


Step6:
And the final step I added all the fussy cut elements onto the pop-up box and on the acetate sheets using glossy accents.


And TADA!!!! the box is ready... :D :D


Isn't it looking very cute???
Enjoy a few more close up pictures.


Materials Used: 1. Black Card stock 2. Clearly Besotted Stamp set 3. Versa ink onyx3. Patterned Papers ( from the stash) 4. Tim Holtz Distress inks 
5. Aqua Watercolour pencils
6. Glossy Accent7. Fevicol 
8. Acetate Sheet

Hope you all liked the card & enjoyed the tutorial. Until next time. ;)

Don't forget to participate in our ongoing challenge. Link your projects here.

Priyanka Thukral

Thursday 18 May 2017

Summer Breeze 3D Pop-up Box Album by DT Aditi Mahajan

Hello Crafters

Aditi here, Today we're at the Rainbow Craftykari Blog with some inspiration for the ongoing challenge.

If you haven't yet checked the challenge, hop on for more info- Blooms Magic

Inspired by the DCWV May Mood board, we've created a 3D Pop-up Box Album on the theme of Summer. Relax and rejuvenate in the gardens and enjoy your vacation.


The flowers have been created using a die and pattern paper. You could also use a flower punch if you have one. Using the pattern paper is simple, as you then don't have to color them and can directly shape them. The centers were filled with some liquid glitter to complete the flowers.


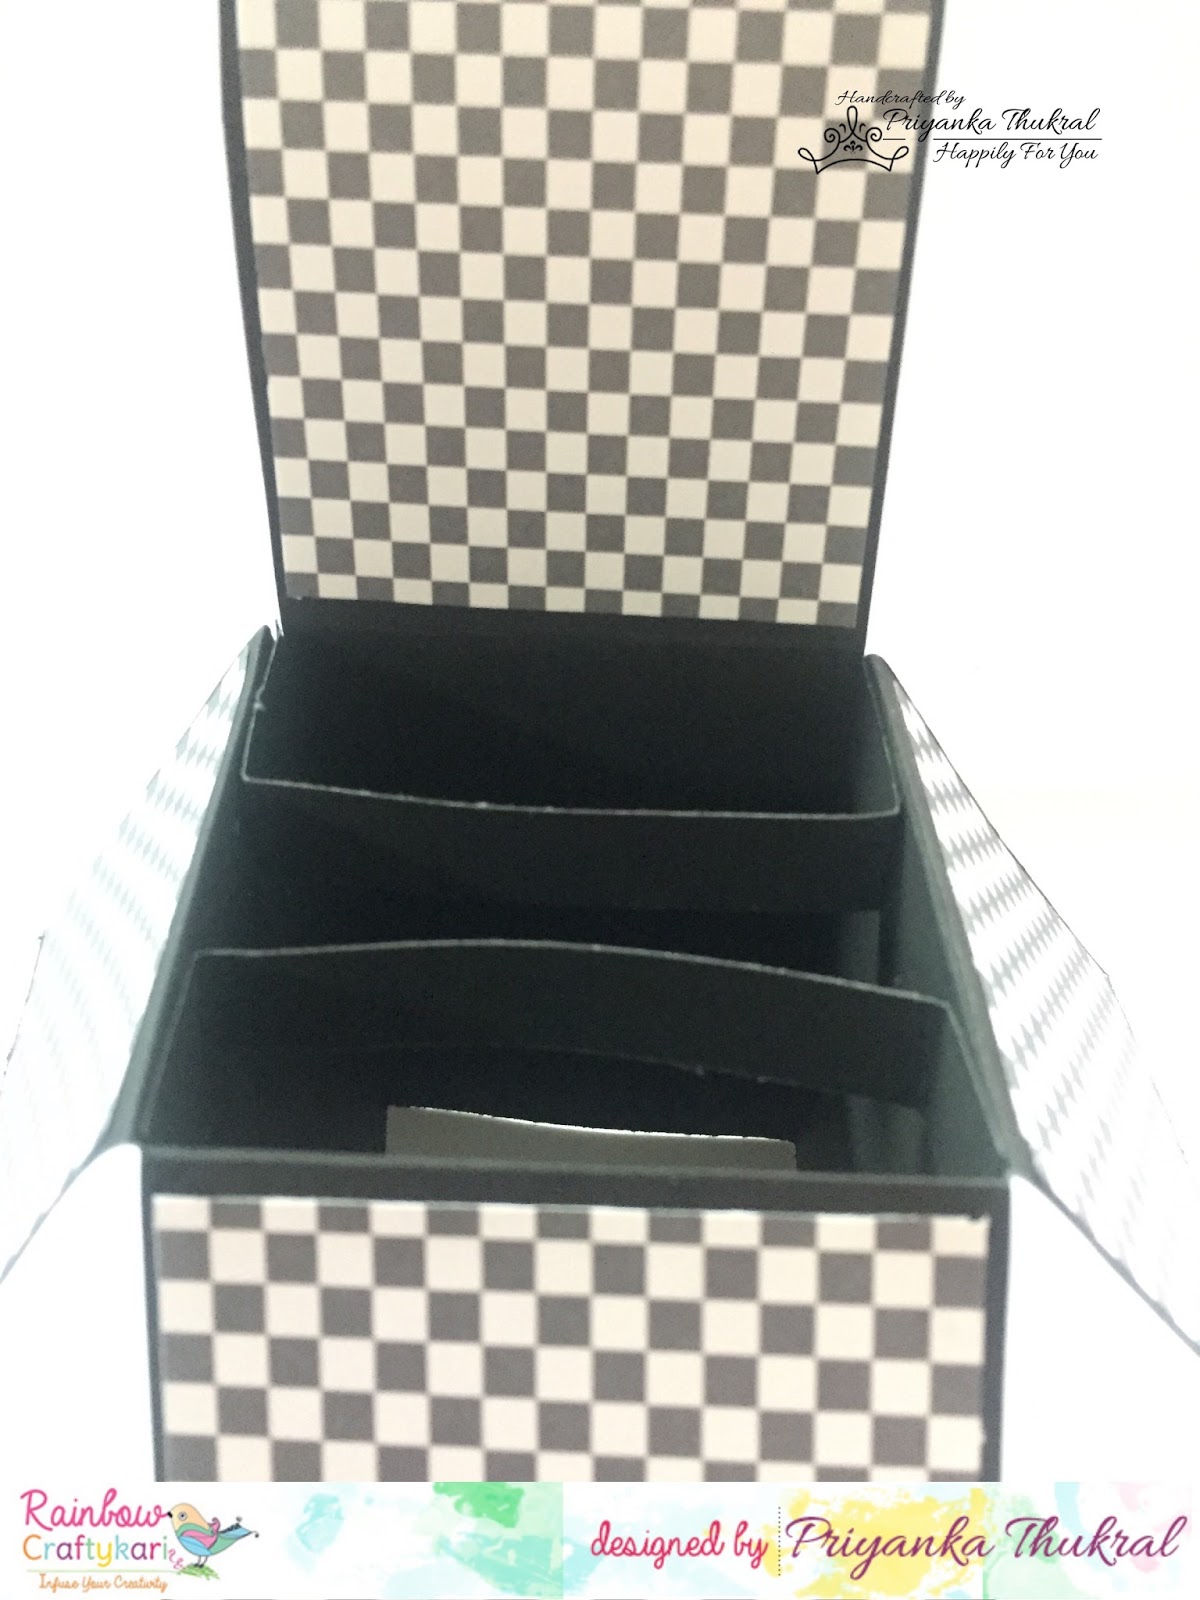
The box which is the album opens up to a flat single sheet and can be used both sides. I've added pockets and tags to the inside of the box.


The other elements on the top, have been stamped, die cut and colored using zig markers. I used the back of the same patterned paper for these elements.

Hope you're inspired!

Materials List

DCWV- Recollections Les Belles Fleur Stack and DIY Mini Album Project Stack (Vellum for the umbrella and pockets)
Heartfelt creations- Tree from Sugar Hollow Hangout; Flowering Dogwood Collection; Fleur Borders and Pockets Die
White cardstock
Fevicol
Distress Ink- Wild Honey
Circle Punch
Bead
Wire

Above mentioned material is available at Rainbow Craftykari Store OR you can pre-order by sending the mail at rainbowcraftykari@gmail.com

Do enter your creations in the challenge and good luck!

Regards,
Aditi
Dots To Lines