
Hello Everyone,
Mounika Here, I'm here to share a tutorial on my latest creation a Photofolio. Photofolio is a great way store many photos together .

So let's start....
1.To make the cover of the album, cut three pieces of 7"*7" & two pieces of 1"*7" black chipboard.

So let's start....

2. Cut a coloured cardstock measuring 25"*9 1/4". Arrange the black chipboard pieces as shown in the picture below on the cardstock. Adjust and stick them. Cut the corner and fold the flaps inside, crease and fold the album.


3. For the inner flaps on the left side, take two 6.5'*6.5" black cardstock & two pieces of 6 3/4 "*6 3/4 " and on the 6 3/4" pieces score at 1/8"one larger and one shorter end & fold the scored 1\8th side and apply glue. Stick 6.5"cardstock on top of the scored and folded side of 6 3\4" cardstock to form a pocket insert.

4. For the hinge of the album, take 2.5"*6 3/4" strip and on 2' side score at 3\4 and 1 1\4 in the middle and fold. Add the pocket flaps to this hinge using glue.

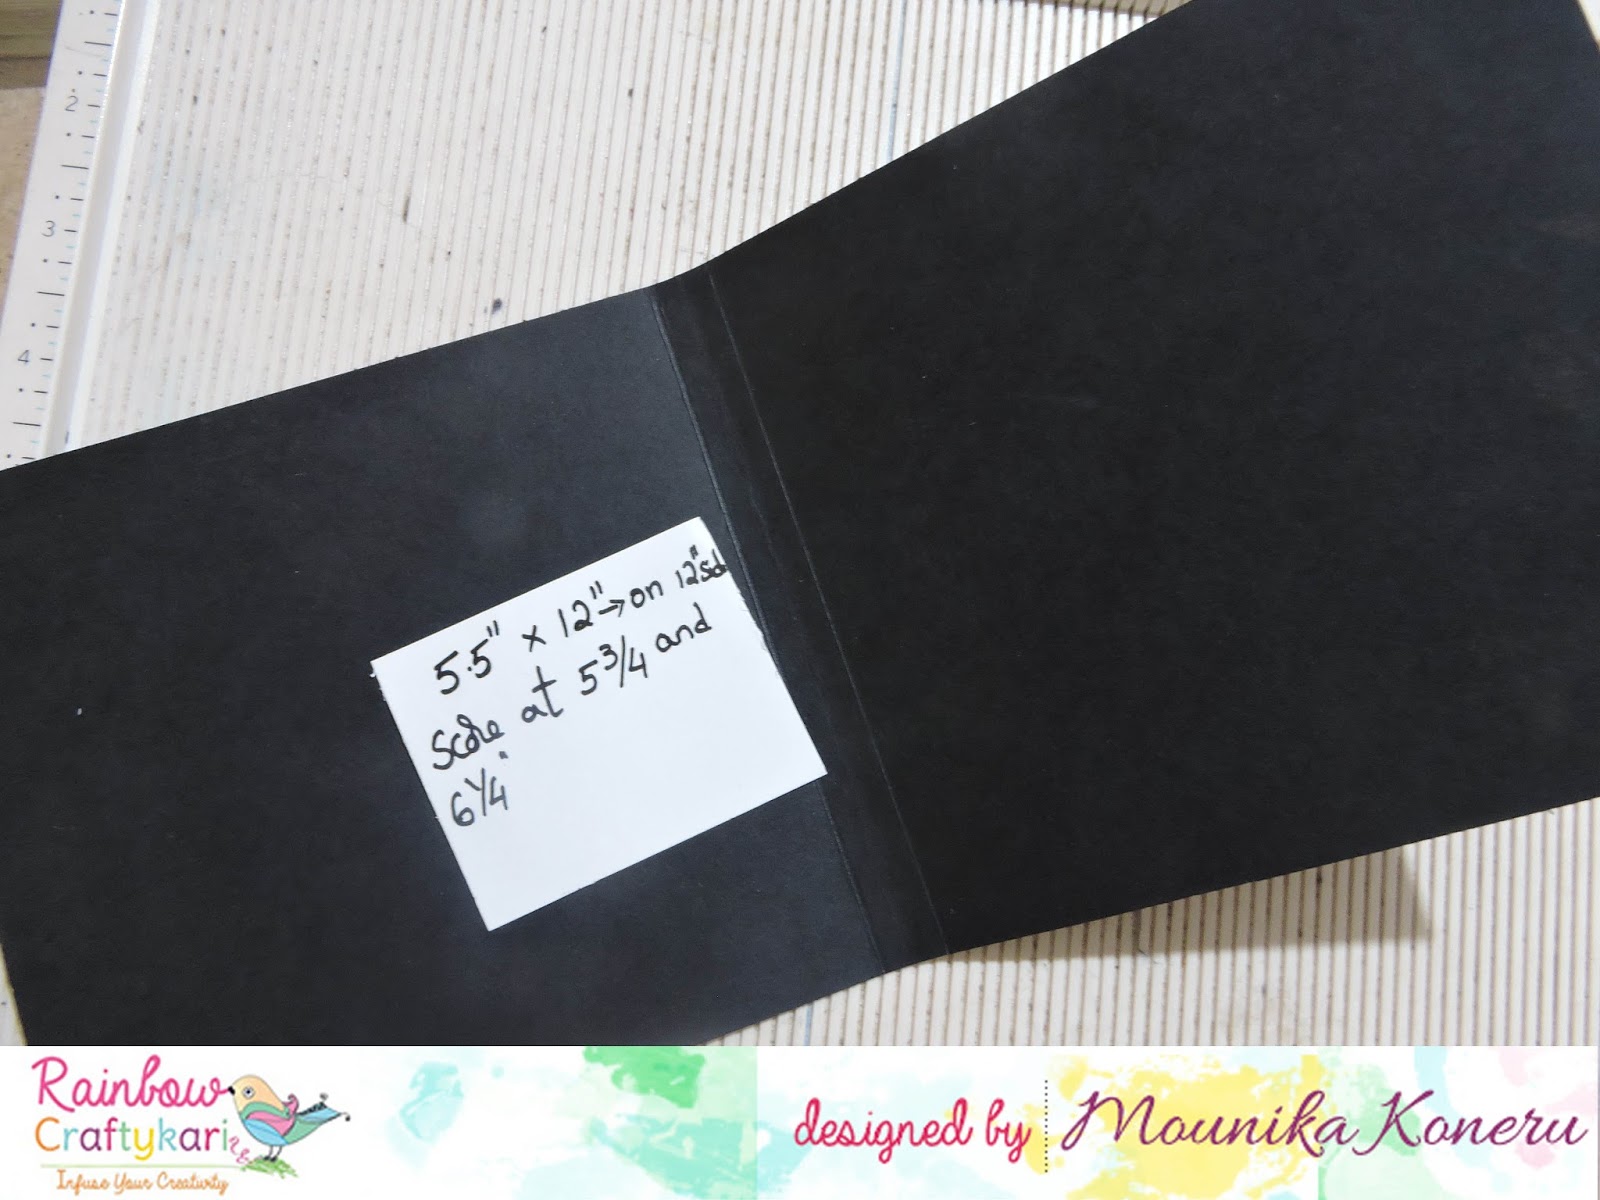
5. To make the insert on the right side of the album, take a cardstock sized 5.5"*12", score at 5 1/4" & 6 1/4" and fold on scored lines. Apply glue on the hinge formed in the middle of the cardstock and stick directly to hinge on album.

6. For the side pocket on right flap of album, cut cardstock measuring 5"*12", on the 12" side score at 1.5" & 6" respectively and fold. Cut a small notch on 1.5" strip, apply glue and stick at the edge of the flap.


7. To make a diagonal insert on left flap of the album, cut 5"*6" cardstock and cut diagonally , score 1/8" on both sides and fold and glue. Note: Before glueing, stick desired pattern paper on background.

8. For the middle flap of the album cut two piece of 5"*6.5", score at 6" on the longer side on one piece & fold. On another piece score1/4" on three sides, fold and glue.


9. Before starting with pattern paper choose how you want to close your album you can use ribbons to tie or a magnetic closure .

10. For inserts in the pocket envelopes cut two pieces of black cardstock measuring 6"*6" & one piece of each 5"*5",6"*5.5",6"*4".

11. Finally, decorate the folio with your chosen pattern papers, die cuts, sentiments and embellishments.
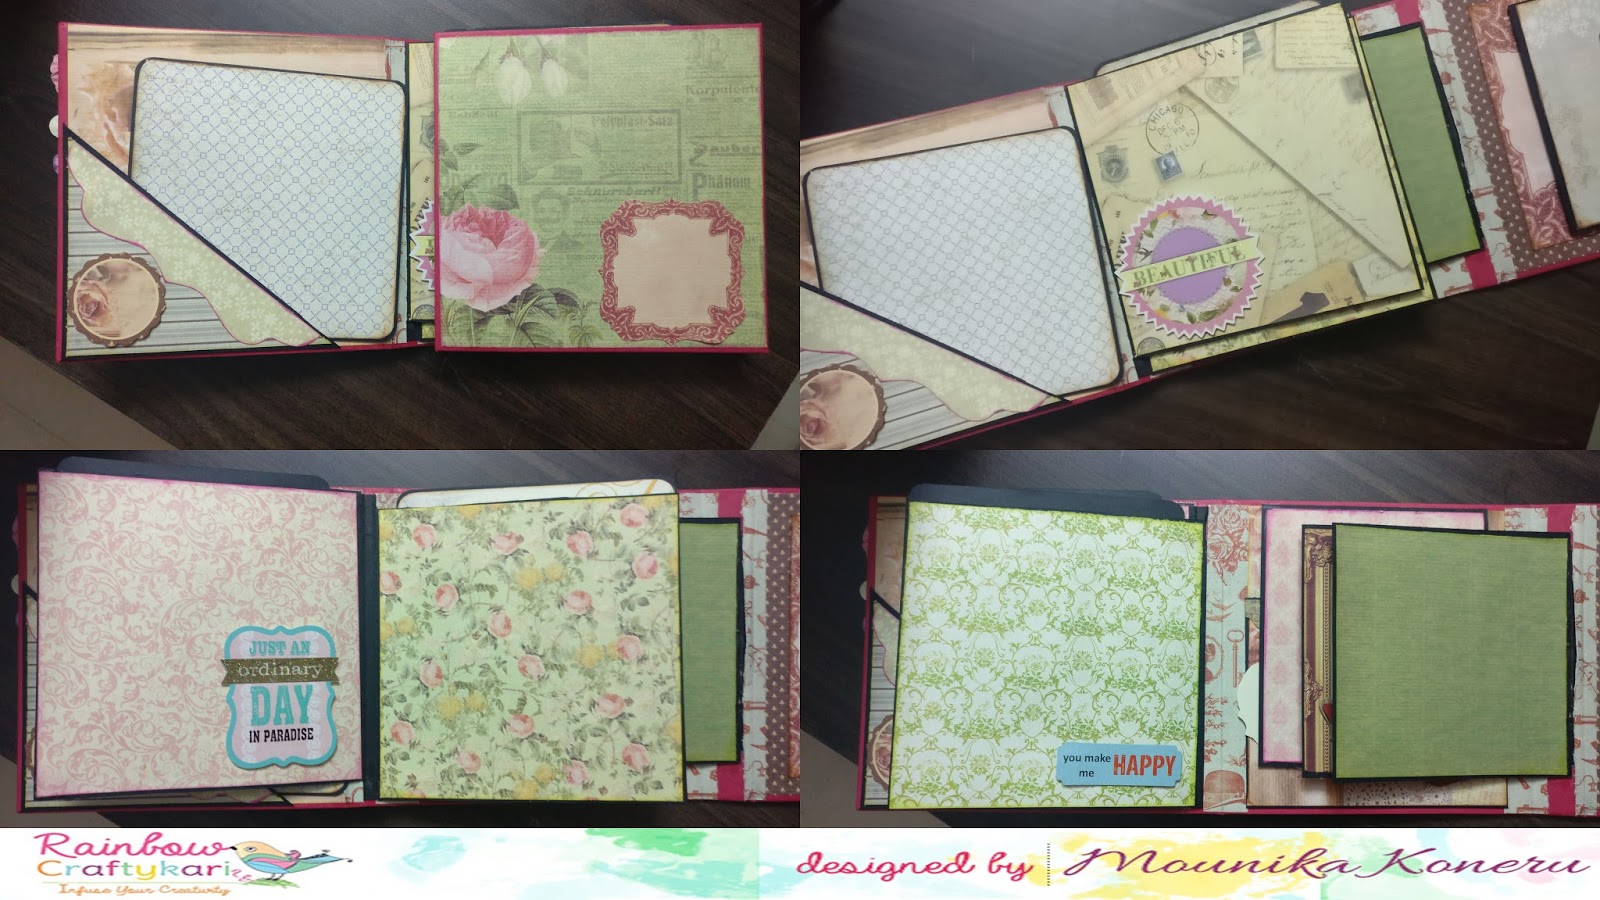

12. For the cover of the album, I choose two pattern papers one of size 7"*7" & another of 6.5"*6.5". I layered one on top of the other. I then coloured my Chipboard sentiment with blue chalk paint and distressed with picked raspberry distress ink. I added some glitter. Finally, I added some flowers to complete the look.


Materials used
- Black cardstock
- Black chipboard
- Eno greetings pattern papers
- Mdf chipboard embellishments
- Mulberry flowers
- Coloured cardstock
- White glue
- Rainbowcraftykari neodymium magnets
- Diecuts and embellishments
- Black cardstock
- Black chipboard
- Eno greetings pattern papers
- Mdf chipboard embellishments
- Mulberry flowers
- Coloured cardstock
- White glue
- Rainbowcraftykari neodymium magnets
- Diecuts and embellishments
All the above-mentioned products are available at the rainbowcraftykari store or you can pre-order them by sending an e-mail at rainbowcraftykari@gmail.com
Hope you all like my project
Mounika
Hope you all like my project
Mounika
Wow... Lovely tutorial.
ReplyDeleteBeautiful papers
Superb dear
ReplyDeleteOh wow.. This is so beautiful and exhaustive Mounika.. so much of hardwork!
ReplyDelete