Hello dear crafters,
As the year comes to an end, I think it’s time to pause and think of all the good things that happened and the lessons we learnt from our mistakes. An ode to the time, which stops for none is the project I have for you.
I have a quilled clock to adore the lovely walls of your little girl’s room. You can have variations as per your requirement. You could also make it to suit your décor or may have a masculine themed clock. I just adore florals and wanted to show you some simple quilled flowers to adorn anything you’d want to.
Material required:
Cardboard/chipboard (for frame of the clock)
Clock assembly
Pattern paper
Double sided tape
Quilling strips (3mm or 5mm)
Slotted quilling tool
Glue
Scissors
Small half pearls
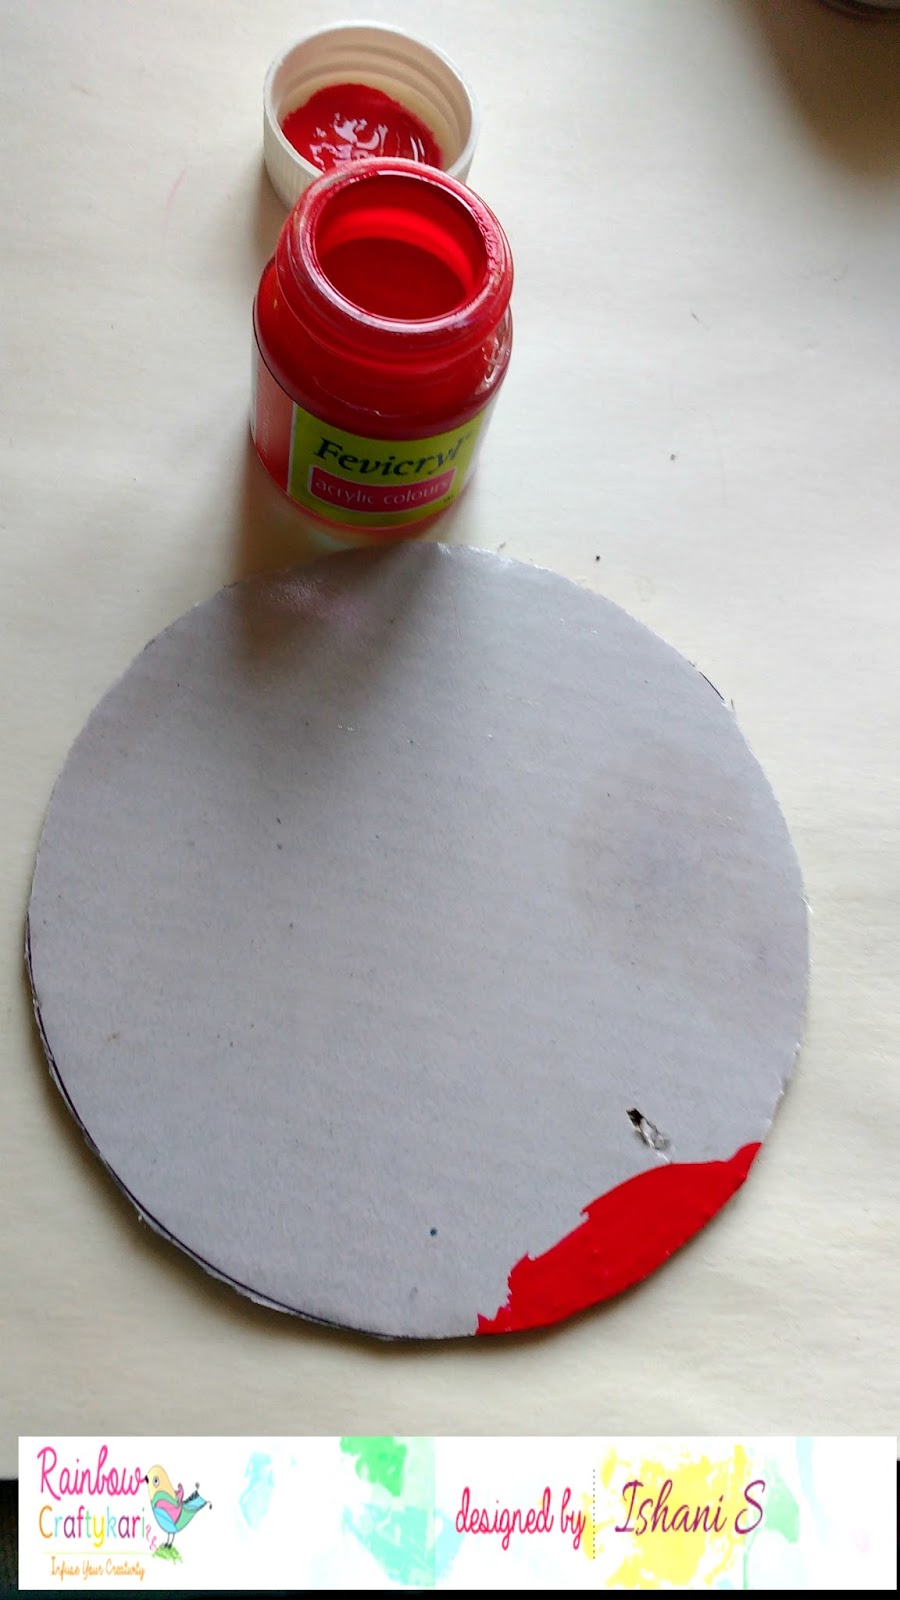
1. I took an empty chocolate box as a base of my clock. You can take a cardboard/ chipboard or any other cardboard box of your choice for the base of the clock.
2. I found the centre point of the base and poked a hole so that the clock assembly can come piercing through that hole. Then I assembled the clock parts to see if they
fit well.
3. Then I took a pattern paper to cover the cardboard piece and tucked it into the sides neatly. I used double-sided tape on the surface of the box to neatly stick the
pattern paper.
4. Now is the time to quill your favourite things. I have used 3mm strips here, but if you are a beginner you can start with 5mm strips (as you have more surface to hold on to). I used basic teardrop shape to make the majority of my flowers and leaves. To quill a teardrop shape, make a tight coil of the strip take it off the quilling tool, loosen the coils just a little bit and pinch from one side. Most of the shapes are done this way, just the pinching differs. I used a half pearl for the centre of few of the flowers.
These are the shapes I made with the teardrop shape.
5. I used another favourite technique of mine to make a flower by using the crimping tool. Crimp the strip you want to be the outside of the flower. Attach it to the small strip that will make the pollen area of the flower. Then, coil it to have a plain pollen part and a crimped petal part.
6. I made tight coils of two colours stuck together and made tendrils to add interest to the flowers and leaves.
7. Before you stick them on, mark the hours utilising a protractor, from 0° to 360°at 30° difference. Arrange your flowers depicting each hour and stick them on the base
using glue. You could also glaze each of the flowers or use a sealant to protect your work before you stick them.
8. Now that the flowers are arranged and glued to the clock, put a battery in your clock assembly and your clock is ready and ticking!
I hope you are inspired by this tutorial and would try something similar. Most of the materials mentioned above are available at Rainbow Craftykari Store and you can also pre-order by sending an e-mail to rainbowcraftykari@gmail.com
Happy Crafting
Hello Dear Crafters,
I hope you had lovely Diwali celebrations. What a moment of pride we had when we didn't hear any crackers in our society, a moment of joy today and for our future. We must leave our earth for our kids at least liveable and breathable, just as our parents gave it to us. Lets carry on the cheer and celebrations in this post as well for the festive season of Diwali and let me show you how I made a 3-D Quilled Ganesh Fridge Magnet and a Quilled Lotus Tea light holder.
3 D Ganesh Fridge Magnet
For this you will need:
Quilling strips (5mm, 3mm)
Quilling slotted tool
Glue
Card board base
Pretty pattern paper
Magnetic sheet
Scissors
1. I took skin coloured 5mm quilling strips and stuck four of them together and started coiling it and shaping it in the form of Ganesh’s head and trunk. After achieving the desired shape, stick the strip and also apply a coat of glue inside the hollow, so that the shape holds.
2. With the similar colors I shaped the ears, arms, hands and feet. I used a red color strips for the chest and stomach and orange to make the dhoti laden legs. I used 3mm strips only for His ears, hands and feet. I arranged them to see if they would fit in togeteher. Make sure to apply glue inside or behind the shapes to hold them in place or else while arranging the pieces the coils may slip off.
3. For the base I took an old tag and covered it with a paper (you could use patterned paper) on which I stamped swastika (I earlier did one on crème paper then decided to use orange). Behind the tag I put a piece of 3mm wide magnetic sheet. Check the side which has magnetic effect and stick the opposite side to the tag.
4. For the features I used 3mm strip of dark brown strip of paper for His eyes, eyebrows, white for tusks and red for the tilak.
5. Now that my all elements were ready, I arranged the shapes and stuck them together.
Quilled Lotus Tealight/diya holder
For this you will need:
Quilling strips (5mm)
Quilling slotted tool
Glue
Card board base
Acrylic paint
Brush
Tea light
Washi tape
Scissors
1. Choose the 5mm strips of the colour of your choice. In my project I use five colours of Orange and red family. I planned to make it a lotus shape and so all the shapes are tear drop shape.
2. I personally prefer to tear the paper even at the ends before sticking them together. They give a neat look when rolled into any shape.
3. With a slotted needle I roll out the shapes, four strips stuck together, rolled, shaped into a tear- drop shape and stuck with glue after tearing off the end.
4. The number of tear drops that you will require will depend upon the base you decide to have. I have a 9cm diameter circle cut off a waste card board, for which my outer most layer had 20 tear drops. I give it a paint coat in similar color of my strips of paper and at the outer edge stick my quilled tear drops with glue (the tweezer and slotted tool are supporting them till they dry).
5. I put some pretty washi tape around the tealight, to make it look festive too. And then, after some sweet labour of rolling and shaping, arranged and stuck the different colored tear drops in two more concentric circles.


6. All put together, the quilled lotus tealight holder looks like this.

I hope you liked these and would attempt something similar. Don't forget to join us in our monthly challenge, hardly any days left!
All the material listed above are available at Rainbow craftykari store or you could also Pre-order by mailing us at rainbowcraftykari@gmail.com.
Sending you - 'Craft till you drop' wishes.
Ishani
Hello Dear friends,
Today I am here with an Inspiration post for you, an easy DIY shadow box + Origami, you could gift to your friend who just had a baby. I am using an age old paper art - Origami for my shadow box, but you could use it for anything you want to display.
I always felt the dimensions of a project like quilling and origami gives the handmade creations a different look. But I always struggled to find a frame for the same, even if I found, it was a little expensive for me. So why not give dimension to a common photo frame?
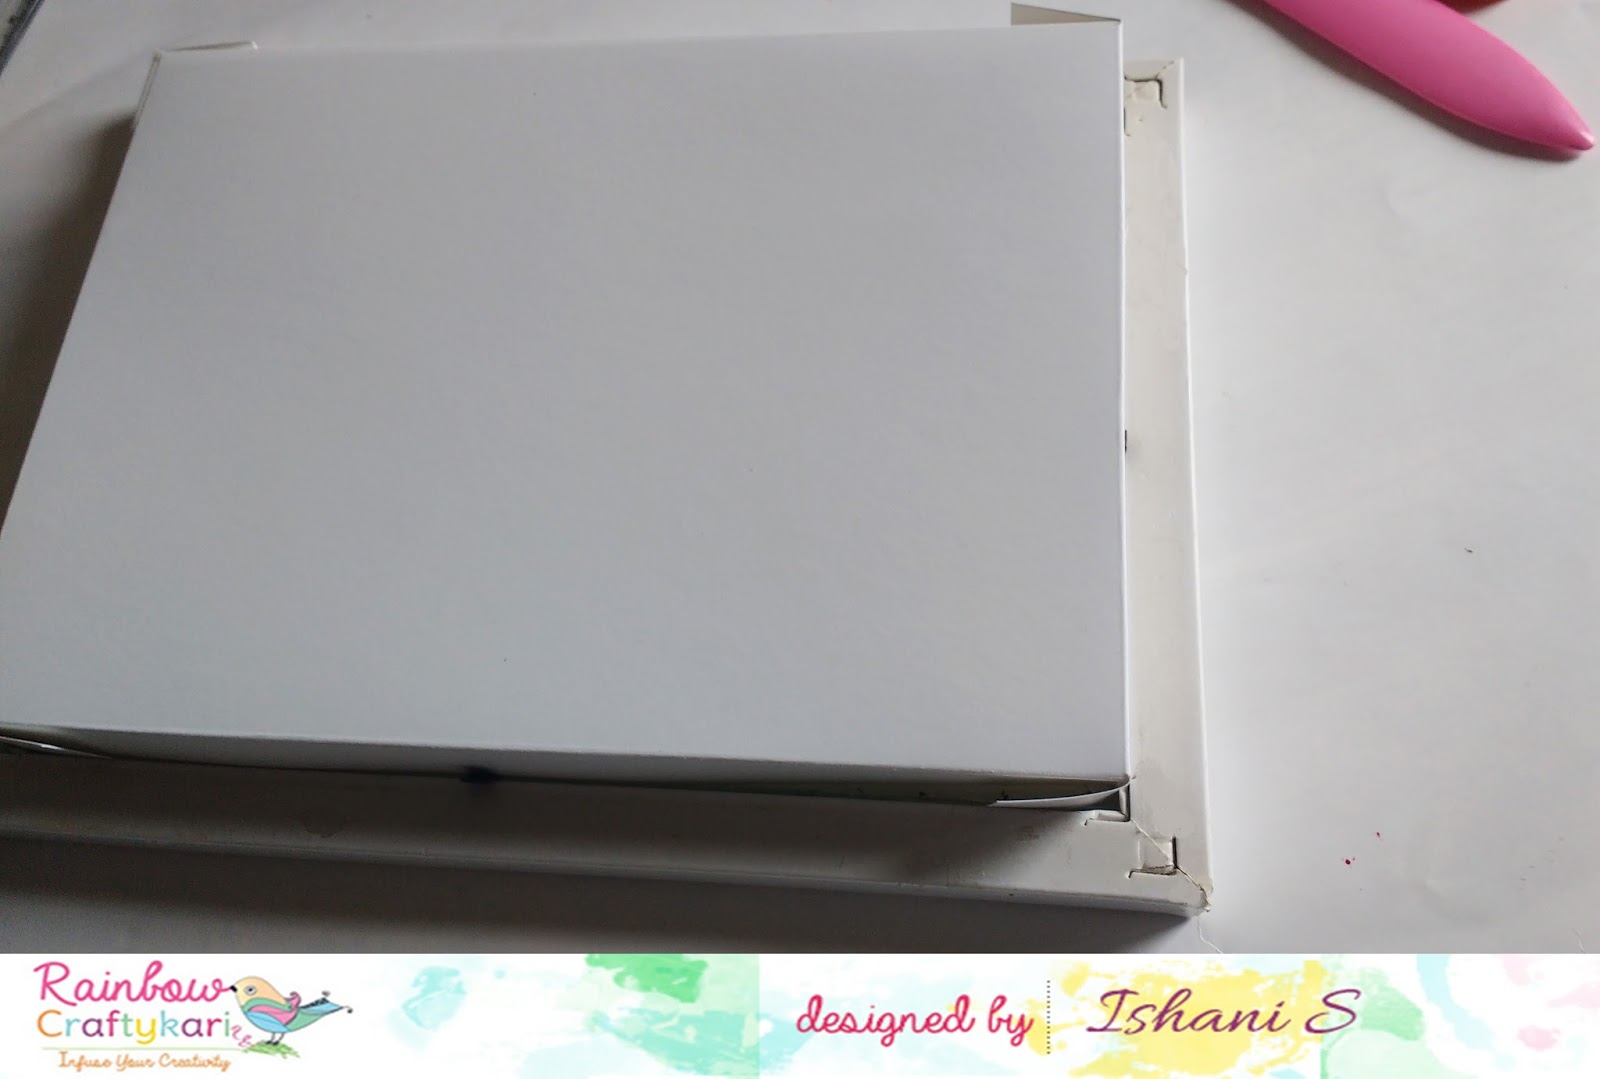
You can choose any dimension of photo frame for this, depending on your project. Remove the pins and the backing of the frame. Now you will have the glass, the side frame and the backing of the frame.
Take a heavy gsm paper, 220 gsm or more and trace the glass size on it. Now with the ruler, trace 2 cms around the glass measurements.
Let the lines dissect when meeting at the corner. These lines will give depth to the edges of the frame. Then, cut along the outer line to get a rectangle.
Next, with a scoring tool score the innermost line, to get raised edges. Cut the two opposite corners.
Fold the four side with the help of a scoring tool, giving it a neat crease on the inner most line.
Now that you have raised sides stick the corners together with a cello tape. Try to place it in the frame and see if it fits well.
Now that the frame is almost ready, once you put all the elements together place the backing of the frame over the cardstock and stick it up with a strong cello tape.
Now, our shadow box frame is ready to be used for framing. I planned to do origami and made a onesie (with a bib) and a diaper with origami paper.
When I thought about how to incorporate it, I thought they'll look nice if I put them on clothesline with wooden clothespin, as if they are hanging after a wash.
Here are some close ups of the final project:
Supplies used:
- Origami Paper (10 x 10 cms for the onesie and 7x7 cms for the diaper)
Hope this project inspires you try something similar too. You can find all these supplies at the Rainbow Craftykari store or you can Pre-order by sending an email at info@rainbowcraftykari.in
Don't forget to link in your projects for our this month's challenge.
Love,
Ishani


