Hello Dear Crafters,
I hope you had lovely Diwali celebrations. What a moment of pride we had when we didn't hear any crackers in our society, a moment of joy today and for our future. We must leave our earth for our kids at least liveable and breathable, just as our parents gave it to us. Lets carry on the cheer and celebrations in this post as well for the festive season of Diwali and let me show you how I made a 3-D Quilled Ganesh Fridge Magnet and a Quilled Lotus Tea light holder.
3 D Ganesh Fridge Magnet
For this you will need:
Quilling strips (5mm, 3mm)
Quilling slotted tool
Glue
Card board base
Pretty pattern paper
Magnetic sheet
Scissors
1. I took skin coloured 5mm quilling strips and stuck four of them together and started coiling it and shaping it in the form of Ganesh’s head and trunk. After achieving the desired shape, stick the strip and also apply a coat of glue inside the hollow, so that the shape holds.
2. With the similar colors I shaped the ears, arms, hands and feet. I used a red color strips for the chest and stomach and orange to make the dhoti laden legs. I used 3mm strips only for His ears, hands and feet. I arranged them to see if they would fit in togeteher. Make sure to apply glue inside or behind the shapes to hold them in place or else while arranging the pieces the coils may slip off.
3. For the base I took an old tag and covered it with a paper (you could use patterned paper) on which I stamped swastika (I earlier did one on crème paper then decided to use orange). Behind the tag I put a piece of 3mm wide magnetic sheet. Check the side which has magnetic effect and stick the opposite side to the tag.
4. For the features I used 3mm strip of dark brown strip of paper for His eyes, eyebrows, white for tusks and red for the tilak.
5. Now that my all elements were ready, I arranged the shapes and stuck them together.
Quilled Lotus Tealight/diya holder
For this you will need:
Quilling strips (5mm)
Quilling slotted tool
Glue
Card board base
Acrylic paint
Brush
Tea light
Washi tape
Scissors
1. Choose the 5mm strips of the colour of your choice. In my project I use five colours of Orange and red family. I planned to make it a lotus shape and so all the shapes are tear drop shape.
2. I personally prefer to tear the paper even at the ends before sticking them together. They give a neat look when rolled into any shape.
3. With a slotted needle I roll out the shapes, four strips stuck together, rolled, shaped into a tear- drop shape and stuck with glue after tearing off the end.
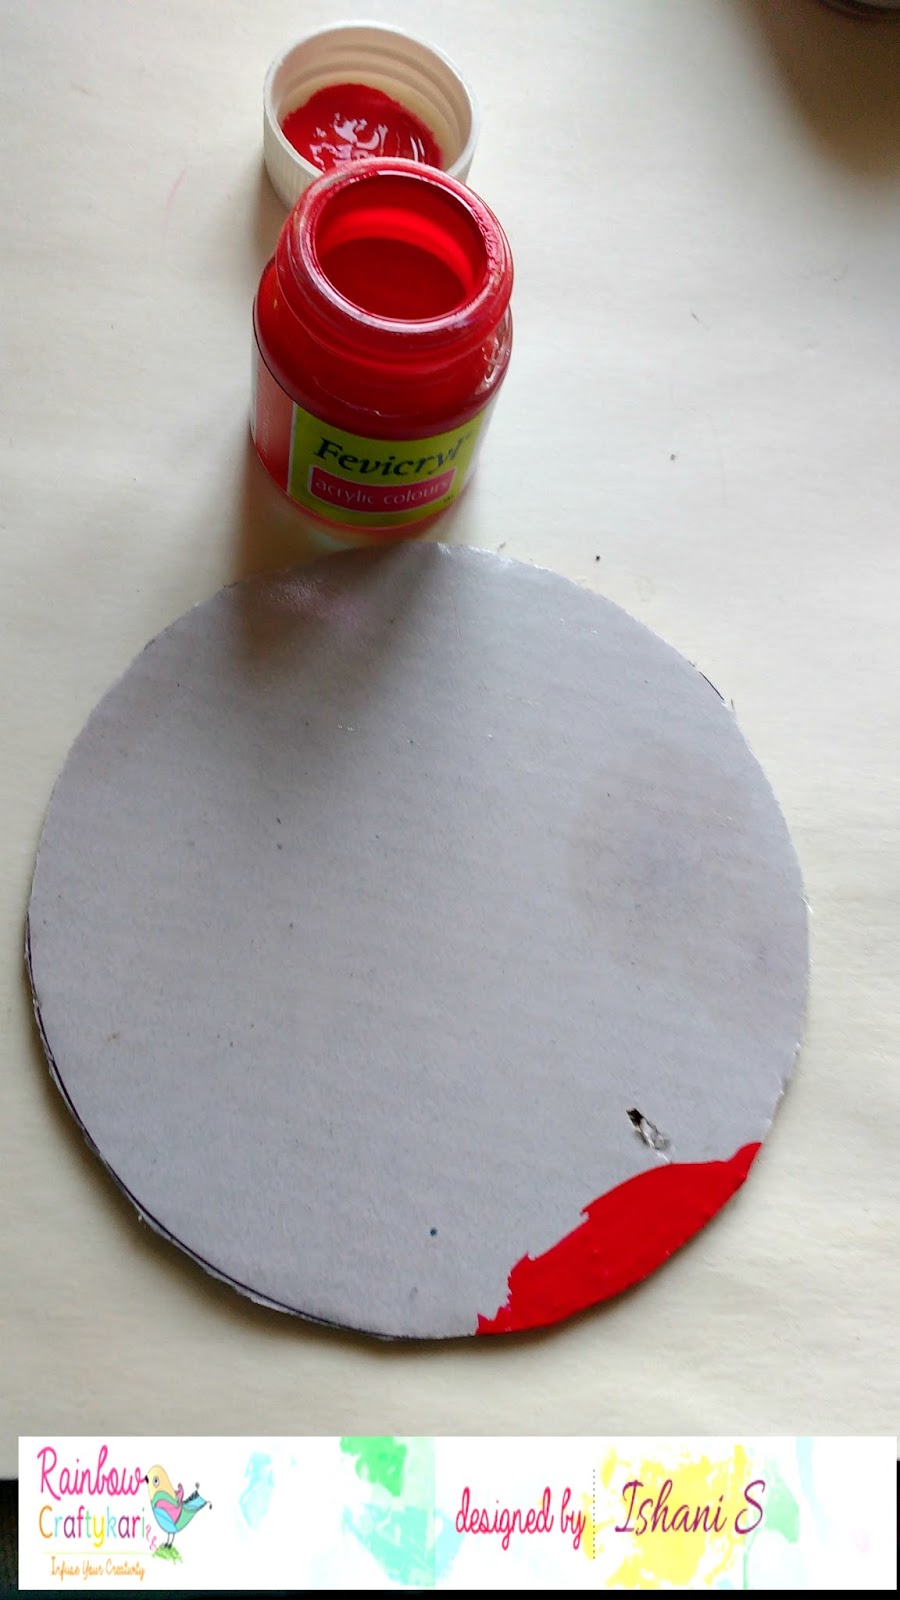
4. The number of tear drops that you will require will depend upon the base you decide to have. I have a 9cm diameter circle cut off a waste card board, for which my outer most layer had 20 tear drops. I give it a paint coat in similar color of my strips of paper and at the outer edge stick my quilled tear drops with glue (the tweezer and slotted tool are supporting them till they dry).
5. I put some pretty washi tape around the tealight, to make it look festive too. And then, after some sweet labour of rolling and shaping, arranged and stuck the different colored tear drops in two more concentric circles.


6. All put together, the quilled lotus tealight holder looks like this.

I hope you liked these and would attempt something similar. Don't forget to join us in our monthly challenge, hardly any days left!
All the material listed above are available at Rainbow craftykari store or you could also Pre-order by mailing us at rainbowcraftykari@gmail.com.
Sending you - 'Craft till you drop' wishes.
Ishani


