Heya Crafters, This month we are focusing on Embellishments, be it Metal Charms, Flowers, Pearls, MDF's, Die-Cuts and the list goes on. Today, we have invited an embellishment lover and a talented crafter from India. She had started with paper crafts two years back. She always had a creative streak. She entered the crafting world with Quilling. She has exhibited her work at the famous Vanity Fair in Chandigarh. She loves trying new things, loves to experiment with new techniques, I call her “Technique Queen” :) She always amazed us with her Magnificent Craft Creations. I'm so glad to introduce her on Rainbow Craftykari Blog as a Guest DT of this month. Do checkout her blog A Colourful Affair and Facebook Page
Hello Everyone!
Firstly i want to thank Maninder for inviting me as a Guest DT on Rainbow Craftykari Blog :) Its an honor ! I really enjoyed using the variety of products i was given in the GDT kit. Really loved all the charms! P.S.- I'm an embellishment junkie :) ! I have made 3 projects using the products. I will be doing a picture tutorial for the same.
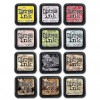
Today i will be highliting the product- Shrink plastic by Ranger
Its an excellent product which can be used to make charms/ embellishments.
I did a few experiments with Shrink plastic.
First i cut the shrink plastic using my dies and to shrink it i used my heat gun. its not easy to evenly shrink the plastic when using intricate dies. I kept trying to do a even piece but i failed to.
So i tried finding a solution to it. Well i baked them!! :D Can you believe that? It was so easy! Just pre-heat your oven or microwave at 180 degrees. Line up a cake pan with some paper and lay your die cuts on it and bake it for 3-4 mins. After removing it from the oven let it cool for 10-15 seconds before picking it, as the shrink plastic is still hot and you might bend it. Here is my result of baked die-cuts
Now i will be sharing a few projects!
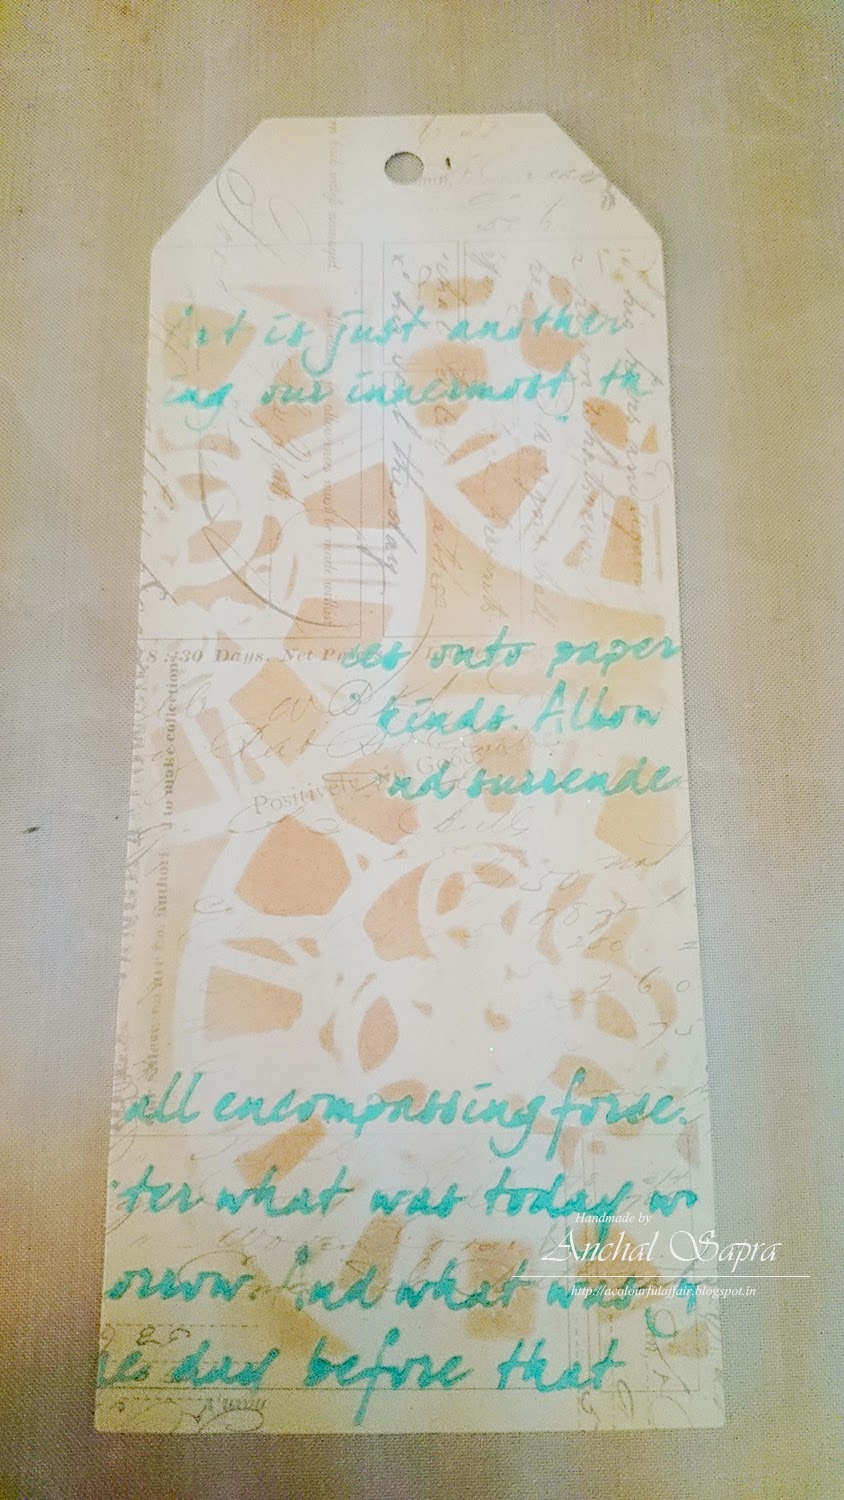
My First Project is the tag i have created! Hope you all like it!
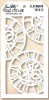
To make this you will require - 2 stencils/ Crafters Workshop templates
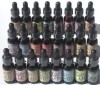
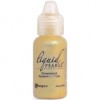
Distress ink, gesso, molding paste, knife , mini misters, distress ink re-inkers, charms, wooden tag, liquid pearls, stamps and shrink plastic.
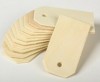
I've used a prima tag from my stash. I lined up the tag with the Crafters Workshop template - Art is from the Rainbow Craftykari Store and used some modelling paste over it on selected portions. I added some pigment powder to my modelling paste prior using it. Once it was nice and dry i used Tim holtz layering stencil Clock work and used it with Distress ink -Vintage photo. I soo love the effect this stencil gives and the possibilities are endless!
To brighten up the tag a little, I've distressed it using peacock feathers on the edges.
Now leaving that aside i took a smaller tag and added 2 metal embellishments using a hot glue gun.
They are soo pretty! I covered the entire tag using Camlin Gesso from the store. If you want the background to be a shade darker than the embellishment then you can skip using gesso over the background.
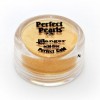
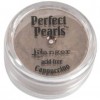
Next i made some mists using my distress reinkers and perfect pearls with little water. I've used Tea Dye, Peacock Feathers, Salty Ocean, Perfect Pearl Bronze and Perfect Pearl Cappuccino. I repeatedly sprayed and dried it until i was satisfied with the effect.
I've used one wooden tag from the store. These are very cute and look very good when added in cards and tags, They are a small size and look lovely! I inked this with salty ocean and then sprayed it with the mists i made.
After drying it i layered it over the embellishments using hot glue gun. I cut a piece of shrink plastic and stamped a sentiment over it with Stazon Jet Black Ink and cut the edges unevenly. after shrinking it with baking method, i placed it over the tiny tag using hot glue gun. To add some depth to the tag i inked it a little with vintage photo.
Tip: You can use Ranger Archival ink as well on Shrink Plastic. Only Solvent Inks works on Shrink Plastic
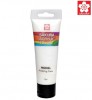
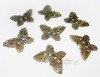
Now i placed this over the large tag with foam tape. I added finishing touches by adding some Liquid Pearl Glue - Gold, the gorgeous butterfly charm and some chain to the tag.
The Second Project i made is a trinket box. I've used a mdf box here. I painted it with acrylic paint. Next i cut this cameo from the lovely paper i was provided.
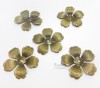
Layered it on top of the cute wooden tag and added it to the box. I've placed 2 metal flowers next to it using my hot glue gun. These flowers are gorgeous! I loved them! The best part is i can add any colour crystal or pearl that matches my project!
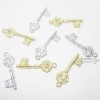
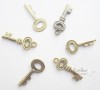
Next I've used a butterfly and a key charm and a tile i created with shrink plastic using baking method. I've inked the cage with Black marker and Sunshine Yellow alcohol ink from the store.
I've embellished the tag with some pearls and lace. Hope you all like it!
My Third Project is a name plate i made for myself! :P
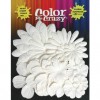
I've used some gorgeous paper from the Rainbow Craftykari store! Do you see these big pretty flowers? They are lovely! its by Petaloo Color Me Crazy Assorted Flowers.
Petaloo - Color Me Crazy Assorted Flowers
This pack is lovely it comes with a variety of sizes n is excellent for big size projects, the quality of the flowers is very good and the best part it its white! You can ink them and spray them!
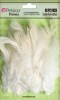
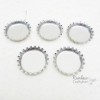
I've used Petaloo feathers from the store and accentuated them with liquid pearls. I've done the same with the alphabets and layered them over contrasting cardstock. I've also used bottle caps from the store and added some pearls inside! it looks so pretty!
Hope you all liked the projects! For any questions please feel free to ask!
Hugs
Anchal Sapra
Craft Materials Used:


