Sunday 29 December 2013

MeltArt Beeswax Tutorial

Heya, Today I'm showing you how to decoupage wallet using Melt Art Beeswax. I've enjoyed so much while using MeltArt Beeswax. It has specially for craft purpose, which is non-toxic and great for papers & embellishments. I want to say Thanks to Rajni Aunty :) for encouraging me to create blog post.


Got Inspire from these Videos:

Suze Weinberg Buzzing With Beeswax
http://www.youtube.com/watch?v=0P_4PzXr-38

Collage/mixed media mini tags - using beeswax
http://www.youtube.com/watch?v=K-7rgh4JKrs


Materials Used:
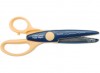
Fiskars Deckle Edge Scissors, Perfect Pearls, MeltArt Beeswax, Creaser, Curved Tip Tweezer, Spatula, Wax-Heater, Cut-Outs of Napkins, Old Books Paper, Wallet, Heat Gun.


Decoupaged the edges of wallet using left over pieces of napkins with Mod-Podge Matte glue. 


Put some amount of  MeltArt Beeswax granules in a wax heater
(while you're working, it would be preferably keep the wax-heater ON as the beeswax tends to cool down really fast. You can use Induction Cooker if you don't have wax-heater. )


Cut the Old book paper with Fiskars Deckle Edge Scissors. This scissor gives beautiful effect of torn paper. I just love this scissor


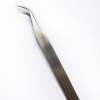
Dip the paper in a melted Beeswax using Curved-shape Tweezers and Simply put it on wallet carefully as shown in a image.


Heat the Back of Spatula with Heat Gun, and Press the waxed paper with the help of hot spatula. It will crease and settle down the paper on wallet.


Similar way dip a napkin in a wax-heater, put it on wallet and set with hot spatula. You can set it directly using heat gun and spatula
(P.S. Paper or Napkin takes time to settle down on wallet and you can use both ways to set paper on wallet)


Apply Perfect Pearls Pigment Powder of your choice on the folds and creases as shown in image to give a sparkling look to your wallet. After that cut the left-over edges with sharp edge-scissors. I have applied Mustard Seed Distress ink on the edges to give vintage look.
 (I had applied two layers of Mod-Podge Glue with the gap of two hours)


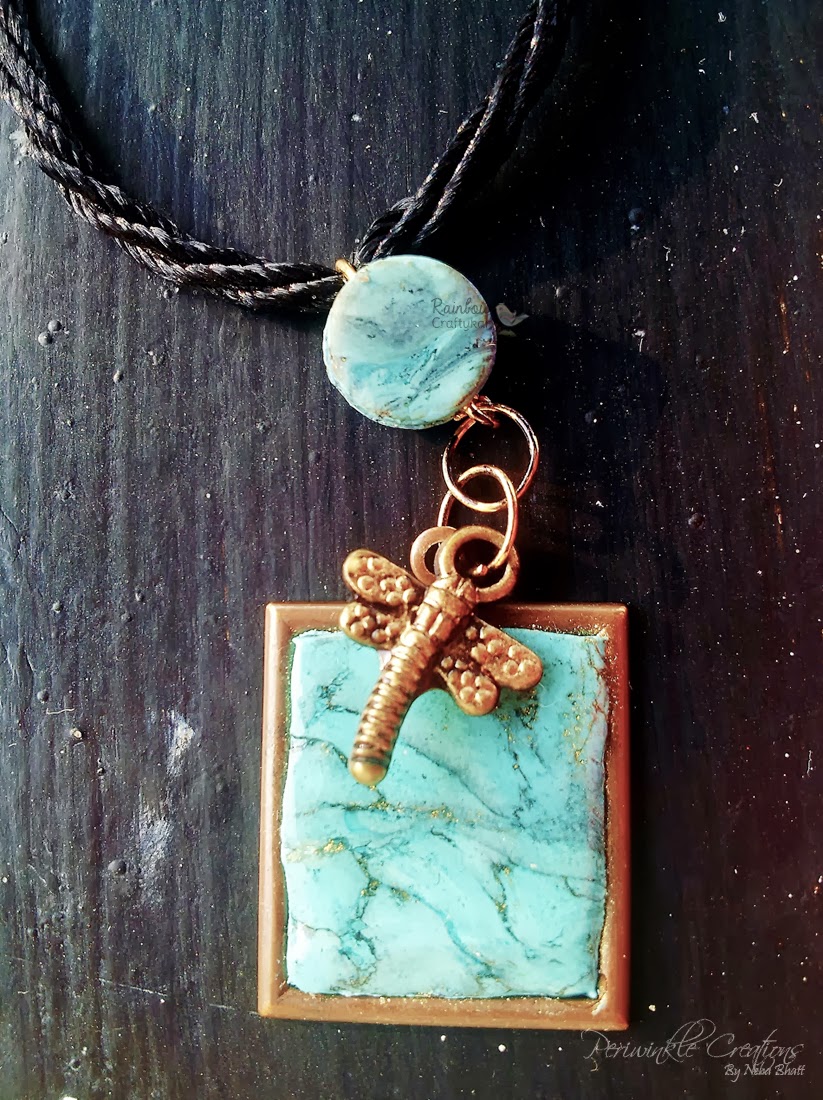
I had dipped the Wooden Button in Beeswax and glued with Hot Glue Gun to hide the wallet tag. Tadaaaaaa!!! My Vintage Wallet is ready to Flaunt :) :)


Before using MeltArt Beeswax, had tried normal candle wax on napkins as well as on papers, But it didn't give that effect which this Beeswax have gave on wallet. If you have any questions regarding this Tutorial, feel free to ask me here or drop a mail at rainbowcraftykari@live.com. See ya!!!

Craft Materials Used:

Sunday 24 November 2013

GDT Post by Neha - Innovative ways to use Resist Pattern Papers and Bezels

Heya Crafters, We ar so excited to introduce a New Craft Learning Program. Every month we will showcase a detailed projects in which you will learn new techniques, tips and different projects from India's Renowned Crafters.

This month we have focused on Pattern Papers, Bezels and Bottle Caps. I'm so glad to introduce our First Guest DT, who is an Artist from heart, has lovely friendly nature and creates Magnificent Craft Projects (She's my biggest inspiration). When i approached to her, She has said yes without any second thought :D

She has spent 10 years in USA and has took crafting as an hobby but soon she has turned this into profession and dig herself into customization of cards, thus Periwinkle Creations was started. Recently She's been featured in City Shor Ahemdabad. She's none other than Neha Bhatt from
Periwinkle Creations. Over to you Neha.


Hello everyone!  This is Neha from Periwinkle Creations and I'm so excited to be a Guest Designer here at Rainbow Craftykari today.  Before I share my project with you, I would like to say a Thank You to Maninder for asking me over to play :)


Today I will be showcasing some projects made with Pink-paislee Mistable papers & My mind’s eye 12X12 papers along with some beautiful Vintaj bezels and Bottle Caps

The mistable papers have a black background pattern and on top of that there is clear resist pattern. So when you mist or add color to the paper the pattern will show through just like clear embossing on paper & distressing it with ink. They are very heavy duty card stock so can take up mist & any wet medium very well. I simply loved them, See the different samples I have created which shows the effect of various color medium on this paper.


For the layout, I distressed the edges of 12x12 mistable paper with few distress inks. I have used few strokes of water colors to make a colorful backdrop for the black & white photos. Make sure to wipe the resist pattern with wet wipe once the color medium is dry. Few strips of paper, die cuts & silver thread is added to keep the layout minimalistic to highlight the beautiful pattern on the resist paper. (btw this is my first layout ever:D )


The next is journal front cover and back. As this particular paper has very light resist pattern, I tried some stamping on it too & glad it worked. I added some die cuts & brads to embellish it. It is going to be my journal cover. See the first page I created...! I love different quotes & like to translate on paper so I will be adding many more pages to this beautiful journal.


Same paper is used for the Christmas card. I've masked and distressed the side panel with peeled paint & fired brick inks and tied Hemptique Cord. The wooden tag is stamped with pigment ink and added some glitter. Bottle cap embellishment was fun to make. I cut pattern paper with 1circle punch (it fits perfectly inside the cap), stick it into cap & added lots of glossy accent on top of it. Let it dry overnight.


This bezels are super cute. Pure brass with lovely finish. I used polymer clay to create that faux turquoise. (inspirational video link : http://www.youtube.com/watch?v=KJptQVvEgVw ) .I added some acrylic color to clay as mine was white and knead it, rolled it with the big marker, laid in to the bezel & cut trim with the paper cutter (trimming could have been neater – but that was my first experiment with polymer clay;) ). Bake it as per the instruction. Let it cool & apply golden alcohol ink with very thin brush to create that golden streak. Let it dry and apply thin coat of glossy accent.


These cards are created from my minds eye 12x12 pattern paper. I decided to use them to create focal point as well as the background to do full justice to their beauty. There were many elements like borders, notebook print and some beautiful words. The bezel with birds is a washi tape covered with glossy accent & little heart is a wood embellishment from studio calico.  The bigger heart is stamped with various pigment inks to match the overall colors. 


Thanks so much for stopping by today - Hope you enjoyed this post and will get inspired to try some of these fabulous products. .  Before I go, I would just like to say a Thank You once again Maninder for this opportunity and having trust in me.  Thanks for having me over, I've really enjoyed myself!

Neha Bhatt
Periwinkle Creations


Crafty stash used :


Others Products :
Ranger distress inks, Pigment inks, Simon says stamps, Papertrey ink, Mama elephant, Wplus9, Camel water colors

Thank so much Neha for Inspiring us through your Ultimate Creations, Tips and Techniques you've shared with us.

Friday 6 September 2013

Birthday Layout


Close Up - 1


Close Up - 2


Distressing with Mungyo Soft Pastel, Tim Holtz Distress Inks Wild Honey and Picked Raspberry and Versamark
Embellishments made using UTEE Gold Shade and White Shade
Perfect Pearls PERFECT GOLD and Cappuccino,

Pattern Papers are from American Crafts
Metal Alphabets from We R Memory Keepers

Tuesday 20 August 2013

DIY - Make Spray Mist

Make Spray Mist using Distress ink Re-Inker, Ranger Perfect Pearl Powder,
Any Glue and Spray Bottle
Ranger Perfect Pearls


Put desire qty of water in a Spray Bottle, Add few drops of glue.


Add two drops of Distress ink Re-Inker. Here i have used Mustard Seed Re-Inker


Add Ranger Perfect Pearl Powder using any brush.


Shake It.


 VOILA!! your Mist is Ready to play around. I've used on a Chipboard and Loved the Shinier effect.


TIP: Spray the mist on all over your cardstock, Dry with heat tool and stamp any flower or any shape stamp. Cut it and Embellish it. Your Shinier Flower or Butterfly is ready to use on your project. With Re-Inker and Perfect Pearls, the possibilities are endless !!

Whole Range of Perfect Pearls, Re-Inkers and MDF Embellishments are available at Our Store http://rainbowcraftykari.in/