Showing posts with label distress inks. Show all posts

Friday 12 May 2017

Beauty Inside The Blooms MM Canvas by GDT Mounika K

Hello Everyone


Mounika Here, happy to share one more  inspiration post for Rainbow Craftykari.  check our blog for ongoing challenge Blooms Magic. Today my project inspired my same challenge made this canvas mixed media


To start with, I had primed the canvas with light gesso, once its dry, I had started free hand out line of girl and than later stenciled using texture paste to create texture.  I've used two different kind of stencils here


Once it dry, had randomly splashed some photo transperent inks and lindy stamp gang sprays until i was happy with the coloring


For flowers, i have used punched flowers, die cut and some hand cut flowers, damped them at the back with some water and using my embossing tool to shaped the flowers .


And finally arranged the canvas with final touch-ups added some inka gold and microbeads here and there. Lastly, added the hand written quote.


Here are some close ups


Hope you all have enjoyed and inspired. Will love to see you all participate in our ongoing challenge "Blooms Magic"

Materials List:

canvas

gesso

texture paste

stencils

heartfelt flower die

punches

embossing tool

acrylic paints

distress inks

lindy stamp gang sprays

microbeads from my stash

inkagold

embellishments from my stash


All the materials listed above are available at Rainbow Craftykari Store or you can pre order them by sending an email at rainbowcraftykari@gmail.com.


Warm Regards

Mounika K

My blog link - http://craftdrama19.blogspot.in/

My fb page - https://www.facebook.com/McCrafts/

Wednesday 3 May 2017

Accordion Mini Album with Vellum Hinge by GDT Mounika K

Hello Everyone


Mounika Here Again, So much excited for my inspirational post on Rainbow Craftykari blog. Today I'm going to pump up your creativity. Have made Accordion mini album which would be great way to give as a gift to your loved ones and beautiful way to store your memories. It's simple and cute to make. So I've made one for my husband with me and my son's pictures.


Let's get started!!


To start with i cut down 4*4 size Papericous sigma cardstock, I must say it's an amazing cardstock for colors and stamping and randomly colored it with different distress inks and some photo transperent inks. 


While assembling i used vellum as hinge between two pages ,took hinge of 2"×1.5" vellum before sticking panels together placed velum and stuck. Finally for embellishment i stamped Mudra butterfly stamp with different colors distress inks and cut down some frame from Papericous often paper collection and assembled my mini album


Some close ups of mini album


Hope my project inspires you....


Materials used


Papericous sigma cardstock

Papericous often paper collection

Vellum sheets

Ribbon

Mudra Butterfly stamp

Distress inks

Phototransperent inks

Foam tape


All the materials listed above are available at Rainbow Craftykari Store or you can pre order them by sending an email at rainbowcraftykari@gmail.com.


Hope you got inspired to create one yourself. Do join us in the Current challenge "The Blooms Magic". Looking forward to see your entries. Happy Crafting!!


Warm Regards

Mounika K

My blog link - http://craftdrama19.blogspot.in/

My fb page - https://www.facebook.com/McCrafts/

Thursday 30 March 2017

Vintage Mini Album by DT Nikkita

Hello Everyone,

Hope you all are doing good.

This is Nikkita Today. Crafters, what do you do to preserve your memories, like we often click photographs, get them framed or make an album. How about making your on scrapbook album to give a handmade touch to your beautiful memories. Today I'm going to inspire you with a Vintage Mini album, so that all you can try easily and gift to your loved ones or preserve memories of your life.
Here we go


Instructions:

Step 1 - Take 2 pieces of chipboard measuring 6 by 6 inches for the base and for the spine take 2.5 by 6 inches. Cover it like book using cardstock and tacky tape.


Step 2 - For the closure take two ribbons and stick them in the middle and cover the whole chipboard using cardstock.


Step 3 - For the pages I used hidden hinge binding system and I have left a gap of 1/2'' between every hinge.

Made 6 pages total,

Page size measures 5.75 by 5.75''

Made 6 pockets measuring 5.5 by 5.5''.


Step 4 - Cut pattern paper as per your choice and distress it with distress ink vintage photo to give a complete look.

I use tacky tape/tacky glue for sticking my pattern paper.


Step 5 - To Decorate Cover, i simply used a Leather paper which is locally available in my near stationery store, I adhered MDF Cut Out, Die cuts, Mulberry Flowers and Resin Charm to give an Vintage look. 


Step 6: Decorate the inside pages as per your choice.  


Tip: When you'll adhere MDF cutout, let it sit for few time to get it adhere with base strongly. I've used Aleene's Tacky Glue


Here are the Close ups 


 Hope you guys liked it.


Materials used-

Emphera collection from Papericious,

Resin embellishments,

Die cut embellishments,

Mulberry flowers,

Metal corners,

Stamp sentiments,

Die cuts,

Satin Ribbon,

Border punch out from Ek success,

Brown Leather paper.


All materials are available at the Rainbow Craftykari Store and you can also get them on pre order.


Regards,

Nikkita
https://www.facebook.com/bloomingcraftskolkata/


Thursday 13 October 2016

Guest DT Manjit: Pretty Cash Box and Vintage Flower Tutorial

Hello Crafty friends,

Avery lovely good morning to you all. Hope you all are doing fine.

Today in our Teaching and Learning Program we have Manjit Kaur Bhalla as Guest DT with her Coin box with pretty handmade flowers. She has a very beautiful step by step tutorial on Box and lovely flowers. 

Over to you Manjit,

Hello friends,

I'm feeling super excited today while sharing my first ever step by step picture tutorial with you. Thanks to Rainbow Craftykari Team for giving me this opportunity. I'm going to show how I make these pretty cash boxes. 


So let's start,

Step 1
First I made the base of the box. For this I have taken an Ivory sheet of 300gsm and cut out an rectangle of 16.25'' long and 13'' wide. Score it as shown in the picture.Dotted marks show were to score and darker lines show were to cut. 


Step 2

I cut it according to the cutting lines with scissors carefully.


Step 3
Next I applied wet glue on the outer flaps and pasted them inside, this way all the four walls of the box become double layered and study.


Step 4
The base is ready.


Lets move on to the cover.
For the cover I have used the same technique as we use to make scrapbook cover. For this I have taken 3 chipboard pieces, out of them 2 pieces are of the same size i.e. half an inch longer and quarter inch wider than the bottom of the base. The 3rd piece is also half an inch longer and 1/8 inch wider than the height of the base box. I have taken all the 3 pieces and assembled and glued them on a ivory sheet as show in the photo.


Apply the wet glue on 2 sides of the base box and tacky tape on the edges as show in photo.


Before fixing the base box onto the cover I have tied an organza ribbon then I fixed it on the chipboard cover.


I hide the ribbon by gluing another piece of ivory sheet and pattern paper as shown in photo. Next glued pattern paper for whole box.


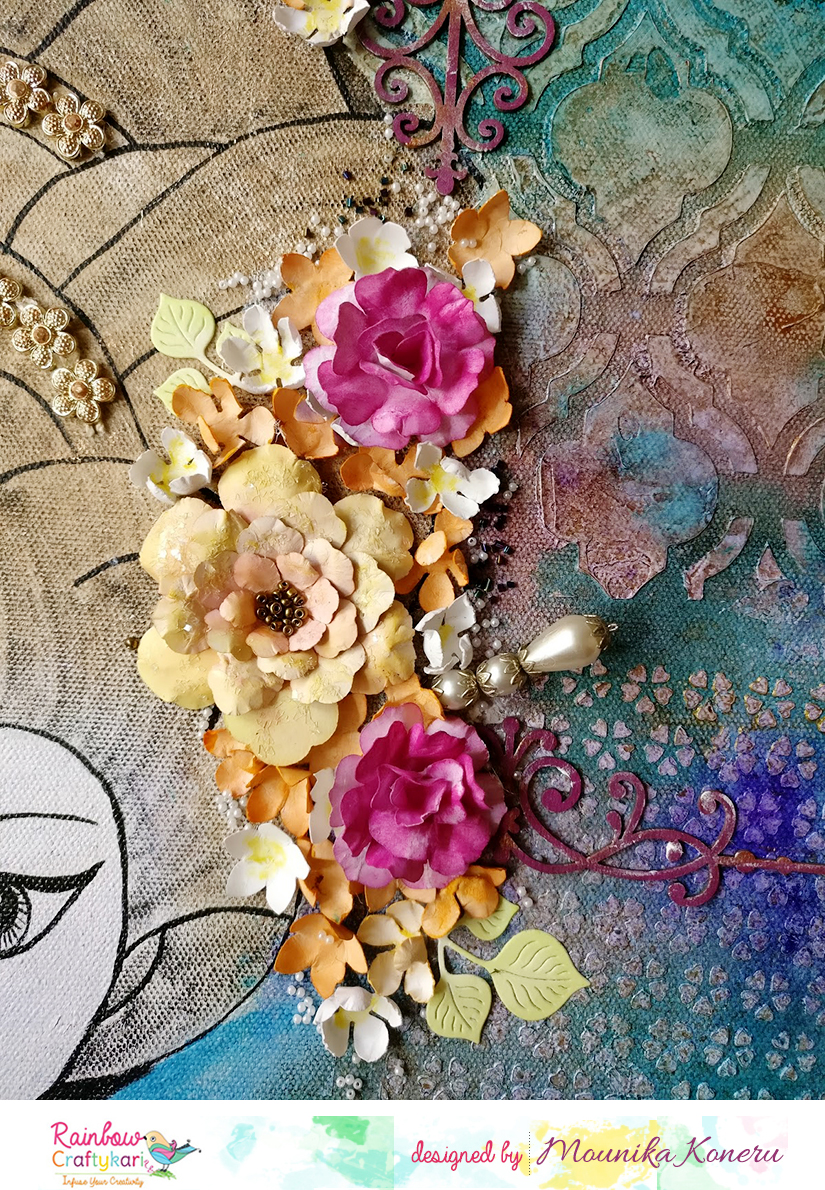
I have embellish the box using flower made by me using Joy craft die and rest other from my stash.


While arranging the flowers and leaves I always keep one thing in mind that the main flower should be the attraction of the items so it should be brightest and darkest then the rest of the embellishments. No other flower or embellishment should overshadow the beauty of the main flower.


The finished look of the box.

Vintage Flower Tutorial

Now its time for a quick flower tutorial. I will show you how I made that big flower.
For this I have die cut 6 flowers from 150gsm paper using the biggest die from Joy craft die. Then I sprayed some water on them.


I stacked all the 6 flowers and rubbed them directly on distress ink pad.


After rubbing all the petals the stacked flower will look like this. ( 1st image )
Now hold each petal and press towards the center. ( before that spray water if needed. By pressing the ink will spread. ( see bottom image )


After inking the stacked flowers, roll each petal over pen or marker. Holding the petal from both side gently pinch the petal, this will create veins in the petals. Repeat this procedure with rest of the petals but be careful while doing that because the petals are still wet so they might tear.


Separate all the flowers gently and let them to dry. After drying take each flower and press in the center using pen or embossing tool  so that the petals rise up. Then glue each flower from center and attach one over the another.


Press from the center to give 3D look and also give extra touch of color using ink applicator. Next add pollens to the center of the flower. 

The flower is ready.
You can make such flowers using any flower die or flower punch.

Hope you enjoyed my tutorial.
If any doubt feel free to ask.

Materials used-

Ivory cardstock 350gsm
Chipboard 2mm
Joy craft flourish leaf branch 1
Spellbinder timeless rectangle die
Spellbinder lace heart die
Joy craft Vintage flourishes flower 3
Spellbinder Rose creation die
Distress ink - fired brick
Eno greeting pattern paper
Brown punch craft paper
Red organza ribbon
Metal charm
Fevicol
Red tacky tape
Martha Steward scoring board
Paper cutter
Scissors
Embossing tool
Cream punch craft paper 150gsmAbove listed Materials are available at Rainbow Craftykari Store or you can pre-order.


Regards
Manjit