Hi Lovely People,
Hope you are enjoying the lovely onset of winters? Well, I am most definitely enjoying it with a hot cup of tea all snuggled up in my cosy blanket ;)
There is definitely something amazing about this season with the winter chill, celebration & wedding vibes all around which makes it a December to Remember always.. as they say, "last one but the best one" .. ;)
Without boring you anymore with my love for winters I will take you straight to today's post.
Today I am sharing two CAS cards with you (CAS: Clean & simple Cards), CAS cards are a challenge for me as much as it for most others but this time I decided to do a tutorial on it for you I hope I do justice to your expectations :)
Let's begin
Card 1:
Step 1: I started with taking a white cardstock, Base dimension: 4.5"X10" & scored it at 5" & now my card measures 4.5"X 5"
Step2: Next I stamped my images Piggy & the fence using Versa onyx ink on a separate cardstock & coloured using the DUO watercolour pencils& fussy cut them.
Step3: I adhered the fence right in the middle of the card using the double-sided foam tape & then the piggy half over it.
Step 4: Lastly, to complete the card I picked the sentiment "I miss you PIG time" & using the Versafine Onyx black ink I stamped the sentiment right below the fence.
Tada our first card is ready :D easy ain't it??? ;)
Moving onto the 2nd Card:
Step1: I again picked the cardstock in the size 4.5"x10" & scored it at 5" to make my card measuring 4.5"X5", I also cut out a cardstock in 4.25"x4.75"
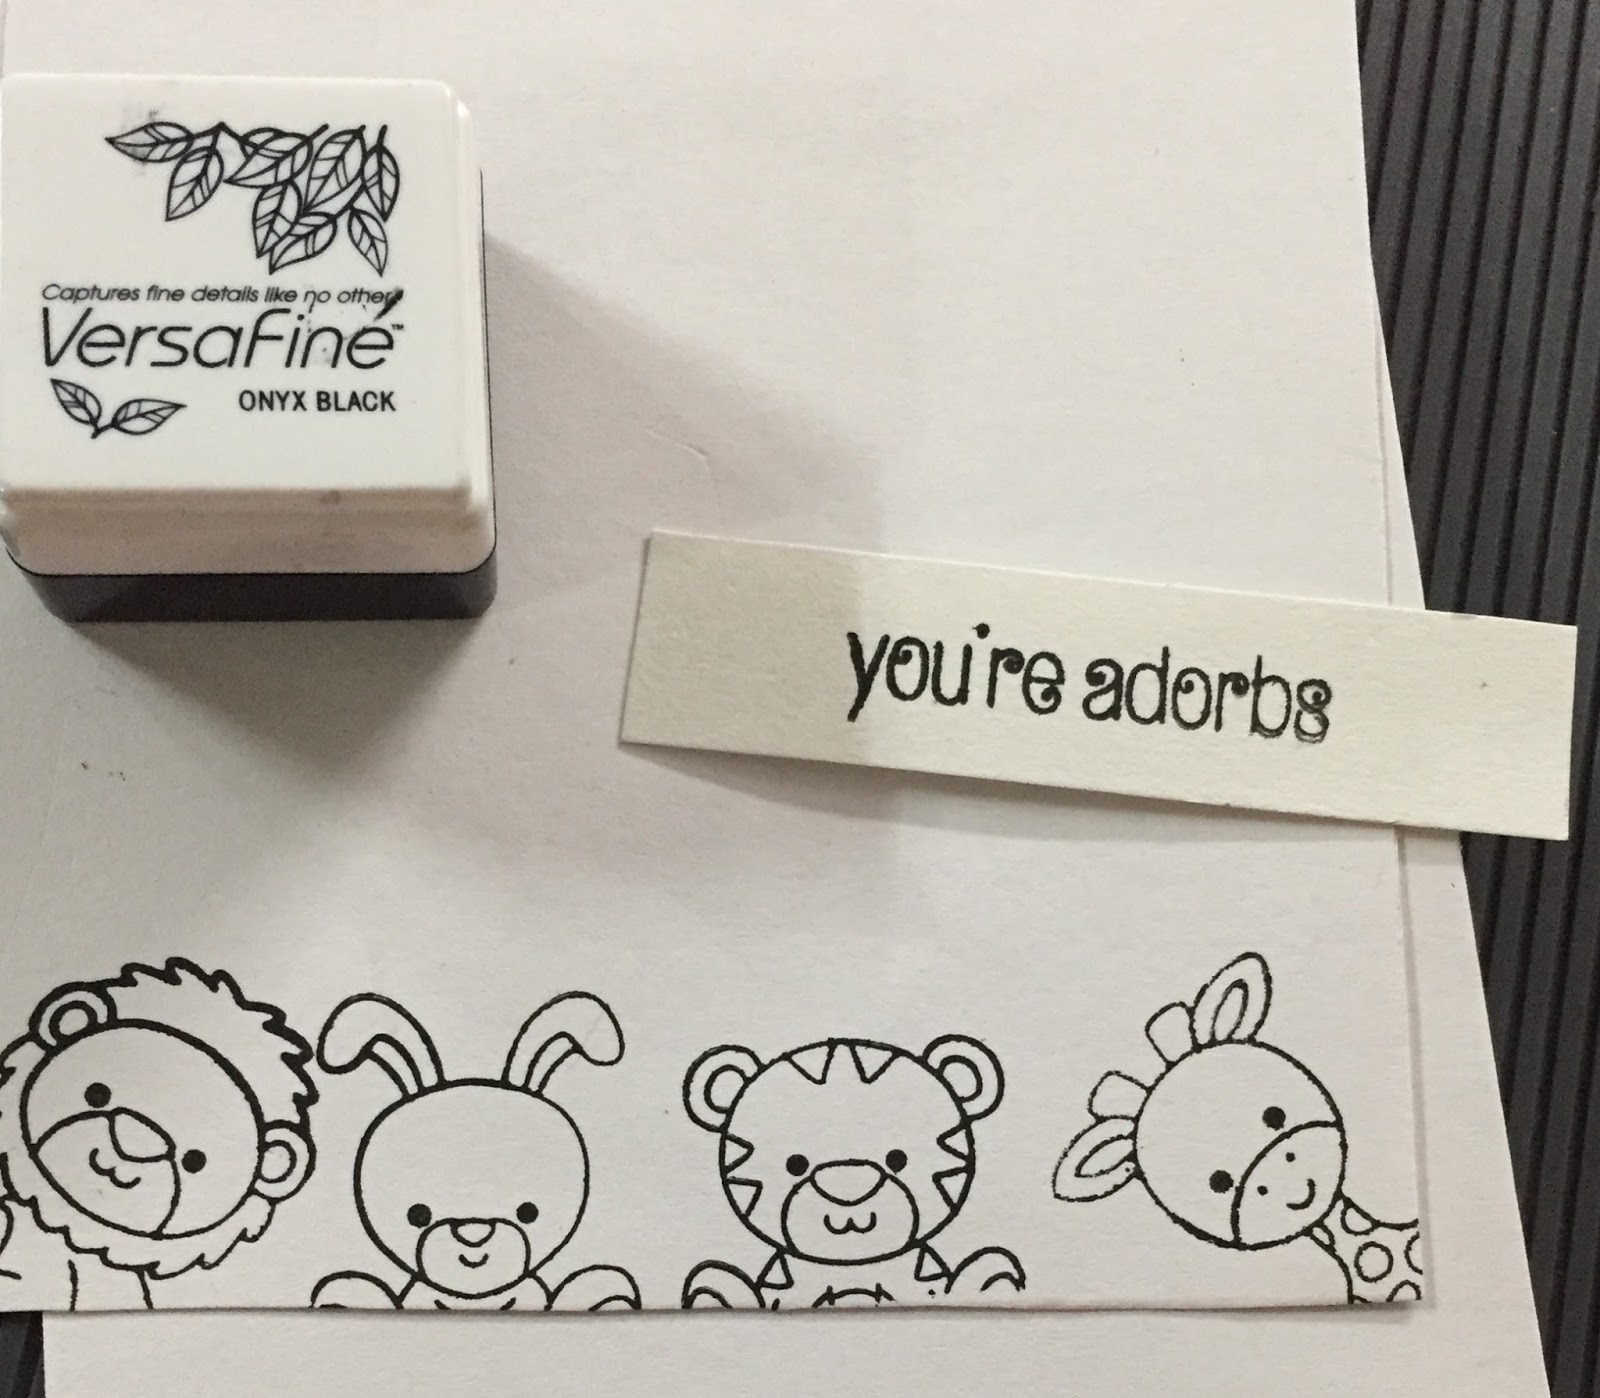
Step2: using my VersaFine Onyx Black ink I stamped images using Clearly Besotted stamp set- I stamped with the animals at the bottom, with just the faces, to give it a look of the animals peeking out and picked the sentiment from the same stamp set & stamped it on a separate tag.
Step3: Using DUO watercolour pencils I coloured the stamped images & distressed the edges of the card stock.
Step4: Using an orange gingham print washi tape I added it above the animals & adhered my stamped sentiment using the double-sided Foam tape
Step5: Lastly I adhered the cardstock to my scored & folded card & Lalala! the card is ready!
Here are some more pictures:
Materials used:
1. White Cardstock
2. Clearly besotted stamp set
3. Versafine Onyx Black ink
4. Duo watercolour pencils
5. double sided foam tape
6. WRMK score & cut
7. Tsukineko ink in dew drop size
Almost all of the material mentioned above are available at the Rainbow Craftykari store or can be pre-ordered by sending an e-mail at rainbowcraftykari@gmail.com.
Hope you enjoyed the tutorial.
Hello everyone,
Haven't we all sometimes wished that our gifts be unique and custom made? Today I'll share with you how you could make a gift extra special with these handmade gift wrapping pattern paper ideas.
Below is the list of material required before be begin the process.
Materials Required
- Brush (to brush off stray EP)
1. I started with the sheet of paper (120 gsm). I used a cake slice stamp and also the sentiment for this Pattern paper as I wanted to later turn it into a small box (with Origami) on a Birthday theme. I used few different colours to stamp the cake. Then, I used the eraser end of a pencil and put similar colour polka dots around, along with few gold embossed polka dots.
2. I took a contrasting paper (120 gsm) and used the same eraser end of a pencil to heat emboss golden polka dots. I made sure to brush off extra powder as finger prints on the paper may attract embossing powder. I suggest, that as you work your way across the sheet keep using anti-static powder to keep static away.
3. Similarly, I used different stamps to create a pattern. For the snowflakes, I used white embossing powder and for paisley, I used champagne embossing powder. Pretty simple, right!
Favour box
With my pretty papers, I thought of making a favour box. The darker paper shall be the bottom part so the size of the two sheet varies by 0.5 cm. You can change dimensions, just remember that both the sheets are square with half a centimetre difference.
1. I took a sheet that measured 22x22 cms.
2. Folded it in half.
3. Folded again to make it a quarter fold.
4. Then I opened and brought the four edges together at the middle.
5. Then I bought the outer edges and folded at a 1/4th distance at all the sides.
6. Then I opened my folds, brought two opposite sides together and tucked in the two open opposite sides.
7. Tucked in both the sides and made edges of the box.
8. Similarly, I did with the bottom part, just that the size was 21.5 x 21.5 cms.


9. I assembled them together and my paper savour box was ready.
Gift bags
Materials used
1. Firstly, I folded the sheet at two places at a distance of 2 cms, that is - on only one side length and breadth.
2. Then I folded the sheet at the middle, in half.
3. I stuck the folded end with Glue at the breadth side of the sheet.
4. Then, I folded up from the bottom at a distance of 4 cms.
5. I opened the folded part and tucked-in the sides as shown in the picture.
6. Then, I folded the upper and the lower flaps and made them overlap at the middle. Later, I stuck the flaps together with the glue.
7. At the length, I folded the bag at about 3 cms and made a good crease.
8. Now, I punched the holes and put the ribbon through it for the handles.
I did a similar bag with the snowflakes pattern paper too.
Hope you will try to do something similar, and put to use your stamps in this creative way. All the material mentioned above are available at Rainbow Craftykari Store and you can also pre-order by sending an e-mail to rainbowcraftykari@gmail.com
Happy Crafting


