Monday 11 September 2017

Home Layout by DT Anila

Hello Friends!

I am back today with an inspiration post for the current challenge
Here is the mood board of the challenge (Use minimum of any 3 elements from the board)

Image may contain: indoor

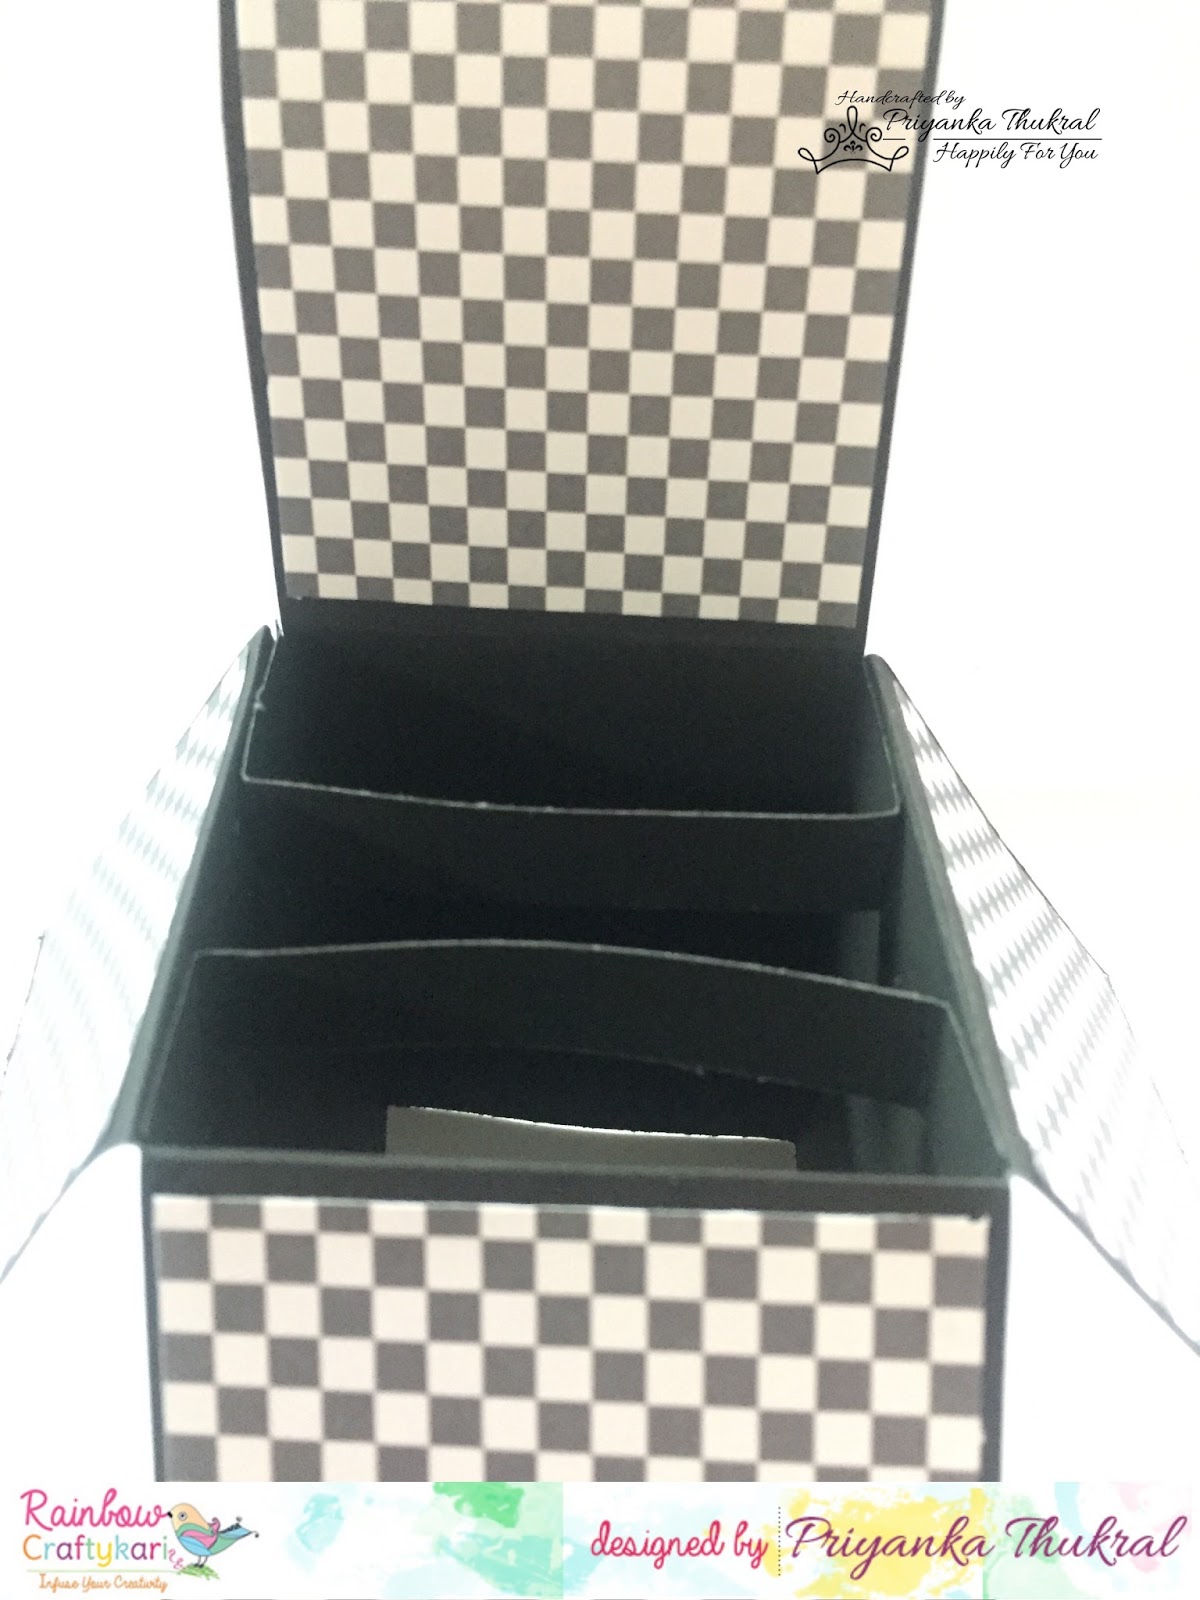
My project for the challenge


I wanted to include most of the colours from the mood board. I have tried to incorporate the woody texture with my base paper.

Here's a brief about my process:

I took an 8" x 8" pattern paper. This gives the look of a corrugated sheet but also resembles the woody structure from the mood board. I adhered this on a brown CS. Next, I adhered a Doily in the centre of this paper and mounted my sentiment with a lot of coloured paper matting under it.


Next came in the arrangement of the flowers, leaves and other elements. Once it was decided I adhered them in position. Then, I stuck a House sticker in one corner.
Lastly I added few sequins to add some element to the LO.

Here are some close-up snaps:


The materials used are

  • Pattern paper
  • Coloured CS
  • Flowers, Leaves etc.
  • Coloured sequins
  • Doily

All the above-mentioned materials are available with Rainbow Craftykari and/or can be pre-ordered for you.

Hope I could inspire you enough to participate in the ongoing challenge here.

Looking forward to your participation.

Keep Crafting!!

Friday 8 September 2017

Art Tiles by DT Khushboo

Good morning crafters!

How are you today? This is Khushboo here, back with another round of Inspiration Post at Rainbow Craftykari.


Often times we strive to create our projects that look different from others. All in an attempt to maintain uniqueness. But with a pre-defined set of embellishments available in the market, our projects end up with similar elements. What fun it would be if we could create our own embellishments?


This post is all about creating your own 'Art Tiles' that are not limited by colours, styles or materials!


Let's take a look at some of the art tiles that I created, and then move on to a brief on how I made them!


Brief Steps for creating 'Art Tiles':

Take your medium weight chipboard and cut it into a square (1x1 inch) and rectangle pieces (1.5x1 inch). Gesso some of the pieces with white and/or black gesso.Cut and stick some pattern paper of the same size as your chipboard pieces - these will be your base before you start stamping.


Collect a variety of intricate stamps and start stamping randomly on your pieces. It could be any motif - butterflies, scripts, flowers, etc. Don't forget to stamp sentiments on some of your tiles too! 


Take some coordinating distress inks and ink up the hell outa these tiles! Throw in some color, make the stamps pop!

To add some mystery and class, distress the sides of the tile with Black Soot Distress Ink or Black Archival Ink. It absolutely brings out the beauty of every element on your tile!


You can leave some tiles plain, or you can add rhinestones, flowers and glitters on some - like I've done.


Now comes the fun part - Glossy Accents! Lay your tile on a flat surface and cover it entirely with Glossy Accents. Don't be a miser! Use the GA luxuriously - coz once it dries, it'll give a glassy/raised/embossed effect to the whole tile.


Let it dry completely for a few hours - and voila! Your tiles are set to be added to your projects!


Materials used:

  • Chipboard
  • Gesso
  • Glossy Accents
  • Acetate
  • Stamps
  • Sentiment stamps
  • Black Archival Ink
  • Distress Ink
  • Rhinestones
  • Flowers
  • Glitter
  • Pattern Paper
  • Chain
  • Glue

Hope you guys enjoyed my creations. Can't wait to see how you add your own twist to this!

Above mentioned products are available at Rainbow Craftykari Store OR you can pre-order the products by sending email at rainbowcraftykari@gmail.com

Don't forget to participate in our ongoing challenge. Link your projects here


That's it from me, folks!

Signing out,
Khushboo R. Gandhi

Wednesday 6 September 2017

Pop-Up Box Card Tutorial by DT Priyanka


Hello Everyone,

Today I am over again at the Rainbow Craftykari Blog and this time I am here with a step by step tutorial on how to make a Pop-Up Box.
I have been doing a lot of pop-up boxes in the last few months and I have always loved working on these..! Pop Up boxes are a flat card that opens up to a box with popping out elements.

To give you a glimpse of the project:


Let's begin: 

Step1 for the base: I picked up a 10.5*6" cardstock & scored it at 2.5",5",7.5",10". Then I rotated the cardstock & scored at 2.5" which makes my upper part of the card (2.5") and bottom half (3.5").The last flap left in the end will be glued to the inner side to make the box. Following which I cut the scored lines half way through till 2.5" from the top to make the flaps.


Step2: I then cut two strips measuring 3.5*1" and scored them at 0.5" and 3". These go inside the pop-up box to hold the embellishments in the center.


Step3: Now I picked out the patterned papers from my stash and cut them in the sizes same as each section on inside & outside and adhere them to the box.


Step 4:
Then I took Clearly Besotted stamp & stamped the gorgeous little animals & sentiments and colored them using aqua water color pencils & fussy cut them.


Step5:
Now using the acetate sheets (easily available in the local stationary shops) I cut these into thin strips.

These are used to add the elements outside of the box which gives an impression as if the elements are hanging in the air because of the transparency of these acetate sheets.


Step6:
And the final step I added all the fussy cut elements onto the pop-up box and on the acetate sheets using glossy accents.


And TADA!!!! the box is ready... :D :D


Isn't it looking very cute???
Enjoy a few more close up pictures.


Materials Used: 1. Black Card stock 2. Clearly Besotted Stamp set 3. Versa ink onyx3. Patterned Papers ( from the stash) 4. Tim Holtz Distress inks 
5. Aqua Watercolour pencils
6. Glossy Accent7. Fevicol 
8. Acetate Sheet

Hope you all liked the card & enjoyed the tutorial. Until next time. ;)

Don't forget to participate in our ongoing challenge. Link your projects here.

Priyanka Thukral

Tuesday 5 September 2017

Winners Challenge #4 Friendship Rainbow

Hello lovely people,

Today we're here to announce the winners of our last month's challenge!

Our top three entries in no particular order:)! Grab the 'I made it to the top 3' badge from the blog!


Entry 1: Perky Hobby

A very nice CAS Card and love the sentiment, so quirky!


Entry 5: Vinita Jain

A beautiful friendship scene and love the rainbow fence!


Entry 12: SimplyKrafted

An elegant tag with minimal yet catchy elements!


Our first winner, winning a voucher of 400/- to the store is... 


Entry 11: Karthika 

We love how the Rainbow Friendship theme was incorporated with the spotlight technique in this card! Beautifully made! Kindly grab the 'First Winner' badge from the blog.


Our second winner, winning a 6"x6" Papericious Paper Pack is... 


Entry 4: Art Box-Out of the Box Ideas

A lovely rainbow background with the cute cluster focal elements! Kindly grab the 'Second Winner' badge from the blog.


Congratulations everyone, Winners kindly mail us at rainbowcraftykari@gmail.com with in 48 hours to claim the prize and do enter your creations in this month's challenge