Showing posts with label Mixed Media. Show all posts

Monday 8 March 2021

"YOU" Art Journal by Priya & "Amazing Grace" Plaque by Rupneet

Hello Friends,

This is Priya Mishra here from Sanskruti Arts & Crafts at Rainbow Craftykari Blog. Wishing you all a very happy Women's Day. I'm so happy and excited to join in this Women's day Insta hop and Blog Hop and Linky Party. Thank you to all the sponsors who have sponsored this beautiful hop !! For the next stop kindly click on this link

https://women-beyoutifullyyou.blogspot.com/2021/03/3rd-international-womens-day-blog-hop.html


My project is called -  YOU and I have added a quote "No one is you, and that is your superpower" 
When a woman stands for herself, she automatically stands up for all women. Before encouraging others, you should look within and find that support and confidence that defines you as a woman.
Keeping in this thought, to encourage the all the women out there, I've created an Art Journal Page today...


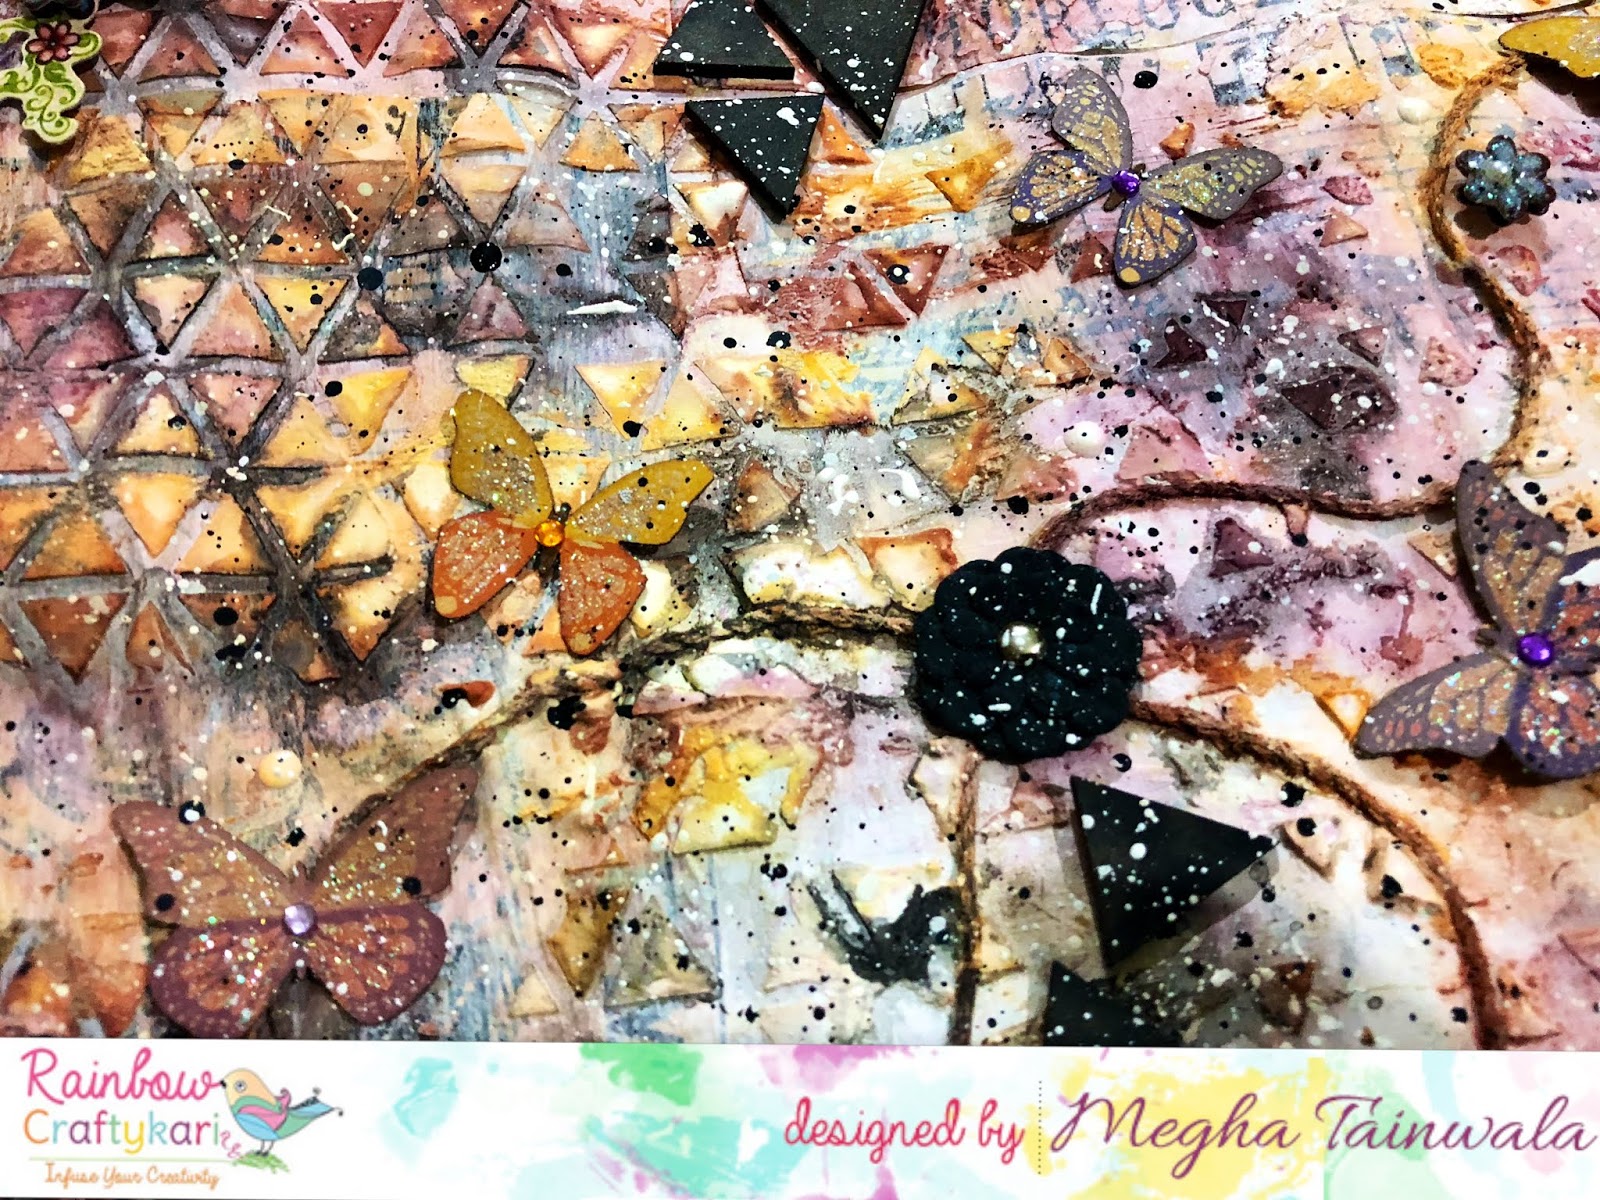
For making this Art journal page, first I created the background. Layered some papers, Tim Holtz die cuts and roughly dry brushed with white gesso. Created a little texture with some stenciling and stamping. Colored with chalk paint in shade of pink.

Then added some metal charms and wooden die cut for some added layers. Used a black marker to create some extra interest.


Finally added a Tim Holtz doll and sprinkled some black gesso and pink chalk paint all around. I added a sentiment " No one is you and that is your super power". Here are some more close ups of my project.


Now Over to another beautiful Artist, who has created inspiring project on this occasion. Over to You Rupneet

Thank you and Warm Regards
Priya Mishra
Sanskruti Arts & Craft


                  ***************************************************************


Hello Crafty Peeps

Rupneet here From SylviazArt at the Rainbow Craftykari Blog. Wishing you all lovely women out there  a very happy Women's Day. I'm glad to join in this Women's day Blog Hop and Linky Party. Thank you to all the sponsors who have graciously sponsored this beautiful hop. For next stop click on this link:
https://women-beyoutifullyyou.blogspot.com/2021/03/3rd-international-womens-day-blog-hop.html


Today's artwork' theme is encouragement and what better a way to present it for the womens day... so chose this Plaque , which is primed and sanded well


Over this plaque I chose to give a textured background using a texture paste through a beautiful filigree stencil... once the texture is dried, I colored the background....


And thereafter I chose a beautiful image from newspaper image, a icecream tub lid and some flora to embellish...

I primed the plastic lid with gesso and decoupaged the image using modge podge and blended the colors over the corners, and after the image on the plastic lid dried, I chose to stick it to the middle of the Plaque, such pretty landscape image goes well with the background,  isn't it....

To embellish It further,  i use some flowers around the lid and stick them using a hot glue gun and a quote saying "you are amazing " comes on top of the Plaque which its look enhances making it look as one piece. 


I enjoyed working on this colorful make and loved its cheerful vibe... hope you enjoyed the process with me..

Thanks for reading through!

Rupneet
Creative Head
Team Sylviaz

Wednesday 27 June 2018

MM Layout by DT Vidhi inspired by Blog Coordinator Aditi

Hello folks,

Hope you guys are having a great time. It's raining in Mumbai !!! I just love rains...Everything looks so fresh, alive, green and beautiful !!! 

I am here again at Rainbow Craftykari blog with my inspirational post. As you all know this month we all DT members are getting inspired by our very own Design Team.


Today my layout is inspired by the wonderful artist and talented person, Aditi Mahajan. I just love her work. I Inspired by her layouts. Those are simply amazing and fresh. I went through her all creations and I just love it how she used bright and fresh colours, beautiful coloured die cuts of floral designs and lovely embellishments. I tried to add all that details to my layout !!!


I started my layout by taking two different pattern papers and arranged it. Gave a coat of clear gesso to prime the papers. Then through stencils, I have applied modelling paste and embossing paste randomly on papers. After drying I sprinkled some Lindy's sprays and magical shakers for adding colours.


Now it's time to add layers...I used lots of flowers, die cuts, leaves, stickers, glitter, dry mousse etc. After that, I added finnabair stones with the help of soft gloss gel.  And it's done. In today's layout this bright and fresh lemons gave the freshness to my layout which I am feeling now in Rains. So feel fresh and create your art !!!


Do visit the Rainbow Craftykari store HERE

Visit our BLOG for more inspirations, tutorials and check out our ongoing challenge.

Happy Crafting

Hugs,

Tuesday 5 June 2018

Paper Bag Tutorial by DT Megha


Hello Everyone,

Today I am here with a tutorial post on creating a Journal Page on a brown paper bag.
I love Art Journalling, this is one art form which I enjoy thoroughly. 

It’s a place to record your thoughts, memories, and emotions through images, art and words. The number one rule about Art Journaling is that there are No Rules. :)

So let's start,

Step 1: We will convert this simple brown paper bag, don't be afraid of all the print we'll cover it all up like it was never there.

  
Step 2: I am going to cover my paper with white gesso, here I am covering the print on the bag and also preparing the background and priming the surface for the sprays and colours.


Step 3: Before the gesso dries I am going to tear pieces of Tim Holtz tissue paper and randomly place them on the bag, as the bag is still wet with gesso the tissue will adhere well.


Step 4: I am going ahead and heat setting this and dry this with a heat gun.


Step 5: I am taking some American Crafts twine for texture and interest and again randomly placing it on my bag. 


Step 6: I am going to adhere this with the help of white gesso so that I can help the twine to stick and also prime the twine to accept the colour sprays.


Step 7: Next, I am taking a geometric shape stencil and run modelling paste through it, in this case, triangles. I am going to use a generous amount of paste so that my triangles stand out.


Step 8: I am making sure all of the gesso and modelling paste is nice and dry so that we can spray away the colours without any fear. :)


Step 9: I'll be using 13 @rts Sprays, the idea here is to go from brightest to darkest to create depth. Make sure to shake your sprays before use so the pigments mix well.
I will be spraying water on the bag in intervals to help the pigment to flow and move around.

I am going to start spraying from the left and the right sides and tilt my bag toward the middle so that I can allow the colours to flow by themselves. I am starting with the brightest colours, Yellow Lemon and Yellow Amber.

I am going to dry this with a heat gun a little bit and spray again with same colours to build the colours and then dry again with the heat gun.


Step 10: Now I will take the dark colours, the beautiful Lilac and Chalk Grey sprays.

I sprayed the Lilac randomly and heat set it a bit and then I am opening my Chalk grey spray and dropping the colour in places here and there with the help of the tube.  This amazingly mixes and spreads into the page. I am going to heat set between the layers and application of the sprays.


Step 11: Time for embellishments. I am going to use some sparkly paper butterflies and flower corners and dark black flowers, I choose these to go with my title. 


Step 12:  I stamped my sentiment with black archival ink.


Step 13: I took some black and white acrylic paints and splattered all over the page, this gives me a certain amount of joy :) I heat set the black splatter and then did the white splatters and heat set again.


Step 14: To add more dimension and interest to the bag I am putting in white and black Nuvo drops in random places.


Step 15: I want to add more dimension and interest to my bag, I am going to use the newly launched MDF embellishments from Rainbow Craftykari- Triangles. 
Im simply painting them with black matte paint and adhering them on the bag.


Step 16: I splattered the bag once again heavily with white paint and applied black soot distress ink on the edges to frame the bag. 


We are done without Journal page on a brown bag and Gift Bag!

Here's a video flip through


Here are some pictures of the bag,


Supplies used:
  • Brown Paper Bag
  • Ranger Tim Holtz Tissue
  • Modelling Paste 
  • White Gesso 
  • Stencil
  • Matt Medium, Liquid Glue
  • American Crafters twine
  • Flowers & Butterflies Paper embellishments 
  • any inspirational word Stamps
  • Black Archival Ink
  • Rainbow Craftykari MDF Triangles
  • 13 Arts Colour Sprays 
  • Nuvo Drops- Black and White
  • White and Black Acrylic Paint
  • Black Soot Distress Ink
  • Heat Gun
Do visit the Rainbow Craftykari store HERE
Visit our BLOG for more inspiration, tutorials and check out our ongoing challenge.
Happy Crafting!


Most of the above-listed materials are available on the Rainbow Craftykari Store and can also be pre-ordered by sending an e-mail at rainbowcraftykari@gmail.com.


Wednesday 30 May 2018

Altered Palette Tutorial by DT Vidhi

Hello friends,

How are you all? I am enjoying my little summer vacation!!! It's too hot here in India. But I am still enjoying my break. I am back with another Tutorial post for Rainbow Craftykari blog.

This time, I've created an Old Vintage Shadow Box from a used artist palette. I love old and a vintage look on projects and that's why this was fun to create it.


So here is how I made this Shadow box.
Enjoy a video flip through and step by step instructions below  

Step 1 :  First step is to prime the base.

It is always good to prime the base with gesso, so it holds any further mediums and colours.


I gave it a coat of Black Gesso and covered the entire surface. The palette is made out of plastic and this gesso primes it well for further textures and mediums. 


Step 2 :  Adding textures. Apply white Crackle texture paste on the pallet randomly as shown in the image.


For fine cracks, let it dry naturally. Once you let it dry for a few hours, you'll see the cracks appear. Next, I applied a thin layer of rust paste watered down, onto the texture. This enhances the cracks.


Step 3 :  Roughly placing elements on the pallet.
I picked different things from my treasure, to go with my vintage shadow box.
After picking it out the elements, I roughly placed them on the palette and played with the arrangement. 


Step 4 :  Add colours and textures to the elements.
I selected different types of materials of elements. Some are plastic, metal, fibers etc.  Before placing them, it is important to colour them to match the vintage look. I used the same rust pastes and painted the elements.


Step 5 :  Gluing and Priming the elements. 
One by one I placed all the elements in the colour pallet  and added some used fabric pieces, threads, beads and mini/mega stones to give more depth to the project.


Step 6 :  Time to add the coffee splash.
In the end, I splashed some coffee stains on the entire project to enhance the vintage look. 


Step 7: Final touches.

For more depth, I sprinkled Lindy's magical shakers at a few places and added Tim Holtz Word Sticker to give it more meaning. 


And with that my Vintage shadow box is ready !!!


Supplies Used :
  • Black Gesso
  • Finnabair Rust Paste set
  • White Crackle texture paste
  • Glue - Heavy body gel
  • Tim Holtz sticker set
  • Lindy's magical shakers
  • Coffee powder
Most of the above-listed materials are available on the Rainbow Craftykari Store and can also be pre-ordered by sending an e-mail at rainbowcraftykari@gmail.com.

Do visit the Rainbow Craftykari store HERE

Visit our BLOG for more inspiration and tutorials.

Hope you guys liked it. Looking forward to seeing your variation of this one!

Happy Crafting,