Hello Everyone,
Today I am over again at the Rainbow Craftykari Blog and this time I am here with a step by step tutorial on how to make a Pop-Up Box.
I have been doing a lot of pop-up boxes in the last few months and I have always loved working on these..! Pop Up boxes are a flat card that opens up to a box with popping out elements.
To give you a glimpse of the project:
Let's begin:
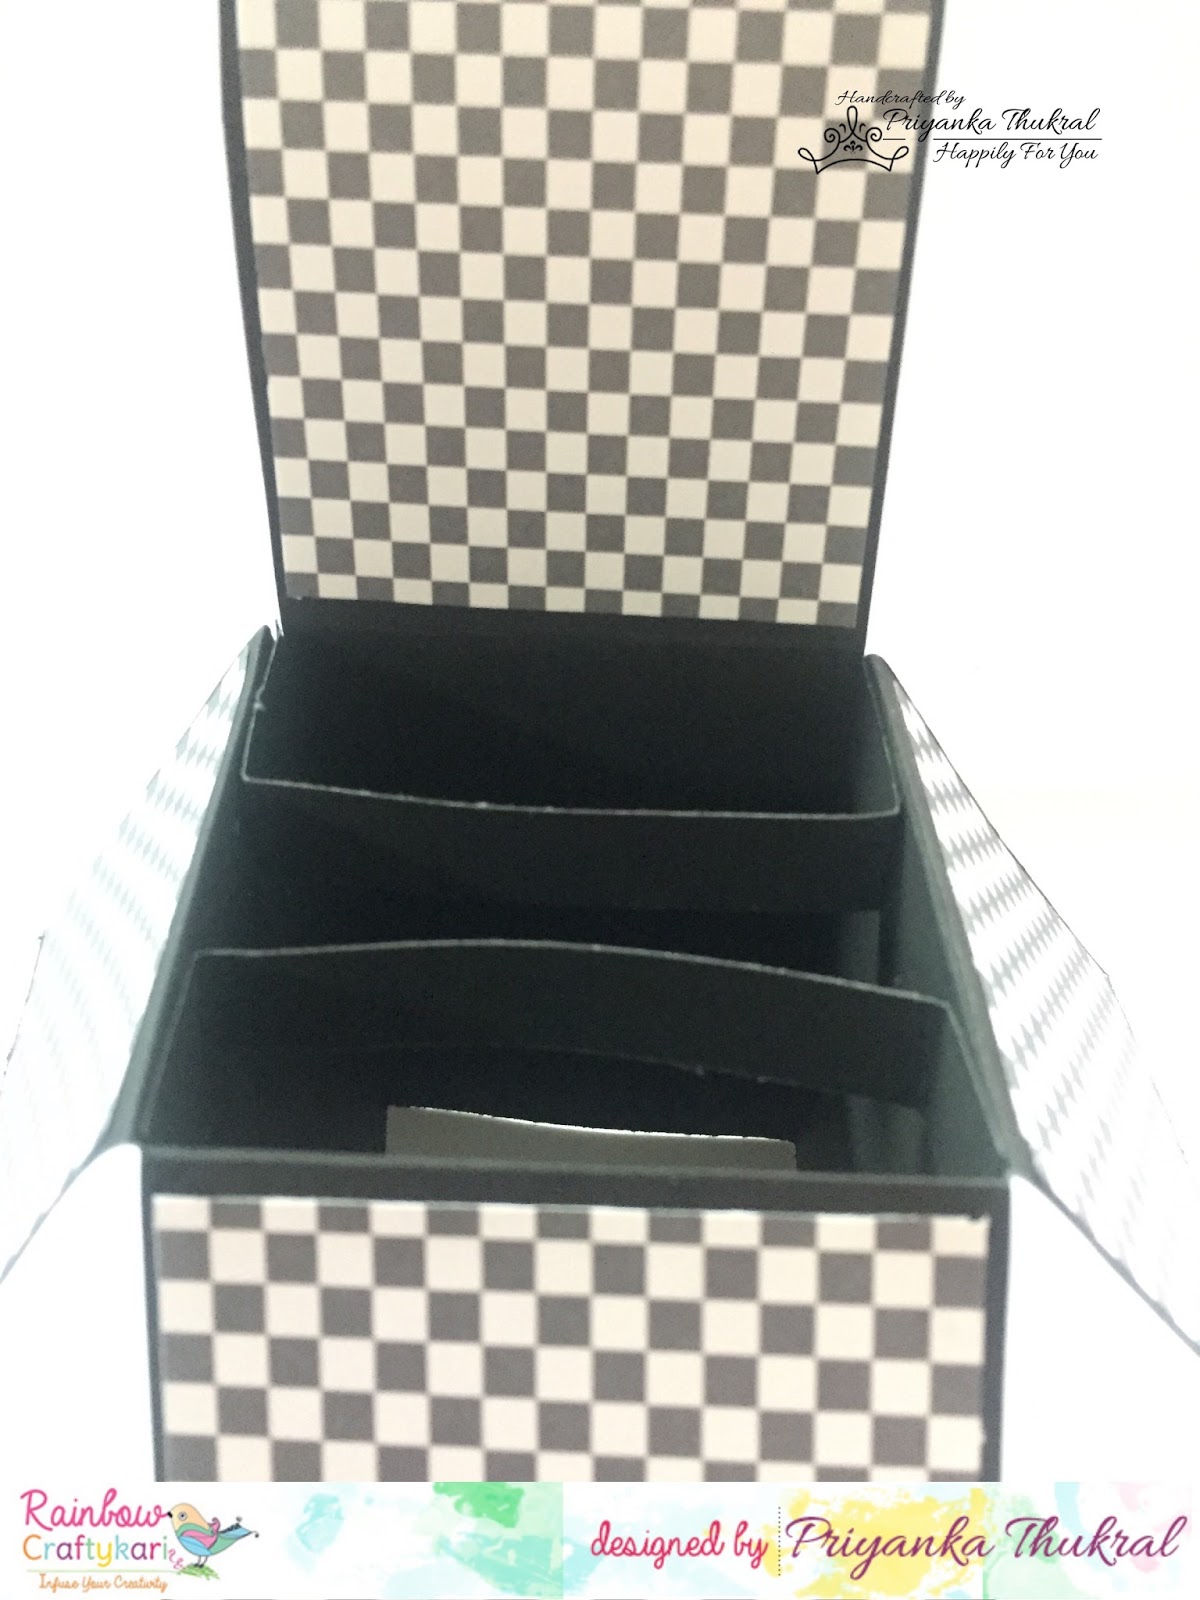
Step1 for the base: I picked up a 10.5*6" cardstock & scored it at 2.5",5",7.5",10". Then I rotated the cardstock & scored at 2.5" which makes my upper part of the card (2.5") and bottom half (3.5").The last flap left in the end will be glued to the inner side to make the box. Following which I cut the scored lines half way through till 2.5" from the top to make the flaps.
Step2: I then cut two strips measuring 3.5*1" and scored them at 0.5" and 3". These go inside the pop-up box to hold the embellishments in the center.
Step3: Now I picked out the patterned papers from my stash and cut them in the sizes same as each section on inside & outside and adhere them to the box.
Step 4:
Then I took Clearly Besotted stamp & stamped the gorgeous little animals & sentiments and colored them using aqua water color pencils & fussy cut them.
Step5:
Now using the acetate sheets (easily available in the local stationary shops) I cut these into thin strips.
These are used to add the elements outside of the box which gives an impression as if the elements are hanging in the air because of the transparency of these acetate sheets.
Step6:
And the final step I added all the fussy cut elements onto the pop-up box and on the acetate sheets using glossy accents.
And TADA!!!! the box is ready... :D :D
Isn't it looking very cute???
Enjoy a few more close up pictures.
Materials Used: 1. Black Card stock 2. Clearly Besotted Stamp set 3. Versa ink onyx3. Patterned Papers ( from the stash) 4. Tim Holtz Distress inks
5. Aqua Watercolour pencils 6. Glossy Accent7. Fevicol
8. Acetate Sheet
Hope you all liked the card & enjoyed the tutorial. Until next time. ;)
Don't forget to participate in our ongoing challenge. Link your projects here.
Priyanka Thukral
Hello Everyone
Mounika Here Again, So much excited for my inspirational post on Rainbow Craftykari blog. Today I'm going to pump up your creativity. Have made Accordion mini album which would be great way to give as a gift to your loved ones and beautiful way to store your memories. It's simple and cute to make. So I've made one for my husband with me and my son's pictures.
Let's get started!!
To start with i cut down 4*4 size Papericous sigma cardstock, I must say it's an amazing cardstock for colors and stamping and randomly colored it with different distress inks and some photo transperent inks.
While assembling i used vellum as hinge between two pages ,took hinge of 2"×1.5" vellum before sticking panels together placed velum and stuck. Finally for embellishment i stamped Mudra butterfly stamp with different colors distress inks and cut down some frame from Papericous often paper collection and assembled my mini album
Some close ups of mini album
Hope my project inspires you....
Materials used
Papericous sigma cardstock
Papericous often paper collection
Vellum sheets
Ribbon
Mudra Butterfly stamp
Distress inks
Phototransperent inks
Foam tape
All the materials listed above are available at Rainbow Craftykari Store or you can pre order them by sending an email at rainbowcraftykari@gmail.com.
Hope you got inspired to create one yourself. Do join us in the Current challenge "The Blooms Magic". Looking forward to see your entries. Happy Crafting!!
Warm Regards
Mounika K