Showing posts with label diwali. Show all posts

Wednesday 18 October 2017

Celebratory Keepsake stand Tutorial by DT Khushboo


Hie guys! Good morning, and welcome to this beautiful celebration of lights! I'm Khushboo and I'm here with an inspiring (I hope so :D) tutorial post, keeping our current challenge theme: 'Celebration and Lights' in mind. 

Light could mean anything - be it the colours of light (yellow, orange, ochre) or sun rays, bulbs, brightness, etc. I've tried to interpret this challenge in a slightly off-beat colour i.e. Golden. Often times we forget, just how beautiful sun rays look in a far off stretch of water - the golden hue on water. If the angle's right, light has a brilliant golden touch and I wanted to capture that in my project. 

So let's get on with our tutorial of a 'Celebratory Keepsake Stand', which you can use as a pen stand, a cutlery stand - or basically, any stand that you need it to be. But that's not all, I will also teach you a slightly unconventional technique - that you can whip up any time - and the effect it leaves you with is super stunning! 

Step 1: 

Take your chipboard and cut these sizes: four pieces of 5x3 inches (for the walls of the stand) + one piece of 3 1/2 x 3 1/2 inches (for the base) + four strips of 1/4 x 3 1/2 inches. 


Step 2: 

Take a strong adhesive and glue all the four walls together as shown in the pics below. Strong glue will ensure that your stand won't fall haphazardly if you put something as heavy as your cutlery in it.


Step 3: 

Once dry, glue the edges and attach the structure to your base. Now start adding the thin strips of chipboard at the edges of the base. This is to create a meek space that will hold your paper pins and rubber bands (in case you opt for it to be a pen stand). I goofed up a bit with my measurements, and hence I was left with space for only two of my four strips to be attached. 


Step 4: 

Now comes the fun part! I'll show you this technique with a glue gun that gives a nice bubbly effect to your stand. Get your pretty glue guns and let the fun begin! Heat the gun nicely, and start making whatever designs you want - swirlies, borders, flowers, aztec patterns, anything! Hold the gun steady while you're doing this coz the more the heat gun wavers, the more your design will show wobbly on the stand. I suggest you first try a few designs on a scrap. That will give you an idea of your range of pressure on the gun and improve your designs with every practice!


Step 5: 

This is how one of the sides of my stand looks. I know, it looks a little disruptive. But it gets better, I promise :P!


This side turned out to be pretty! I just started playing around with the patterns!


Step 7: 

Now here's the thing - notice all the glue webs in the below pic? That happens coz your glue's melted and when you're making the designs, the glue's continuously dripping from the nozzle in it's semi-liquid state. But don't worry - just try to remove them with your hands or a brush or even a heat gun! They'll blow right off!


Step 7: 

Once you're done with your glue gun designs, let the stand dry nicely for a minute or two. Then spray the entire stand with a golden spray - let it dry, and then spray it again. Let it dry completely.


Don't forget to spray the inside and the base on the outside, too! I've sprayed these in a beautiful silver colour to give a stark contrast.


Step 8: 

Now spray an orange colour spray randomly on your design, and wipe it off with a tissue. Such subtle colour hues enhances your overall look in a project.


Step 9: 

Once you're done, get your acrylic paints out and get on with dry-brushing with them. Dry-brushing means taking your acrylic paints in a dry paint brush (no water absolutely!) and with a light hand, stroking over your designs. If you look at the pic below, I've taken an orange colour acrylic paint and dry brushed the length of the feather. It's that easy!


Step 10: 

The technique part ends here. From here on, you will see the finished stand with a few details shared here and there.


Notice how I added a crackle glaze at the top and let it drip. It added such a beautiful depth and texture to my stand!


I added a flower and I covered the entire stand with free hand flowers and dots using a golden colour glitter glue


I also added the glitter glue on the top rims to tie the whole theme together! 


Step 11: 

Once you're done with your embellishments, spray clear varnish all over to seal the glitter and the paints inside and increase the shelf life of your product!


Materials used:

  1. Chipboard 900 gsm
  2. Glue
  3. Glue gun
  4. Golden spray paint can
  5. Silver spray paint can
  6. Orange spray
  7. Acrylic paints
  8. Flowers
  9. Glitter glue
  10. Crackle glaze
  11. Tim Holtz yellow stain
  12. Paint brushes
  13. Varnish
  14. Tissues

Hope you guys enjoyed my creations and the tutorial. Can't wait to see how you add your own twist to this!
Above mentioned products are available at Rainbow Craftykari Store OR you can pre-order the products by sending email at rainbowcraftykari@gmail.com
That's it from me, folks!

Signing out,
Khushboo R. Gandhi

Monday 16 October 2017

Diwali Lamp Inspiration by DT Priya Mishra

Hello Crafty Friends,


Priya here today with an Inspiration post for you. 


Today I'm going to share a Lamp. This is Diwali month and you all must be busy decorating your house. Then why not something handmade, quick and attractive. 


Here's my project...


Well, it was not very quick but I had fun making it. No, I have not followed any cutting files for this, made my own drawing here. Used a lot of things from my stash and a lot of new things too.


These are the materials I used to make this and I listed the same at the end of the post. So, for this first, I drew the outline of the lamp on a piece of paper and traced the same on the patterned paper. Then I cut out the unnecessary parts and attached vellum on the window panels. Then I assembled the lamp. 


After the upper part is done, I used a thermocol sheet to make the base of the lamp, so that it can stand properly. I cut it in a hexagon shape and attached cardstock on both sides to give it more strength. Then I attached the empty aluminium foil roll into it and covered the whole part with patterned paper. Then for attaching the lamp also I cut a small thermocol sheet and covered it with patterned paper and attached it to the tissue roll. Once the base is dried completely and looked firm, I attached the lamp on it.


Here, You can keep it unattached and adhere a tea light on it also. I'm planning to do that in future.


Then I attached laces on the borders to make it look more attractive, also attached some flowers which are from the store. Some leaf die cuts here and there and my lamp is ready.


Some more images 


Materials Used:

  • White Cardstock
  • Enogreeting Paper Pack
  • Vellum
  • Papericious Lace
  • Thermocol Sheet
  • Empty Foil roll
  • Flowers 
  • Die-cut Leaves
  • Tacky Glue
  • Paper Cutter
  • Scissors

Hope you like my work. You can find all the above materials at Rainbow Craftykari Store or pre-order by sending email to rainbowcraftykari@gmail.com.

Don't forget to participate in the challenge here and you can win lots of exciting prizes.

Hugs,


Priya


Monday 9 October 2017

Diwali Decor Ideas Tutorial by DT Mounika

Hi Everyone,


I am here on the blog with some Diwali decoration projects inspired by our ongoing challenge Celebrations and Lights.


Diwali is all about lights, sweets and celebrations. So I have a tutorial of slab Diya holders, a flower lantern and a hexagon tray. Yep, you guessed it right it's a long post ;)!


Here's a look at the final projects together:


Let's begin with the Slab Diya holders

  • For this, I have used white cement.
  • Take a plastic cup for mixing white cement with water and desired acrylic paint
  • Pour this mixture in a ziplock bag- I took ziplock bags of size 4*6" and 5*6"
  • Place a Diya at centre with some weight on it.
  • Allow it to dry overnight.


Next, Flower lantern
  • Cut cardstock in different sizes of petals to use as templates
  • Trace down each petal 6 times on White Papericous Sigma Cardstock
  • Cut all the petals
  • Take 2 bowls of water- add orange and red Indian Inks. Dip the 2 smallest size petals in orange ink and the remaining petals in red ink and let it soak for some time. You can also use distress inks to colour the petals.
  • Let all petals dry
  • For base take disposable small cup, cut down the base make holes and use a binding wire with some pearls for the handle
  • Using glue gun start attaching petals smallest to biggest
  • Take a thick cardstock and attach it at the bottom
  • Finish it off by adjusting petals and place tea light led candle


Lastly, Hexagonal tray
  • For this, using a thick cardstock make a hexagonal template. Using the template cut chipboard in hexagonal shape for the base.
  • Cut 4 pieces of 6.5" x 2" and  2 pieces of 6" x 2" each on cardstock and chipboard. Cut 12 pieces of 2 x 2" on cardstock.
  • Use the longer cardstock pieces as hinges to stick the chipboard pieces to the hexagonal chipboard base and the 2" x 2" pieces to connect all sides to form a tray with depth.
  • Finish the tray with pattern papers and decorate. I have used quilling decoration in this one. 


Here are some close ups:


Materials used Slab Diya holders
  • White cement
  • Ziplock covers
  • Plastic cup
  • Acrylic colours
  • Tea light candles
  • Ice-cream sticks
 

Flower lantern
  • Papericous sigma cardstock
  • scissors
  • Indian inks scarlet and magenta
  • Glue gun
  • Binding wire
  • Disposable cup
  • Small pieces of heavy cardstock
 

Hexagonal tray
  • Chipboard
  • Cardstock
  • Pattern papers
  • Quilling strips
  • Flowers
  • Flower bead chain
  • Pearls
  • Glue gun

All the above-mentioned products are available at Rainbow Craftykari store or you can preorder them by sending an e-mail to rainbowcraftykari@gmail.com

Hope you're inspired by my projects!
Don't forget to link your projects to our current challenge.

Happy Crafting!

Mounika

Friday 6 October 2017

Ganesha Diwali Home Decor Piece Tutorial by GDT Vinita Jain

Hello Everyone!

Happy October!

This is a month of the festive season and Diwali is my most favorite festival, so there is no question about what I love to create with the Mixed Media projects!

You can surprise your guests and visitor this Diwali with your own handmade creation, no need to buy from the market now!

Today I want to show you my new MM project on coming festive occasion
And to inspire for this month challenge "Lights & Celebrations".


And here it goes.............!!!!!!

I converted a piece of plywood into a magical wall decor art. I coated it with Plaster of Paris with the textured look.


Give a new life to Lord Ganesha by using any kind of pearl colors.


Happy with the results using Fevicryl Pearl colors, Terracotta and Old gold Inka Gold!


Now time to create a background scene for Lord Ganesha.


Using air dry clay and a mould I made some embellishments to decorate and let it dry them for a full day.


Now given a coat of gesso to all of them. Don't worry about some cracks because they are very delicate, it will hide with some embellishments:) Fixed metal holders to hang the decor piece.


Applied fevicol and sealant to paste them all.


Die cut lots of different flowers and leaves out of Iris paper, perfect for flower making using Iris sheet.


Soak the flowers and leaves in the water bowl for a minute and inked them using distress inks.


Shaped them using golf groove tool and embossing pad as shown in the pic, perfect for textures and details.


Now time to create the background. Misted the piece with different color splashes. Firstly I started with turquoise color mist bottle at all 4 corners with the height of 4 or 4.5" gap. Then misted with midnight blue, not on the middle part because I wanted the Ganesha to highlighted in sunbursts color effect! Then misted with dirty pink near the pillars. After that misted with chalk ultramarine and golden canary. You will easily achieve the same results as shown in the pic.


Now rubbed all the white part using old gold and turquoise Inka gold to highlight the detailing work as shown in the pic. And applied a little bit at the surface and chippies too!


Here are some close-ups for the detailing work:


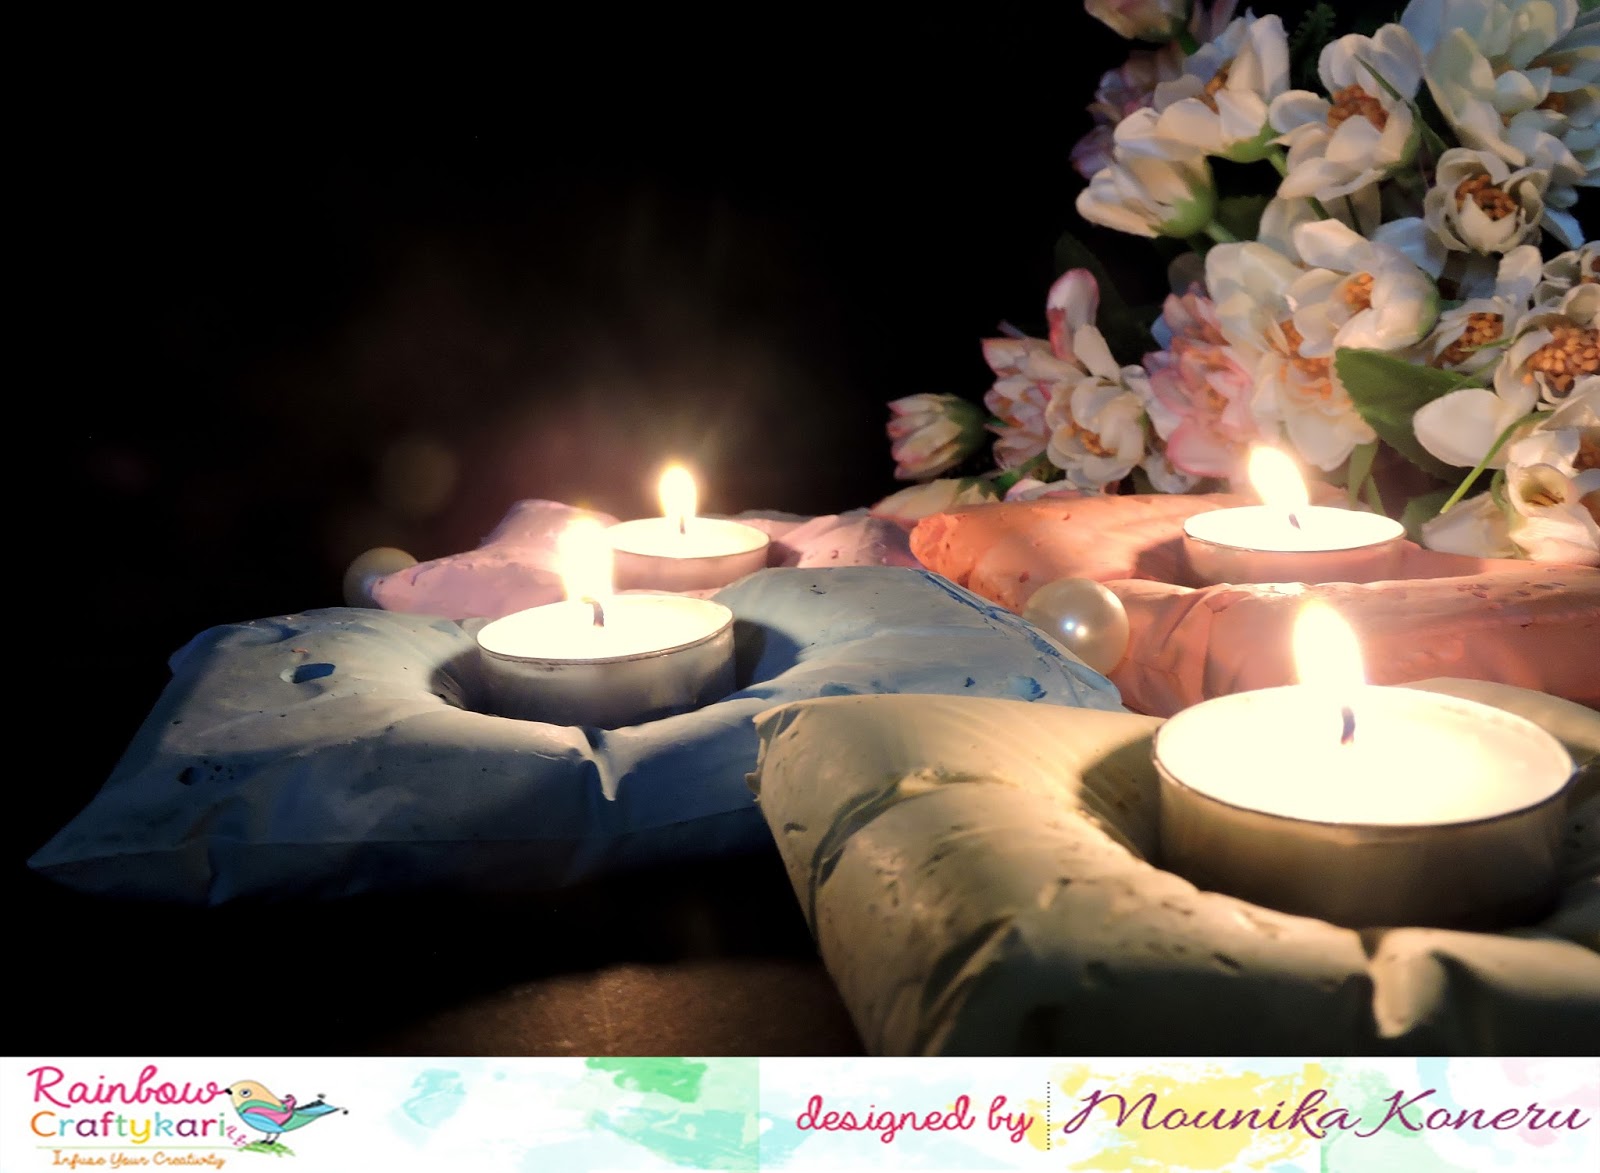
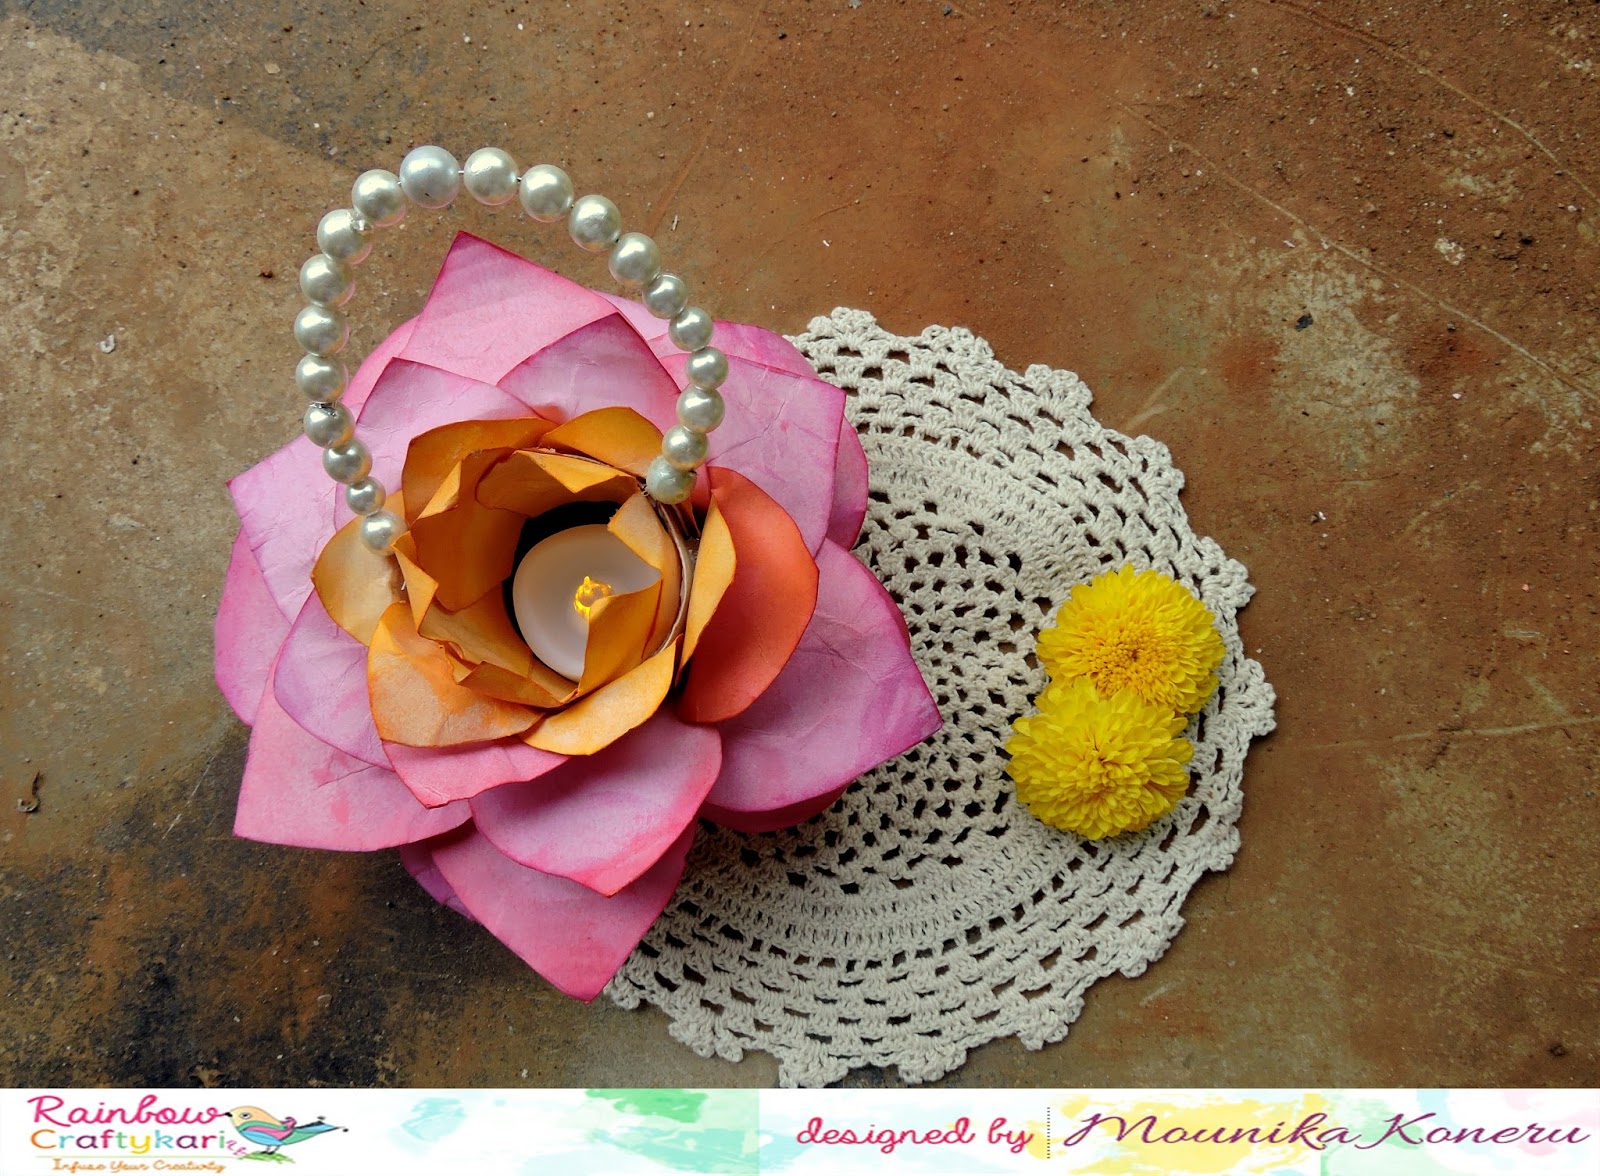
Rub some Inka gold on the metal charm OM word. Paste it on the tea holder and embellished it with some gemstones.


Now embellished the whole piece with my own handmade flowers and few rhinestones, gems. See the details in close-ups clearly!


And covered the backside with the corrugated sheet attached a heart-shaped border at the bottom.

Here is the finished project and ready to hang on the wall. I am really happy that this time I will decorate my Pooja place with my own wall decor piece!!! 😊


Isn't it gorgeous at all!!!

Hope you all enjoyed this project and try to make for yours one too to decorate your home this Diwali! Love to see what you come up with our new challenge here.


Supply list:

Plywood piece

Iris paper

Dies: Flower 2 from Joy crafts; Sunflower from Cheery Lynn; Small tattered florals from Sizzix Thinlits;

Chipboard: Papericious- patterns

Distress inks: fossilized amber, carved pumpkin, fired brick, candied apple, mermaid lagoon, twisted citron, mowed lawn, lucky clover,

Air clay dry from Sculpt Dry

Moulds: Baroque 6- Vintage art mould from IOD Prima

Gesso: Camel

Inka Gold: Turquoise, old gold

13 arts Ayeeda Mist: pastel turquoise, chalk dirty pink, chalk ultramarine

Gold alcohol splash: midnight blue, golden canary

Moda color- terracotta

Fevicryl pearl colors: pearl lemon, sparkling pearl golden green

Groove golf tool

Aleen's tacky glue

Other materials: Fevicol, Silicon glue, Different sizes and shaped rhinestones, Golden heart bead lace, A candle stand, OM metal charm, Glass pollens, colorful pollens, some mulberry flowers

All the above-used materials you can pre-order at the Rainbowcraftykari store and some are already available there!


Happy crafting!

Vinita Jain