Hello Everyone,
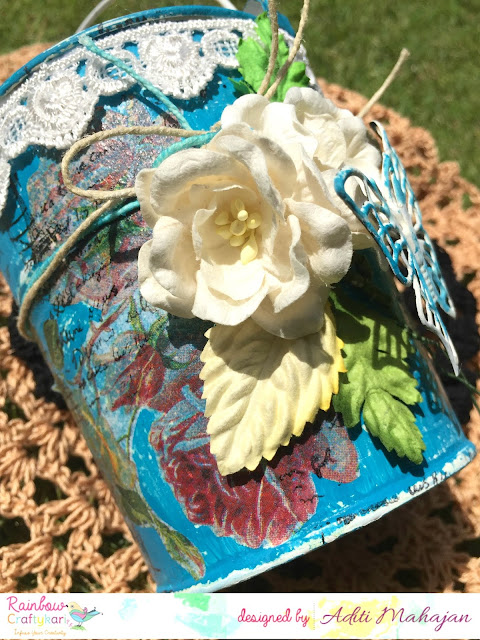
Hope you are all doing good and looking forward to the weekend! Today I'm back with a pictorial tutorial for you all. I have altered a metal tin in a shabby chic style. With simple elements, it's a decorative tin, that can be used as a pen stand, or organiser.
Here's a look at it:
Let's begin the tutorial:
Step 1: Here's a look at the tin first. It's metal and white in colour.
Step 2: First, give the entire tin a coat of the Folkart Home Decor Chalk Paint. I have given it two coats for a thicker finish,
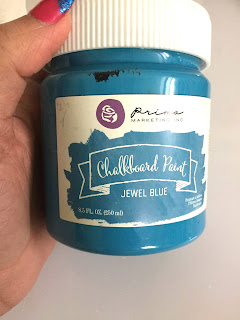
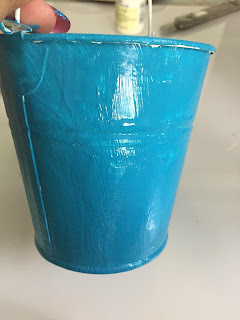
Step 3: Next, give it a coat of Prima Marketing Chalkboard Paint. This third coat is a darker contrasting colour.
Step 4: Using sandpaper, scrub the entire surface. This will give us a shabby look.
Step 5: Pick a tissue paper and fussy cut elements to decorate the tin.
Step 6: Ensure to remove the two layers of the tissue paper before adhering it.
Step 7: Use mod podge and stick down these on the tin randomly.
Step 8: Use some stamps and Black ink and randomly stamp.
Step 9: Pick elements/embellishments to decorate the tin. I have used jute cord, lace, flowers, a metal butterfly (painted using the two paints used above).
Step 10: Glue everything together and your tin is ready,
Supplies:
- Metal Tin
- Metal Butterfly
- Folkart Home Decor Chalk Paint- Satin Finish
- Prima Marketing Chalkboard Paint Jewel Blue
- Decoupage Napkin
- Mod Podge
- Papericious Jute Cord
- Lace
- Flowers
- Leaves
- Sandpaper
Do visit the Rainbow Craftykari store HERE
Visit our BLOG for more inspiration, tutorials and check out our ongoing challenge.
Above-listed materials are available on the Rainbow Craftykari Store and can also be pre-ordered by sending an e-mail at rainbowcraftykari@gmail.com.


