Hello crafty friends,
A very lovely Welcome and a warm Good Morning in this cold winter. Hope you all are doing fine and enjoying our tutorial and inspiration posts.
Today in our Teaching
and Learning Program, we have Guest DT Karthikha with a beautiful Swing Easel card tutorial, so enjoy the tutorial.
Over to you Karthikha
Hello Crafty Folks,
Today I am here with a tutorial on how to make a
swing easel card. It is a very simple and beautiful interactive card once you
get the hang of it! Be ready for the picture heavy post and enjoy.
Step 1
Start with a black cardstock measuring 11 ⅝ x 6 inches and
score it at 2, 2 ½, 3 and 5 ¾ inches along the width.
Step 2
PS: For steps 2
and 3, if you have a trimmer, follow the measurements as trimming. I do not own
one so I’m scoring them first.
Now turn it along the height of the card and score from 1
inch to 2 ½ inches, leaving a gap of 1 inch from the top. Similarly, score from
3 inches to 4 ¾ inches. Repeat this on the right side of the cs also by
flipping the cardstock. I guess this pic explains the scoring/trimming part
clearly.
Step 3
Now score joining the end points.
This is how the scoring looks.
Step 4
I’ve
cut along the scored lines (only those from step 2 and 3) using a craft knife
and cutting mat. If you have used a trimmer for step 2 and 3, you would have
already achieved this.
Step 5
Ignore the first wide scoring line and make mountain fold as
shown in the picture.
Step 6
After folding along the middle of the card, it should look
like this.
Step 7
Make a valley fold as in the pic. This makes the center panel swing and the
easel is ready to be set.
Step 8
Now for decorating the frame, take a patterned paper of your
choice by size 5 ¾ x 5 ½ inches. Make a frame ¾ inches wide on the sides like
this. I’ve used Papericious Happy Birthday pack sheets.
Step 9
Paste it on the easel frame and score along the old lines.
For the inner frame, use a sheet of size 4 x 4 ¾ inches. Decorate the inner
side of the card as well with a sheet of size 5 ¾ x 5 ¾ inches.Your card should
look like this.
Step 10
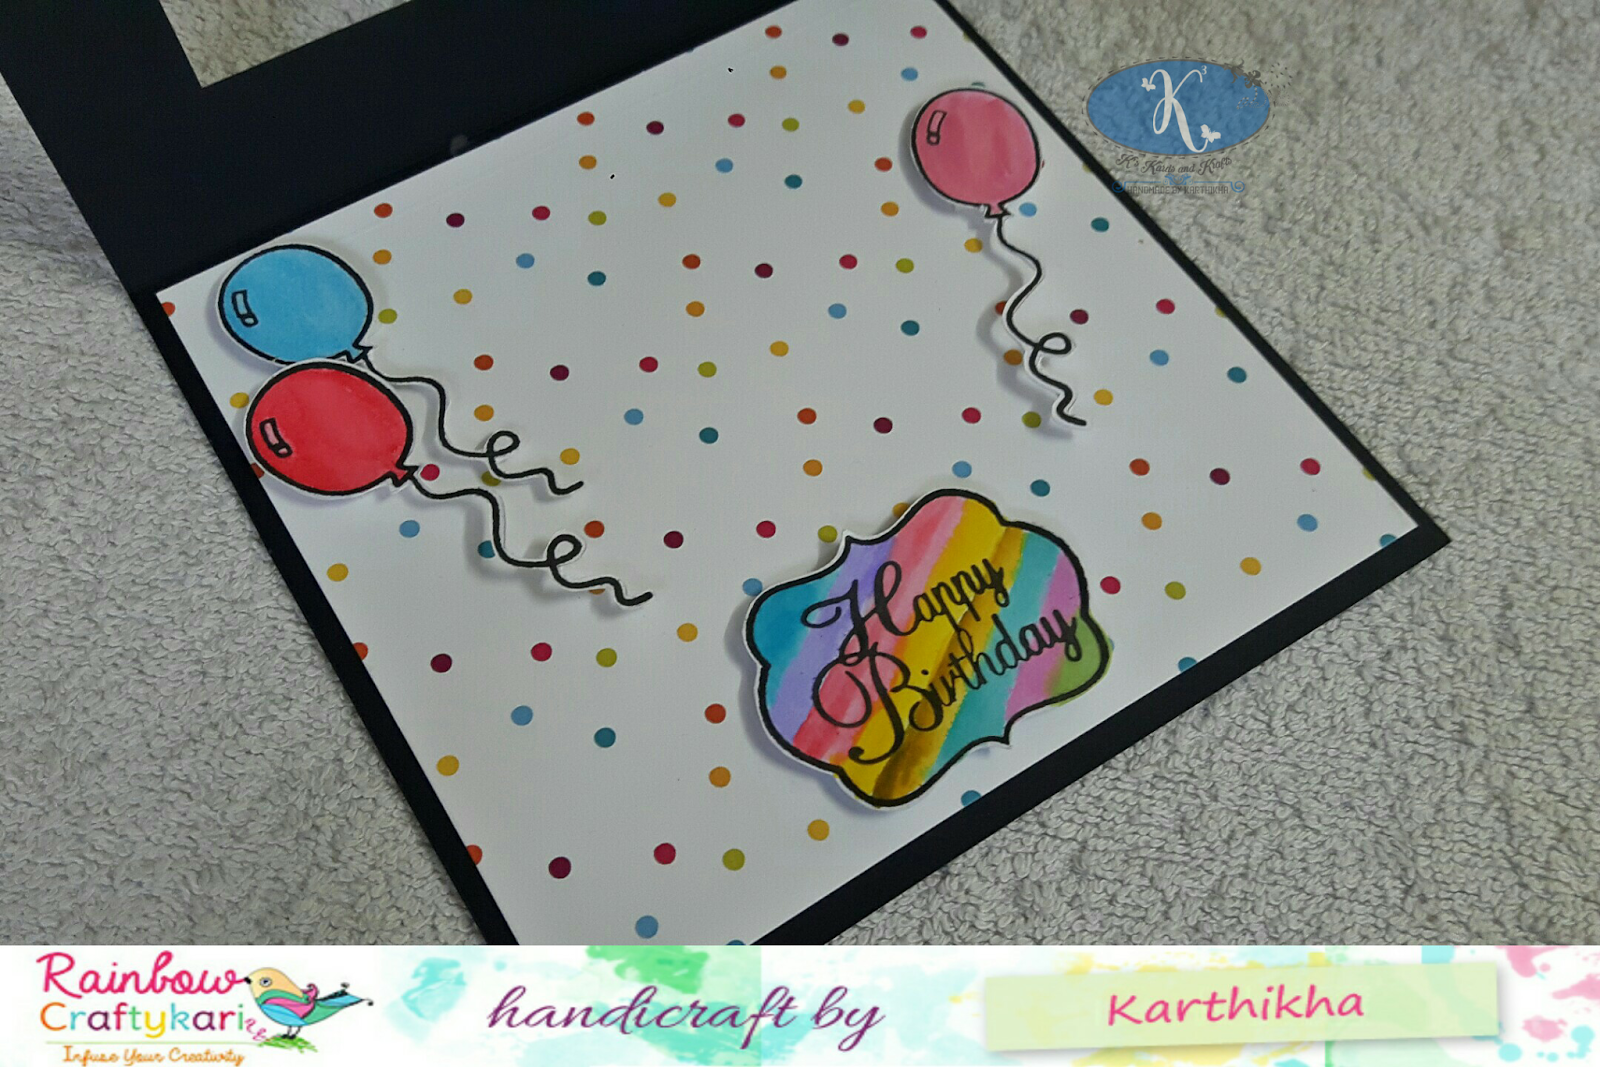
To make the stopper for the easel, I chose the Happy
Birthday sentiment. Stamped using Versafine Onyx Black ink on a scrap piece of whitecardstock
and colored with diagonal brush strokes using distress inks and Fuji watercolor
folios. I then fussy cut it and attached a foam tape to the back.
Step 11
I wanted the focal point to be a shaker, so chose heart
framed diecuts gifted by a dear friend. Diecut the frame on craft foam first to
add dimension. Here I have used 2 craft foam heart frames one on top of the
other and then the main heart frame in cardstock. I colored it using peacock
feathers distress inks and doodled a simple pattern using black marker. I’ve
used an OHP sheet cut out and some basic sequins, along with a Happy Birthday
party prop for the inside of the shaker. This collage explains this step.
Step 12
I
stamped, colored and fussy cut some balloons for the inside of the card and
attached them using foam tape. This
completes the swing easel card.
Here are some more pics!
Hope you liked this card and enjoyed the tutorial! Do try it
out and let me know.
Supplies
Used:
Black
cardstock
White cardstock
Papericious Birthday pack
Birthday clear stamps
Versafine onyx black ink
Fuji watercolor folios
Distress inks
Foam tape
Craft knife
Cutting mat
Scissors
Regards,
Karthikha.