Wednesday 4 October 2017

Favour Boxes tutorial by Kriti Mishra

Hello Crafters, 

I am back on the blog with another tutorial. Why purchase gift boxes when you can make your own? Making gift boxes is fun. It’s super easy to learn how to make a cute gift boxes out of scrapbook paper.

To honour the small gifts in life, here is a really cool tutorial on how to wrap up your awesome heart-felt gift with something handmade, your own DIY gift box from scrapbook paper.This is turned into one of my favourite little projects to do because not only is it quick, but it’s personalized, hand-crafted, a beautiful work of art that will be remembered way beyond the day that you give the gift. Extra bonus...making your own gift box will cost you much less than a roll of wrapping paper at the store! Unique and cheap...who could ask for anything more?

Tutorial for Fold over Paper bag
  • Take a piece of scrapbook paper ( 10" x 12") and score at 5- 3/4"  and 11-1/2" on the long side.


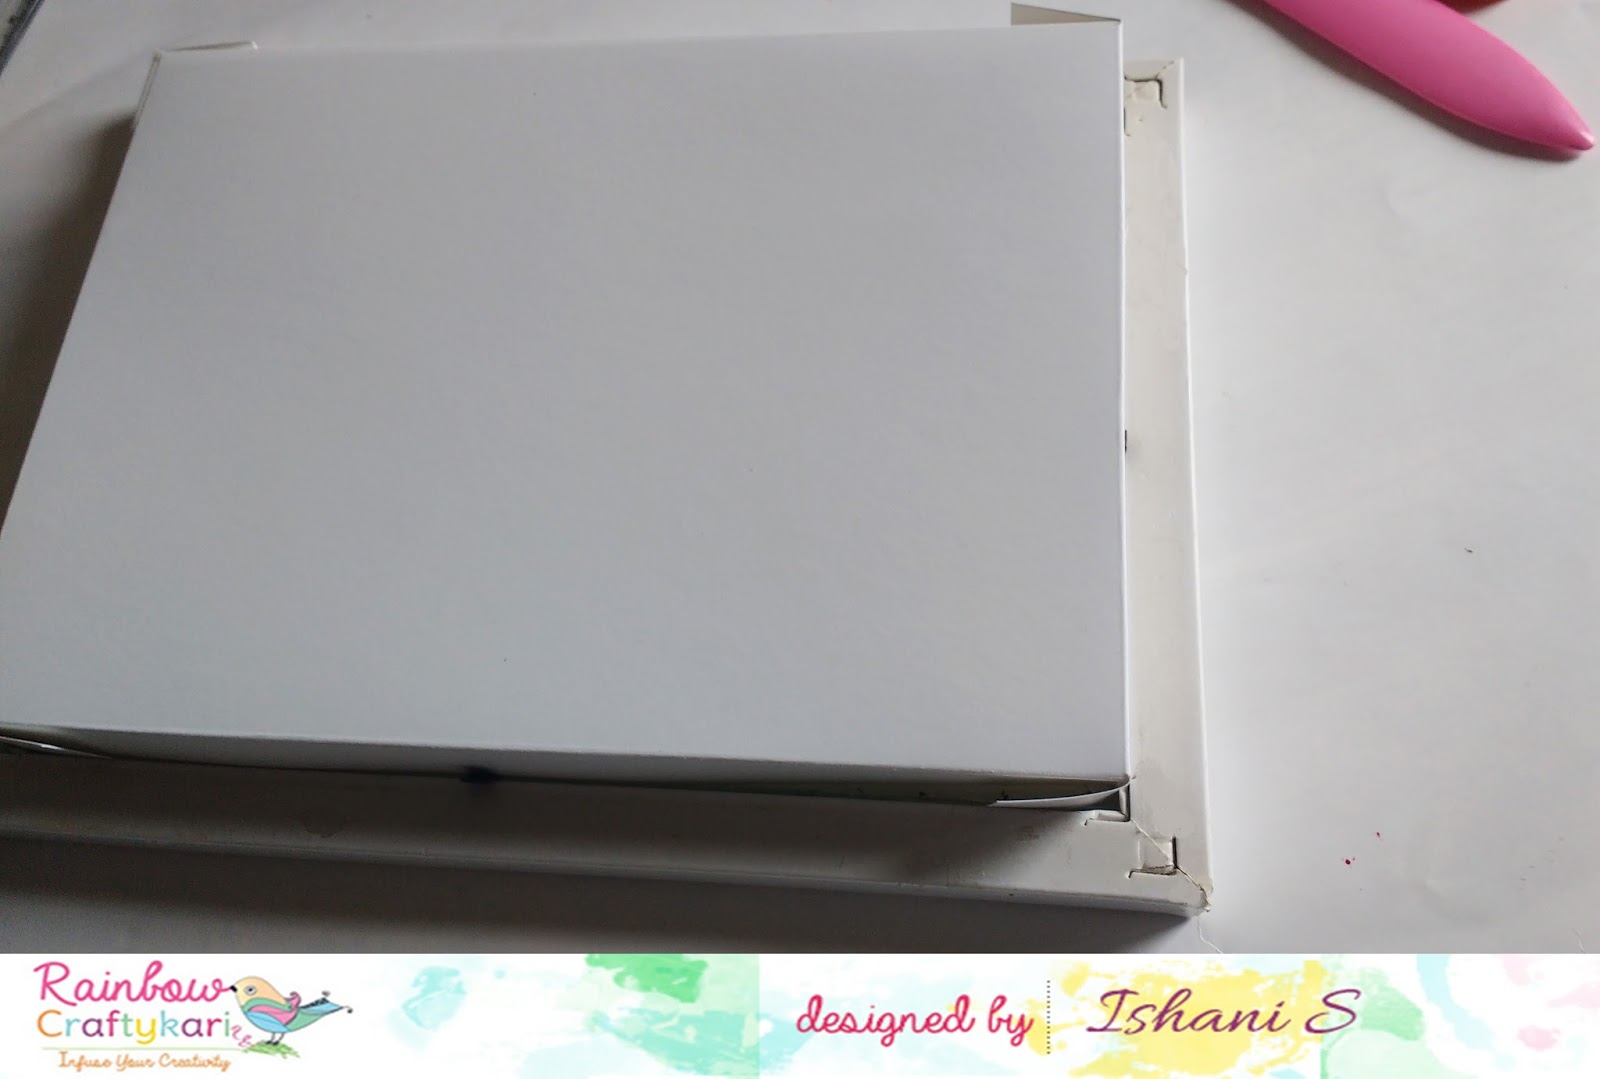
  • Paste as shown in the picture with glue. Allow it to dry for some time.

  • Score both sides at 1" and fold it. The thickness of the fold will determine the space inside the bag and this will become the width of the bag, so accordingly score the paper from both sides.

  • Open the folds and along the creases made  fold inwards on both the sides as shown.

  • Fold the bottom of the bag for a length of around 1-1/2". This will depend on the size of the bag you are making.

  • Unfold the last fold made. Along the side crease, fold inwards to form a triangular shaped edge.Fold the flap inwards and flatten it as shown below. Paste the two flaps together using glue and press so that the base is firm.


  • Now moving on to the top, fold the top of the bag for a length of around 2", open it and pinch inside from both the sides and fold it over again. I had put brown colour cardstock over it for colour co-ordination.
  • Your fold over bag is ready, embellish it accordingly.


Tutorial for Milk Carton Paper bag

  • Take a piece of scrapbook paper (10-1/2" x 7"), score at 2-1/2", 5", 7- 1/2" and 10" on the long side.


  • Turn the paper 90 degrees and score at 2- 1/2", 5", 6- 1/2".

  • Fold and crease all the score lies.
  • Cut along the score lines from the base of your paper upto the 2-1/2" mark to make the flaps which will form the bottom of your box.
  • Next cut away the narrow side tab as shown in the picture.

  • Fold the paper and glue the side tab down.

  • After that it will look like this


  • Apply glue to the top of 3 of the bottom flaps. Fold each one on top of each other to form the base. The one without any glue should be the last flap to fold down.


  • Now gently pinch in the sides from the top, and close it using mini peg, wooden peg, washi tape or ribbon.

  • Milk carton paper bag is ready.

So I made two favour bags/boxes, hope you get inspired

Tip:- To get the right thickness, use can use high gsm plain cardstock also and later you can adhere scrapbook paper over it. It makes your box sturdy.

Personalize the labels with your own message.Even though it’s a plain design, you can dress it up with more embellishments to make it look more sparkly & special.

Material Used:-

  • Pattern Paper from Papericious
  • Cardstock(Brown, Yellow and Ivory)
  • Sizzix Dies( Circle, Scallop circle, Scallop Oval)
  • Glue
  • WRMK Crop-a-dile
  • WRMK Trim and score board
  • Twine
  • Archival Ink
  • Sentiment stamps
  • Acrylic stamp block
  • Martha Stewart Lace Punch

All the above mentioned products are available at Rainbow Craftykari or you can pre- order them.

Kriti Mishra

Monday 2 October 2017

Sun catcher Wall hanging by Blog Coordinator Aditi Mahajan


Hello Everyone,

Time surely flies! It's October and I'm back with an inspiration for you for our October Challenge! 


Today I decided to make some DIY gifts for the festive season. These project ideas are so simple, that parents/teachers can teach kids to make them and they can proudly flaunt their hand-made creations. 

First up is a Sun Catcher Wall Hanging- Included the twist of lights in the form of the Sun and the celebration here are the festivals!


For this hanging, I altered an MDF piece, however, you could simply take an image of the sun from the internet and trace it onto chipboard (those good at drawing can draw it also). Next, cover the surface with gesso if your base is dark. Play with colors. Here I spread colors on the gell press plate and lifted them on my surface. First yellow, next orange and then some magenta. Do this on both the front and back, since it's a hanging both sides will be visible. Next, pick a stencil and place it on the base, dab some gold paint with a piece of sponge. This enhances the look and adds some interest. Cut out pieces of chipboard for the eyes, nose, mouth, and eyebrow and paint them. Stick them with glue. Punch two holes- one on the top and one at the bottom. String a few beads and a bell and tie it to the hole at the bottom. Similarly, string some beads with a hook and add it to the top. That's it, you have a fantastic wall hanging.

Here are some close ups:


Next, is a tea light holder.


For this, I used an MDF Coaster base, and brushed white gesso. I stuck some pieces of newspaper and then covered it with gesso again. I then used some modelling paste through a stencil for added texture. Next, I applied some sand texture. I then spritzed some colours. Next, On the sand texture, I used Inka gold to highlight it. Finally, I mixed some metallic paint to modelling paste and applied it with another stencil. 

Supply list:


  • MDF/Chipboard Base
  • Acrylic paints- Standard and Metallic Finish
  • Gell Press
  • Assorted Stencils
  • Beads
  • String
  • Bell
  • Plastic loop for the hanging
  • Inka Gold
  • Sand Texture
  • Modelling Paste
  • White Gesso
  • Newspaper pieces

Hope you're inspired and do participate in the challenge!Happy Crafting!Aditi


Saturday 30 September 2017

Origami Shadow Box by DT Ishani


Hello Dear friends,


Today I am here with an Inspiration post for you, an easy DIY shadow box + Origami, you could gift to your friend who just had a baby. I am using an age old paper art - Origami for my shadow box, but you could use it for anything you want to display.


I always felt the dimensions of a project like quilling and origami gives the handmade creations a different look. But I always struggled to find a frame for the same, even if I found, it was a little expensive for me. So why not give dimension to a common photo frame?

You can choose any dimension of photo frame for this, depending on your project. Remove the pins and the backing of the frame. Now you will have the glass, the side frame and the backing of the frame.


Take a heavy gsm paper, 220 gsm or more and trace the glass size on it. Now with the ruler, trace 2 cms around the glass measurements.


Let the lines dissect when meeting at the corner. These lines will give depth to the edges of the frame. Then, cut along the outer line to get a rectangle.


Next, with a scoring tool score the innermost line, to get raised edges. Cut the two opposite corners.


Fold the four side with the help of a scoring tool, giving it a neat crease on the inner most line.


Now that you have raised sides stick the corners together with a cello tape. Try to place it in the frame and see if it fits well. 


Now that the frame is almost ready, once you put all the elements together place the backing of the frame over the cardstock and stick it up with a strong cello tape. 


Now, our shadow box frame is ready to be used for framing. I planned to do origami and made a onesie (with a bib) and a diaper with origami paper.


When I thought about how to incorporate it, I thought they'll look nice if I put them on clothesline with wooden clothespin, as if they are hanging after a wash.


Here are some close ups of the final project:


Supplies used:

  • Photo frame
  • Cardstock of 220 gsm 
  • Cello Tape
  • Double sided tape
  • Scissors or Paper cutter
  • Ruler 
  • Pencil
  • Origami Paper (10 x 10 cms for the onesie and 7x7 cms for the diaper)
  • Safety pin 
  • Pattered paper (for bib)
  • A piece of cord
  • Wooden clothespin
  • Washi tape


Hope this project inspires you try something similar too. You can find all these supplies at the Rainbow Craftykari store or you can Pre-order by sending an email at info@rainbowcraftykari.in

Don't forget to link in your projects for our this month's challenge.

Love,
Ishani