Hello Everyone,
Aditi here, Today we're here at the Rainbow Craftykari blog with an interesting post for you. Its an information packed post, with a lot of play and examples.
We've heard a lot about Gel press, and seen videos, but our very first interaction was during Creativation 2017. We took up a class, saw demos and were fascinated with the power of this one tool.
Gel Press® is the original, superior monoprinting plate - permanent and reusable! Make stunning prints for use in your artwork: Mixed Media, Scrapbooks, Cards, Art Journaling, Home Décor and more! - https://gelpress.com/
As they suggested, gel press aids in making stunning prints to be used in any kind of project. Many of you might say, its the same, paint your background, stencil, stamp, etc. Well yes, but using this plate, life is so simple, you get faster prints, it's addictive so you keep going on and on. You can create intricate prints, with multiple patterns.
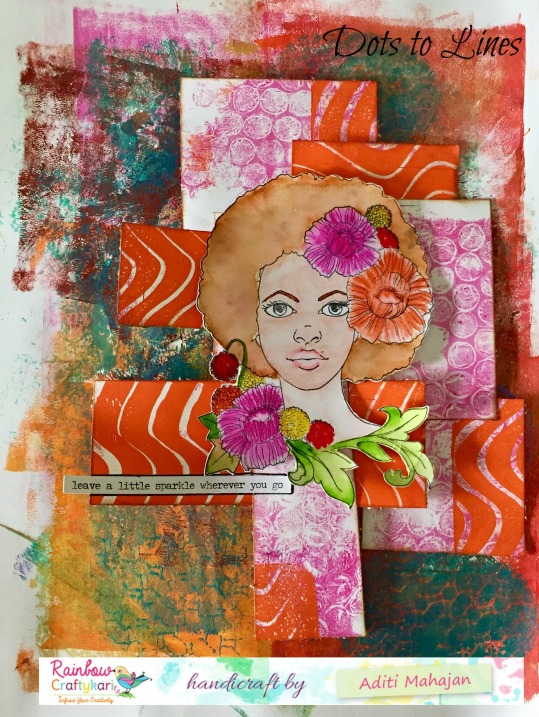
Here is a journal page we made using gel press prints.
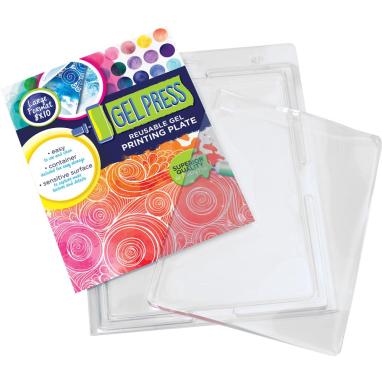
This plate is a silicon transparent jelly like plate.
These come in varied sizes and shapes:
12"x12", 12"x14", 8"x10", 5"x7", 6"x6", 3"x5", 8" round, 6" round, Petites Set- Oval, hexagon, rectangle, triangle, square and circle (small).
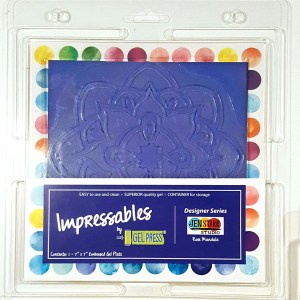
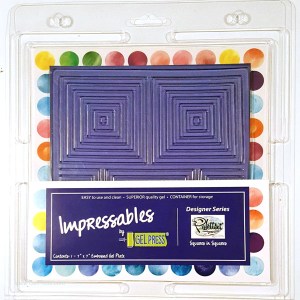
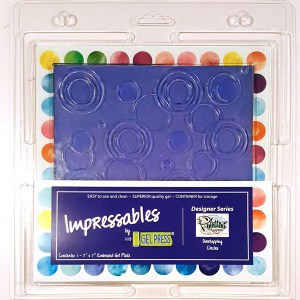
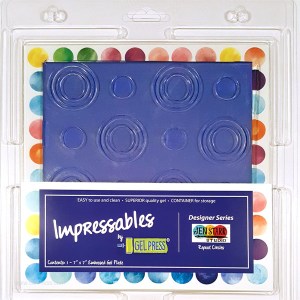
The latest products are the Impressables. These come with certain patterns in the plate, so your first print has a self pattern.
This is the basic information. Now lets play with them and show you some results.
Firstly, always keep the plate on a craft mat or acrylic mat. Since it has baby oil any other surface will absorb it. The smaller ones can be used by removing only one acrylic sheet and leaving the other mounted. In between, if you want to clean your plate, use a baby wipe. You can work with acrylic paints, most brands work. And if the paint dries up quickly you could use a retarder or acrylic glaze medium on your paint. We have tried working with inks and we got great results with distress inks and oxides.
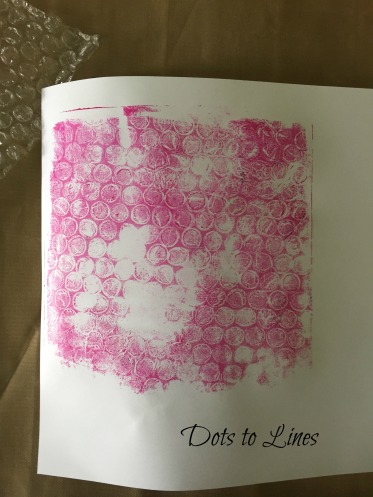
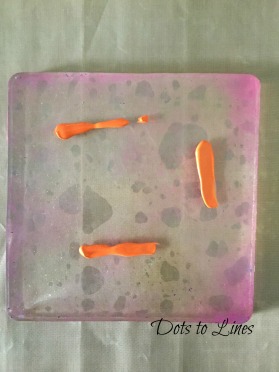
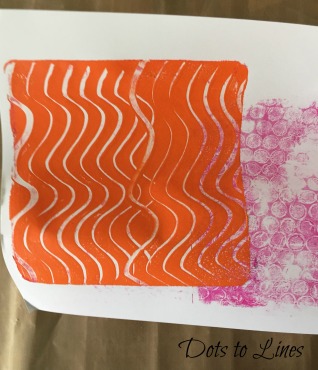
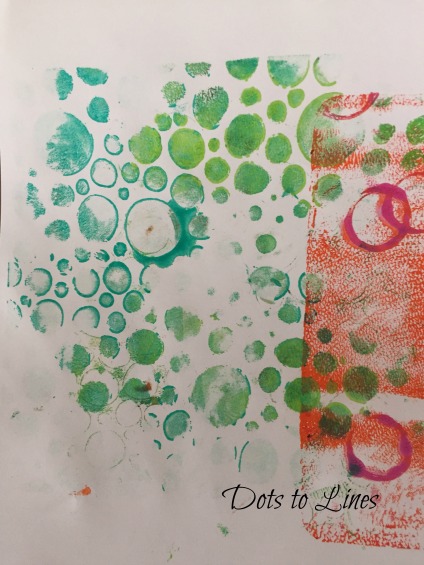
1. Add some paint on the plate, spread it with the brayer. Use bubble wrap and press onto the paint and lift it. Keep a sheet of paper and rub on the back to lift the print on the side touching the plate.
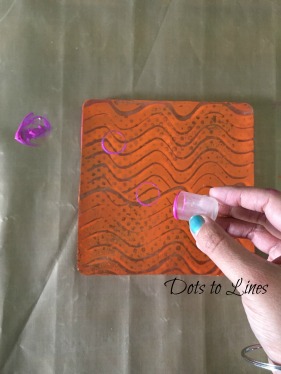
2. Add a different colour on the plate and spread with the brayer. Using any texture comb, create a design and lift on your paper. On the left base, create some circles with a bottle cap and a contrasting colour and lift the print.
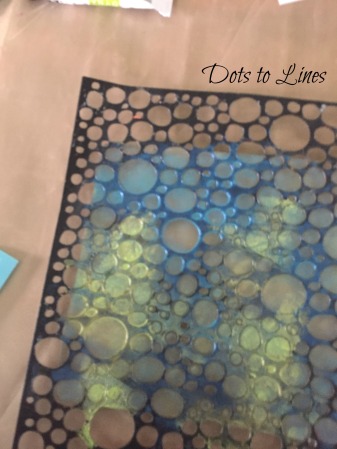
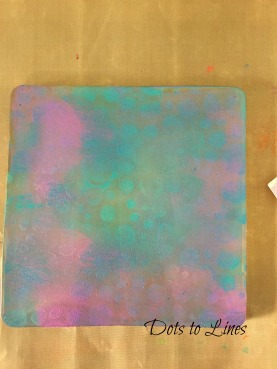
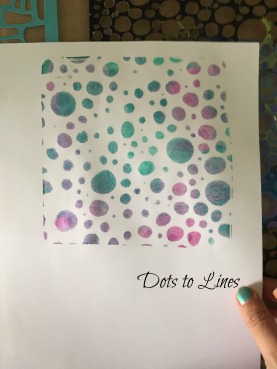
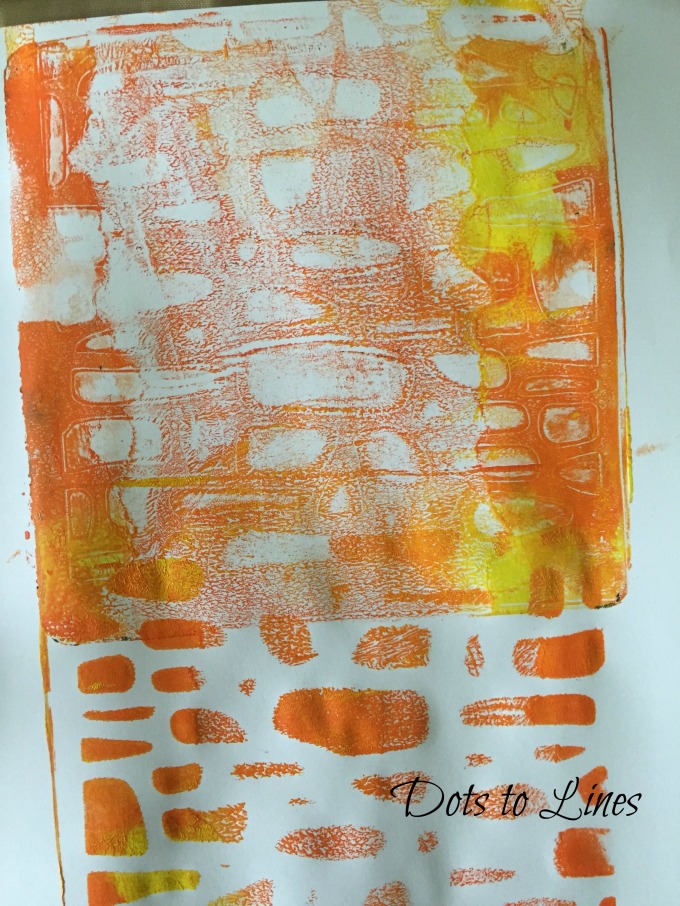
3. On a cleat plate, place the stencil and through the stencil add two colours and spread with the brayer. Lift the stencil and take a print on the paper from the plate. You could also take a print from the paint on the stencil by rubbing it on the sheet.
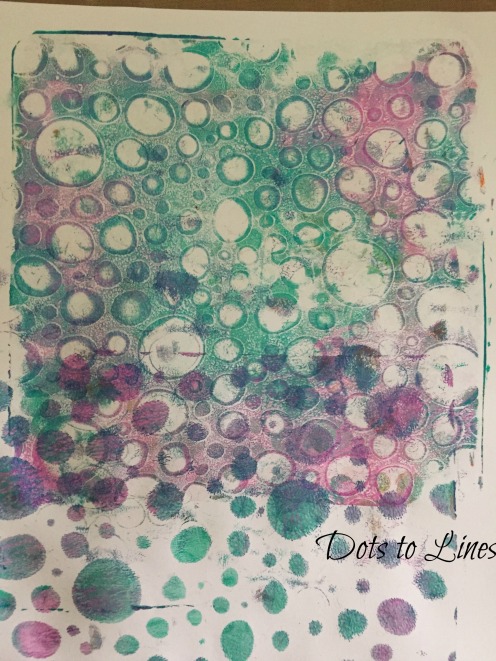
4. Add two colour onto the plate and spread with the brayer. Place a stencil on the plate. Press a paper and lift the print. This will give you the print only through the stencil. Next take a print from the stencil. And third, press the paper onto the plate again once the stencil is lifted- this will give you a ghost print.
5. We kept a plain sheet of paper next to us, and every time we used the brayer, we moved it on this sheet to clean the brayer before moving onto another colour. This gave us a great background, which we used for our journal page above. We had some prints to it with the small oval plate and stencil for more interest. We cuts pieces from sheets show in technique 1 and 2 for our layers.

6. Some play with oxides. We used the mini rectangle and hexagon plate. Added one colour of the oxide onto the plate directly from the ink pad. Next, we rubbed a darker colour onto the uprooted side of and embossing folder and pressed it on the plate. We then took a print onto our paper. We stamped from the folder directly on the paper, to take a print from the remaining ink as well. In the last hexagon, after taking a print, we stamped another shaded using acrylic stamps and printed it over the first hexagon print for more interest. In the same way, you could add colour and stamp on the plate and take a print for a different background.
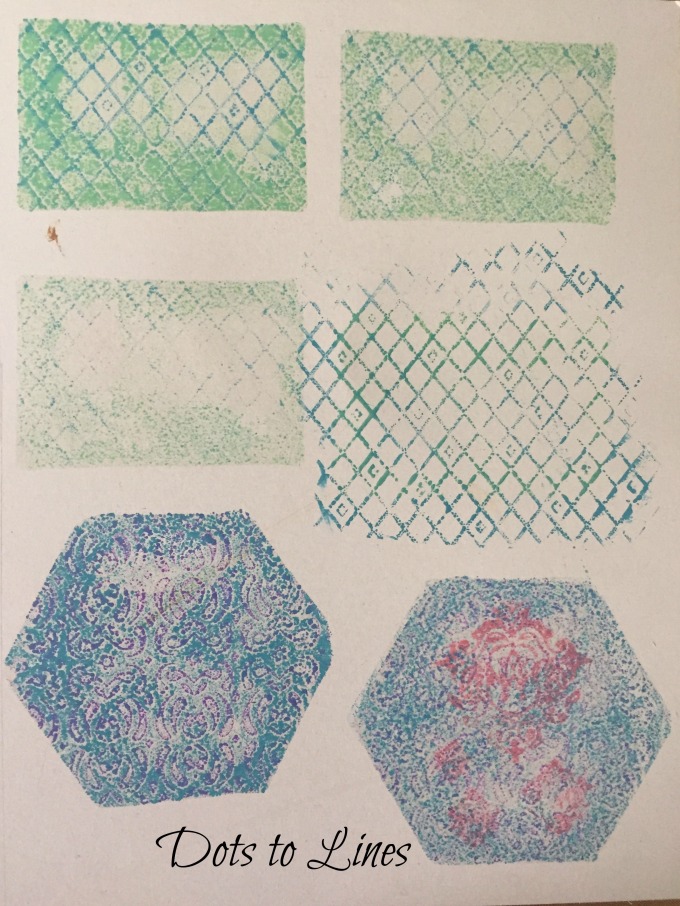
As you see above, stencils, stamps and found object work really well. Anything to create texture and patterns as with the plate all you're doing is lifting prints and getting some fabulous paper ready for your projects. Not just paper, your could print on fabric and other surfaces as well. We've only introduced this tool and there are many more techniques to explore.
We hope we've inspired you to play and explore :)




Such bright and beautiful page with so much information!
ReplyDeleteGreat one! I would really like to try my hands on these :)
ReplyDeleteThank you guys :)! Looking forward to seeing your creations with it RIa :)!
ReplyDeleteBeautiful work, so informative post!
ReplyDelete