Showing posts with label Inks. Show all posts

Thursday 3 May 2018

One Stencil, Multiple cards by DT Megha


Hi Everyone,

It's Megha here, welcome back to the blog.

Today I am going to use one stencil to create four different cards. Each card I'll be using a different medium, although they will have the same design they will look different :)!

Lets begin, the first technique will be 'Inking with a Blending Tool', this is simply applying inks with the blending tool, I am using three colors, red, orange and yellow to get a vibrant result, you can pick three or more of your favorite colors, this is the most favorite and popular way to use our stencil, isn't it ?


The only thing to remember is to secure your stencil with masking or paper tape so you get a clean and crisp result.


Next technique, 'Patina and Rust Pastes', I'm applying three colours from this beautiful collection of rust and patina pastes. This gives the creation a very different and dimensional effect. I used blue, mint green and yellow rust; a light to a dark application. Remember to clean the edges with the spatula.These pastes dry up faster. 

For the next one, I'm using 'Embossing Powder' to do some heat embossing. I'm going to apply Versamark ink through the stencil and always secure the stencil with tape so it does not move on you. Next, sprinkle the gold embossing powder and heat set it. The heat gun is used to melt the powder and not an ordinary hair dryer.


For the final technique, 'Texture Paste and Spray', Texture paste can be applied just like modelling paste but the good thing about this is it takes inking or sprays very well and beautifully. You can actually mix up the paste and spray beforehand and then run the mixture through the stencil. However, for this technique, all I am going to do is apply my texture paste through my stencil. And without moving the stencil spray colour on top of it, don't wait for the paste to dry. I used blue and pink colour spray. You will notice the colour will not seep underneath the stencil just because I have all that texture paste. Now I am going to move the stencil carefully and heat dry it, make sure the heat gun is not too close as texture paste tends to bubble up or you can just leave it to air dry.


I took all these and turned them into cards, Here's how they look,


Supplies used:

  • White Cardstock
  • Stencil, gold embossing powders
  • 13 Arts Colour Sprays
  • Finnabair waxes, patina pastes, rust pastes
  • Texture paste, Distress Inks
  • Blending tool, Versamark ink
  • Masking tape, sequins
  • Die-cuts words
  • Liquid Glue, heat gun
Hope you got inspired to use one stencil to create different looks with many techniques. 

Most of the above-listed materials are available on the Rainbow Craftykari Store and can also be pre-ordered by sending an e-mail at rainbowcraftykari@gmail.com.


Do visit the Rainbow Craftykari store HERE

Join our current challenge https://goo.gl/xLvnFw


Happy Crafting and see you next time!


Megha

Friday 12 May 2017

Beauty Inside The Blooms MM Canvas by GDT Mounika K

Hello Everyone


Mounika Here, happy to share one more  inspiration post for Rainbow Craftykari.  check our blog for ongoing challenge Blooms Magic. Today my project inspired my same challenge made this canvas mixed media


To start with, I had primed the canvas with light gesso, once its dry, I had started free hand out line of girl and than later stenciled using texture paste to create texture.  I've used two different kind of stencils here


Once it dry, had randomly splashed some photo transperent inks and lindy stamp gang sprays until i was happy with the coloring


For flowers, i have used punched flowers, die cut and some hand cut flowers, damped them at the back with some water and using my embossing tool to shaped the flowers .


And finally arranged the canvas with final touch-ups added some inka gold and microbeads here and there. Lastly, added the hand written quote.


Here are some close ups


Hope you all have enjoyed and inspired. Will love to see you all participate in our ongoing challenge "Blooms Magic"

Materials List:

canvas

gesso

texture paste

stencils

heartfelt flower die

punches

embossing tool

acrylic paints

distress inks

lindy stamp gang sprays

microbeads from my stash

inkagold

embellishments from my stash


All the materials listed above are available at Rainbow Craftykari Store or you can pre order them by sending an email at rainbowcraftykari@gmail.com.


Warm Regards

Mounika K

My blog link - http://craftdrama19.blogspot.in/

My fb page - https://www.facebook.com/McCrafts/

Wednesday 3 May 2017

Accordion Mini Album with Vellum Hinge by GDT Mounika K

Hello Everyone


Mounika Here Again, So much excited for my inspirational post on Rainbow Craftykari blog. Today I'm going to pump up your creativity. Have made Accordion mini album which would be great way to give as a gift to your loved ones and beautiful way to store your memories. It's simple and cute to make. So I've made one for my husband with me and my son's pictures.


Let's get started!!


To start with i cut down 4*4 size Papericous sigma cardstock, I must say it's an amazing cardstock for colors and stamping and randomly colored it with different distress inks and some photo transperent inks. 


While assembling i used vellum as hinge between two pages ,took hinge of 2"×1.5" vellum before sticking panels together placed velum and stuck. Finally for embellishment i stamped Mudra butterfly stamp with different colors distress inks and cut down some frame from Papericous often paper collection and assembled my mini album


Some close ups of mini album


Hope my project inspires you....


Materials used


Papericous sigma cardstock

Papericous often paper collection

Vellum sheets

Ribbon

Mudra Butterfly stamp

Distress inks

Phototransperent inks

Foam tape


All the materials listed above are available at Rainbow Craftykari Store or you can pre order them by sending an email at rainbowcraftykari@gmail.com.


Hope you got inspired to create one yourself. Do join us in the Current challenge "The Blooms Magic". Looking forward to see your entries. Happy Crafting!!


Warm Regards

Mounika K

My blog link - http://craftdrama19.blogspot.in/

My fb page - https://www.facebook.com/McCrafts/

Sunday 29 June 2014

Guest DT Bipasha: Altered your Drawings, MDF & Cage using Beeswax and Spellbinder Media Mixage


Heya Crafters, Whats up new going? Well Today we have came up with amazing post on Mixed Media. Let me introduce to you a crafter who is an electronics engineer. Her passion for art and craft is totally unending. She's always surprise us with her out of circle imagination and her drawing skills are incredible. She is Bipasha from Bk's Creative Corner
Over to you Bipasha

Bonjour my dear crafters!This is Bipasha from Bk's Creative Corner.At the very outset, I would like to thank super talented Maninder for giving me a chance to be a Guest Designer for my very favorite Rainbow Craftkari Blog and the super gorgeous GDT kit :),believe me the very moment I unpacked my parcel,it left me in complete awe and admiration for each of the products,specially the wooden embellies, metal findings,the Spellbinders Media Mixage ! Gosh I was dreaming of all crazy creations :P !!

It's a  little lengthy picture heavy post,so get a hold of your favourite drink and have fun going through the post :).

I will be sharing three projects with you and two techniques of fun experimentation with Beeswax!

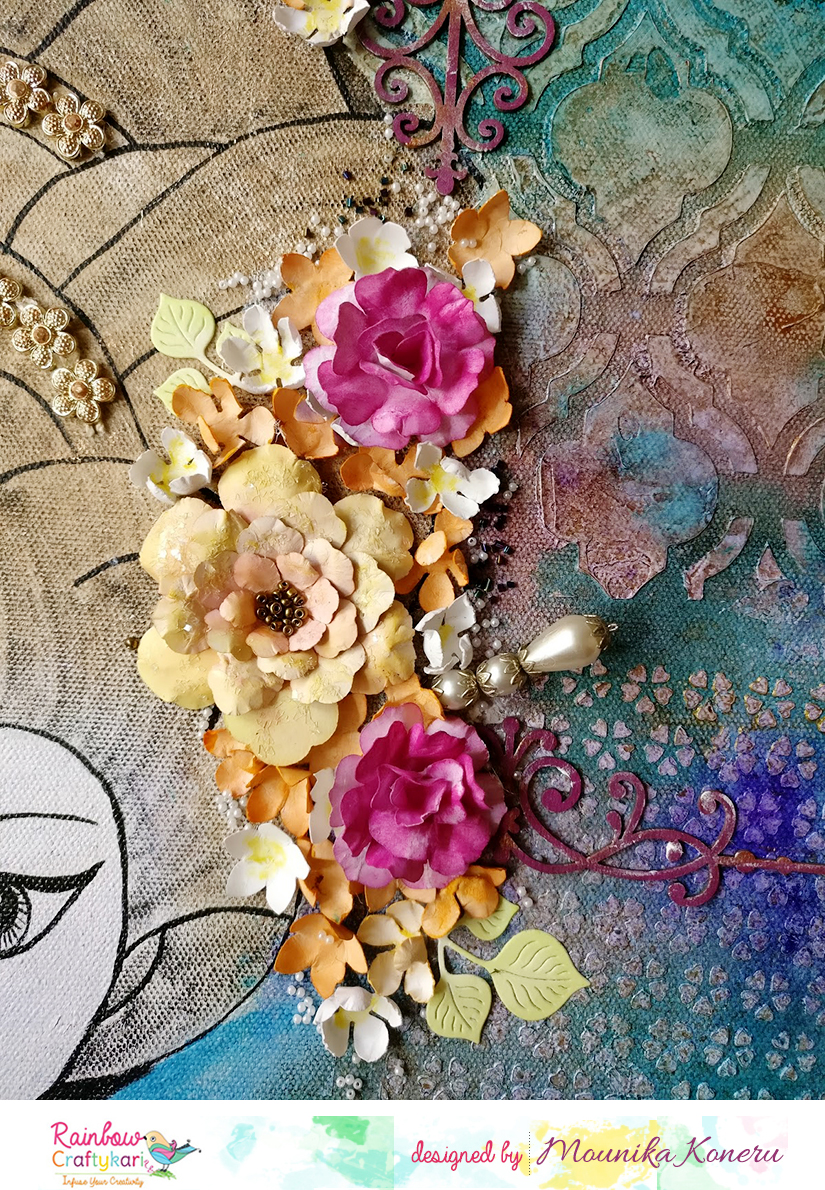
Project 1: #Making a collage with beeswax(clear) (technique A),Colour me Crazy-Petalloo flowers, canvas board and some metal charms.

Instructions:

(Melt Art is way beyond fun! It’s super easy to experiment with all the cool (or should I say hot?) meltable mediums when you have the Ranger Melting Pot, no doubt.But who says you can't play with beeswax unless you hav a melting pot ?)

To work with the bees wax,I wanted a strong image to use as the focal point for my collage, and followed a few easy procedures to make it real grungy.
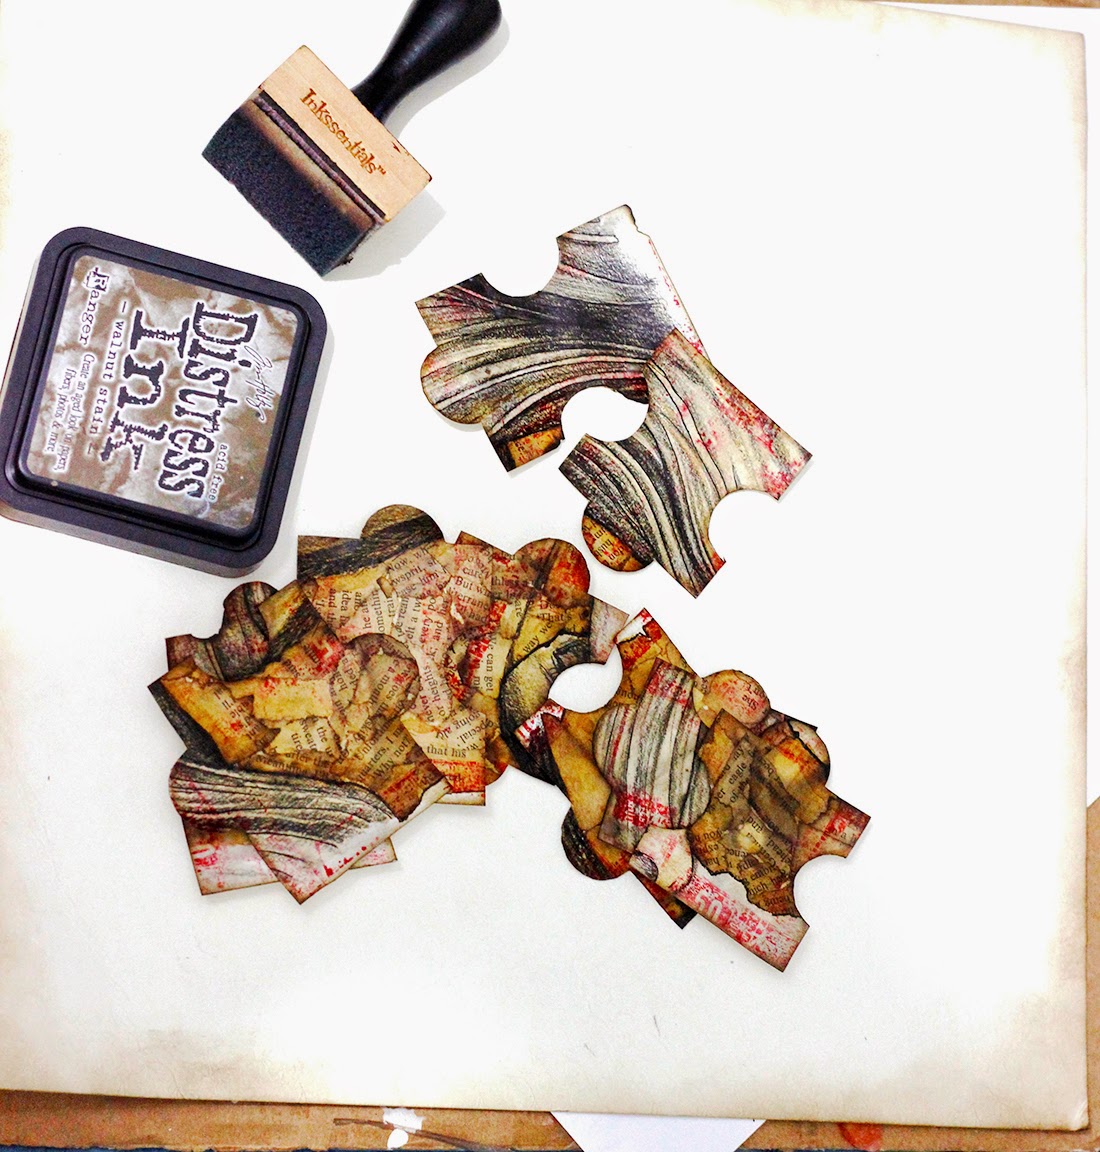
I sketched my image with charcoal pencils, then mod podged an old dictionary paper torn-outs(distress inked the edges while doing so) as a mask for my "grungy lady",and finally used coffee to give little effect to the entire image.


Now the image was ready for the real experiment with the beeswax ! To add little drama, I cut out my entire image into pieces alike those of puzzle games, and distress inked the edges.Then I stamped on random areas of the pieces with my red momento ink.


Then,I placed some beeswax pellets on each piece and ironed it out with my craft iron. Can u see lovely, foggy ethereal quality added by the wax to your surface and oh, the texture!


Next, i distress inked the edges of the canvas board using Walnut Stain


My next job was to make some co-coordinating embellishment for my grungy lady ;)! So I distress stained,stamped some of the awesome color me crazy petaloo flowers. The best part about them is they are so easy to stamp, ink, or mist. Take out a mat and "color" away, to make one-of-kind, beautiful embellishments in seconds.

Once they were ready, I started working on the rest part of my collage and stamped and pencil-colored the area to create of my favorite dimensional brick look.


Once I was quite happy with placements and layouts,I glued down the accesories and voila!! My grungy lady is all ready for the show :) 


Project 2 : #Making a penstand with the amazing MDFs,decouplage napkins and beeswax(clear) (technique B).

(My entire idea was to make it a little shabby-chic and also add a little vintage-y touch to it.So I selected the colour scheme as pink,black and slight brown vintage old touch *here and there. Hahaa, well the "here and there stuffs" will be stressed more in the below instructions though ;)
Instructions:

I separated the stuffs required for the primary base look of the pen stand. I thought of decoupaging it with the wonderful napkins from the store.I mixed a little paint and gesso and colored the entire mdf stand, giving it a creamy pink tint.

After the basic coat dried up completely, I decoupaged the napkin with mod-podge. In other cases, I would have preferred to roll out the wrinkles created on the napkin with a roller or a damp sponge before drying, but I left it as it is for this project, I loved the worn un-neat look!I stamped the visible edges of the stand with bo-bunny stamp and momento inks.


I collected two random stamps and planned to use them as embellishments! yes I mean postal stamps and i'm going to use it as embellishments. I distressed the postal stamp with Vintage photo stain and applied melted clear Beeswax, its worked out the perfect magic. I used a simple lighter to melt the wax and create a faint aged texture. I feel they look perfectly aged and gorgeous !


Finally, I added a few textures with Modelling paste(add a little pink tint) and gessoed + stamped few mdf embellishments to co-ordinate the entire project.


And we are done ! :)


Project 3 : #Making a dangler with the Spellbinders Media Mixáge.
Instructions:
(I have long been a fan of Susan Lenart's eclectic style, her embellishment range always blew me away and this Spellbinder Media Mixage is not an exception !)
I had seperated some of the assemblies(flowers,mini beads,etc) that I thought it might go well with the project.

(I have cut out co-ordinating pieces from the printable's and glued them inside the Spellbinders Media Mixáge bezel. Squeeze Dimensional Magic over the paper in a thin, even layer, creating a slight dome. Starting around the edges and spiraling inward, filling in any gaps.Use your finger or a toothpick to pop any air bubbles, then let the glaze dry in place (about 24 hours), allowing it to cure.If necessary, prop the bezel so that it will lie flat and level. (If you don't have dimensional magic mod podge, you can apply beeswax to give a textured look or you can apply Ranger Glossy Accents)


Finally, when it is cured, attach any embellishments desired such as metal charms,flowers etc. to give it the finished look !


My links:


Craft Materials: